sir fred
Cruisin' Guzzisti
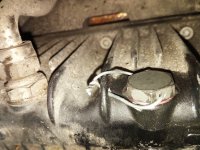
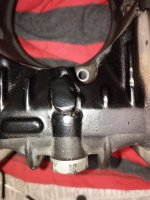
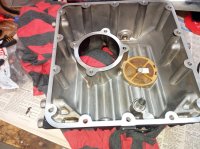
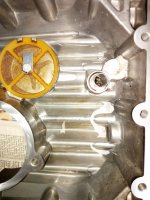
Needed to move the left hand exhaust out of the way to get access to the 2 bolts on the rear left hand side of the frame rails. All the oil pan bolts can be accessed in situ with a long T bar allen key once the oil cooler is out of the way. I dropped the sump first hoping I could squeeze it out by just removing the RH exhaust but it's not possible.
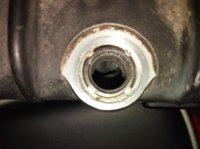
Does this mean the sump can not be removed? If so, with it disconnected from the engine, is there now access to retap the damaged thread?
I have found a 12 x 1.25 drain plug.

")