If anyone happens to be reading through here and knows the diameter of the gauges on the V7III, I’d appreciate if you were willing to share that knowledge. I’m looking for aftermarket housings or DIY ideas, but I’m not finding anything that looks like it would work. By my best guess, I’d need something around 105mm diameter, and I can’t find anything that big on the market.
I'd be interested in this too, don't realy like the way the gauge(s) look when exposed.


") )
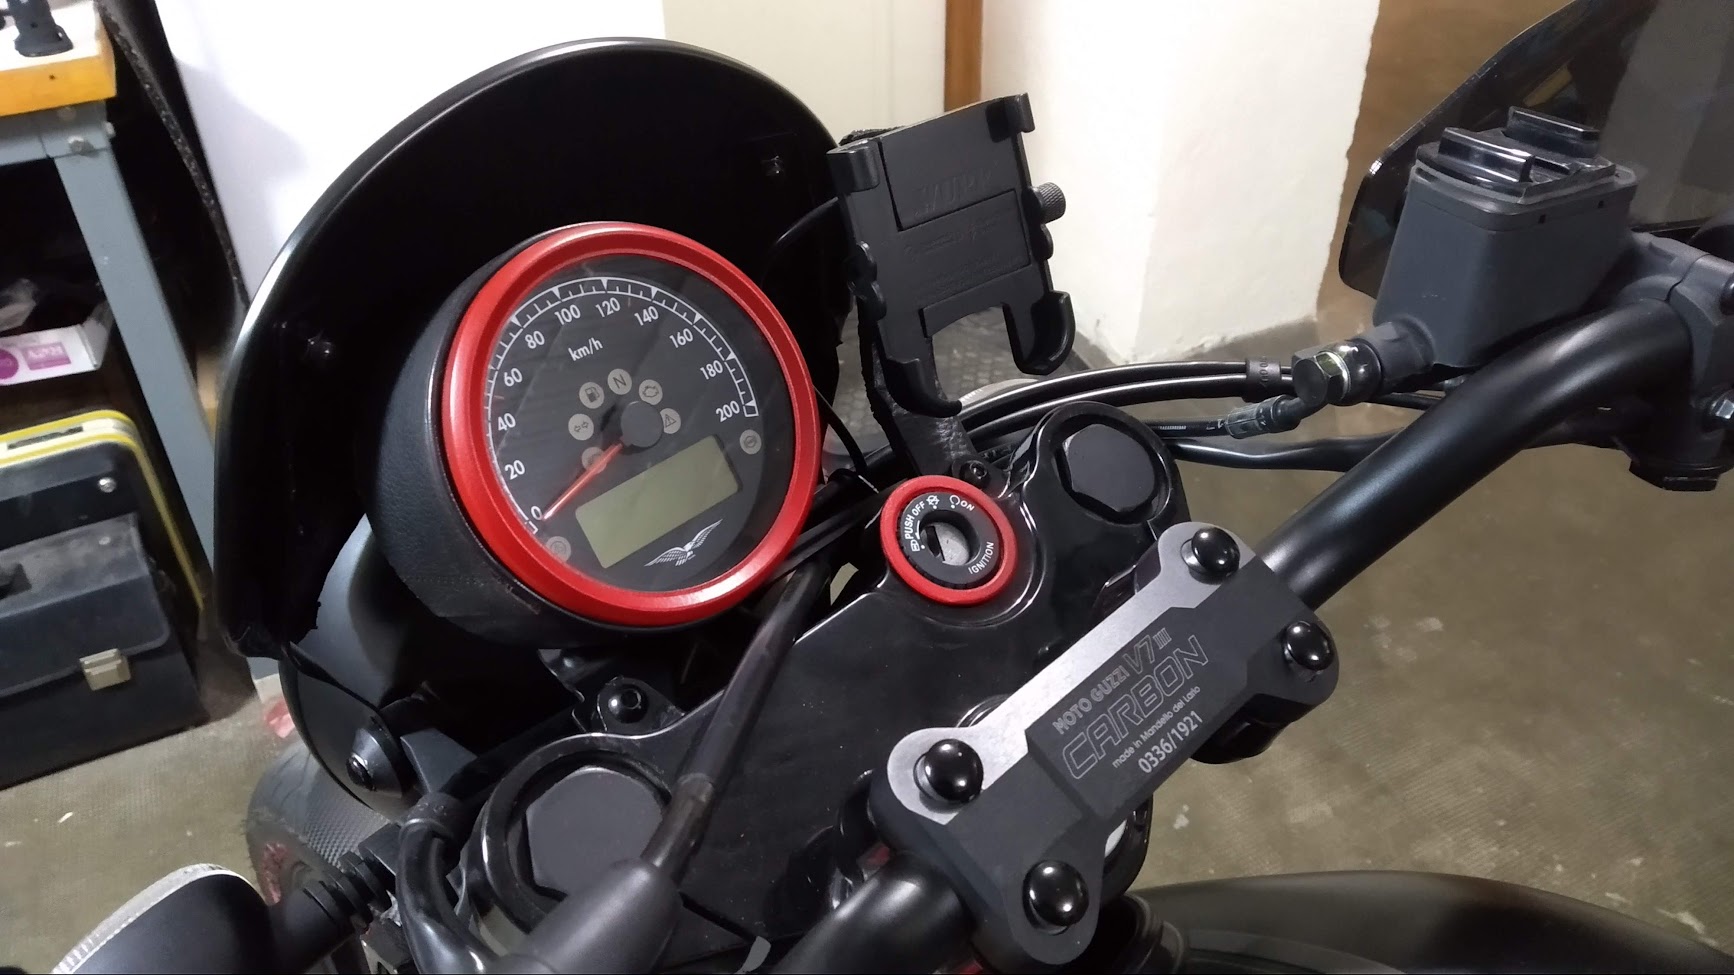
) The cover cost me around $50 including shipping from England (I live in Denmark).