seb
Tuned and Synch'ed
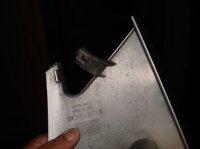
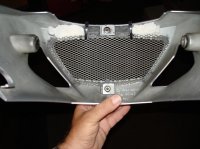
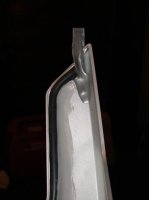
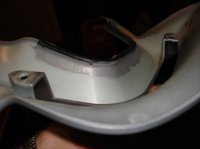
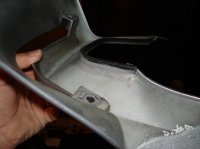
Is anyone else having problems with disintegrating Tupperware panels on the Norge? Both the left and right fairing pieces that cover the throttle bodies and the front center bottom piece are all coming seriously apart. The tabs that hold the screws are breaking off and the pieces have cracks all over them. The screen in the front piece just fell out because all the liitle plastic tabs that held it in all broke off. I have called Harper's Moto Guzzi and they can't even find the right hand fairing piece. The front piece is over $500.00 itself because apparently it is only available painted but the left fairing is only available unpainted.