• Ciao Guest - You’ve landed at the ultimate Guzzi site. NEW FORUM REGISTRATIONS REQUIRE EMAIL ACTIVATION - CHECK YOUR SPAM FOLDER - Use the CONTACT above if you need help. New to the forum? For all new members, we require ONE post in the Introductions section at the bottom, in order to post in most of the other sections. ALWAYS TRY A SEARCH BEFORE STARTING A NEW TOPIC - Most questions you may have, have likely been already answered. DON'T BE A DRIVE-BY POSTER: As a common courtesy, check back in and reply within 24 hours, or your post will be deleted. Note there's decades of heavily experienced Guzzi professionals on this site, all whom happily give endless amounts of their VALUABLE time for free; BE COURTEOUS AND RESPECTFUL!
  • There is ZERO tolerance on personal attacks and ANY HYPERLINKS to PRODUCT(S) or other competing website(s), including personal pages, social media or other Forums. This ALSO INCLUDES ECU DIAGnostic software, questions and mapping. We work very hard to offer commercially supported products and to keep info relevant here. First offense is a note, second is a warning, third time will get you banned from the site. We don't have the time to chase repeat (and ignorant) offenders. This is NOT a social media platform; It's an ad-free, privately funded website, in small help with user donations. Be sure to see the GTM STORE link above; ALL product purchases help support the site, or you can upgrade your Forum profile or DONATE via the link above.
  • Be sure to see the GTM STORE link also above for our 700+ product inventory, including OEM parts and many of our 100% Made-in-SoCal-USA GTM products and engine kits. In SoCal? Click the SERVICE tab above for the best in service, tires, tuning and installation of our products or custom work, and don't miss our GT MotoCycles® (not) art on the BUILDS tab above. WE'RE HERE ONLINE ONLY - NO PHONE CALLS MADE OR RECEIVED - DO NOT EMAIL AND ASK QUESTIONS OR ASK TO CALL YOU.
  • Like the new V100, GuzziTech is full throttle into the future! We're now running on an all-new server and we've updated our Forum software. The visual differences are obvious, but hopefully you'll notice the super-fast speed. If you notice any glitches or have any issues, please post on the Site Support section at the bottom. If you haven't yet, please upgrade your account which is covered in the Site Support section or via the DONATE tab above, which gives you full site access including the DOWNLOADS section. We really appreciate every $ and your support to keep this site ad-free. Create an account, sign in, upgrade your account, and enjoy. See you on the road in 2024.

The Mirror/Signal ReRe

Toadride

Cruisin' Guzzisti
Joined
Apr 2, 2012
Messages
272
Location
Nelson
Don't know who's done it with the 2012 yet but it became a necessity for me.
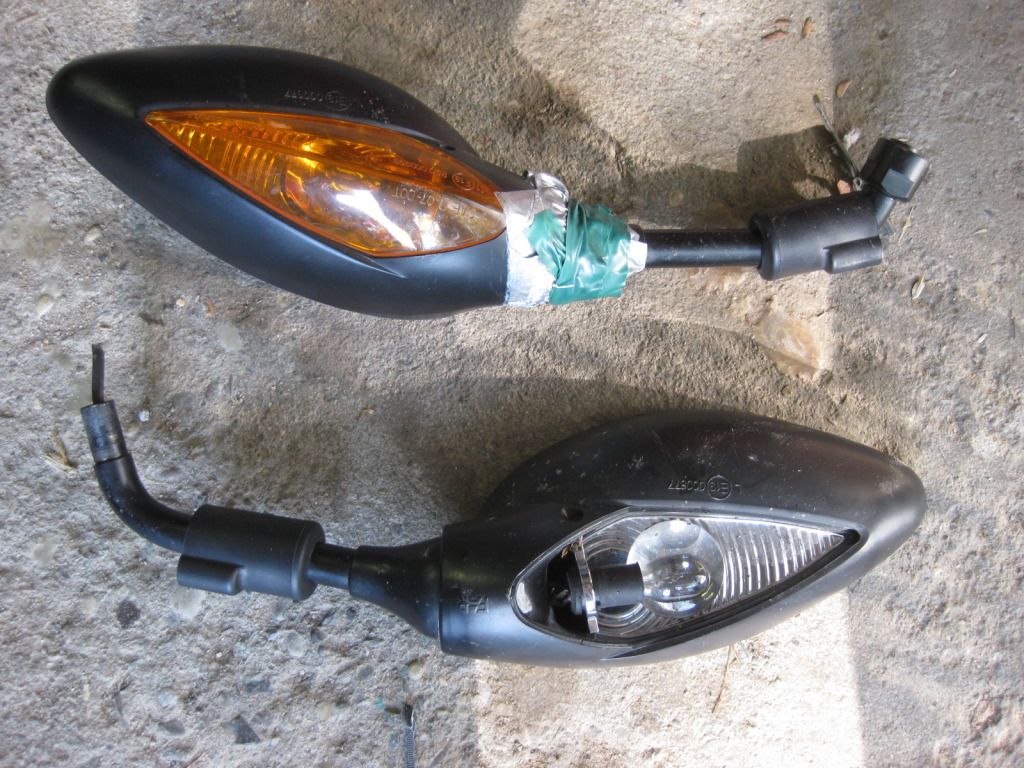
Some distance travelling at all speeds was all it took. First this.
IMG_1164.jpg

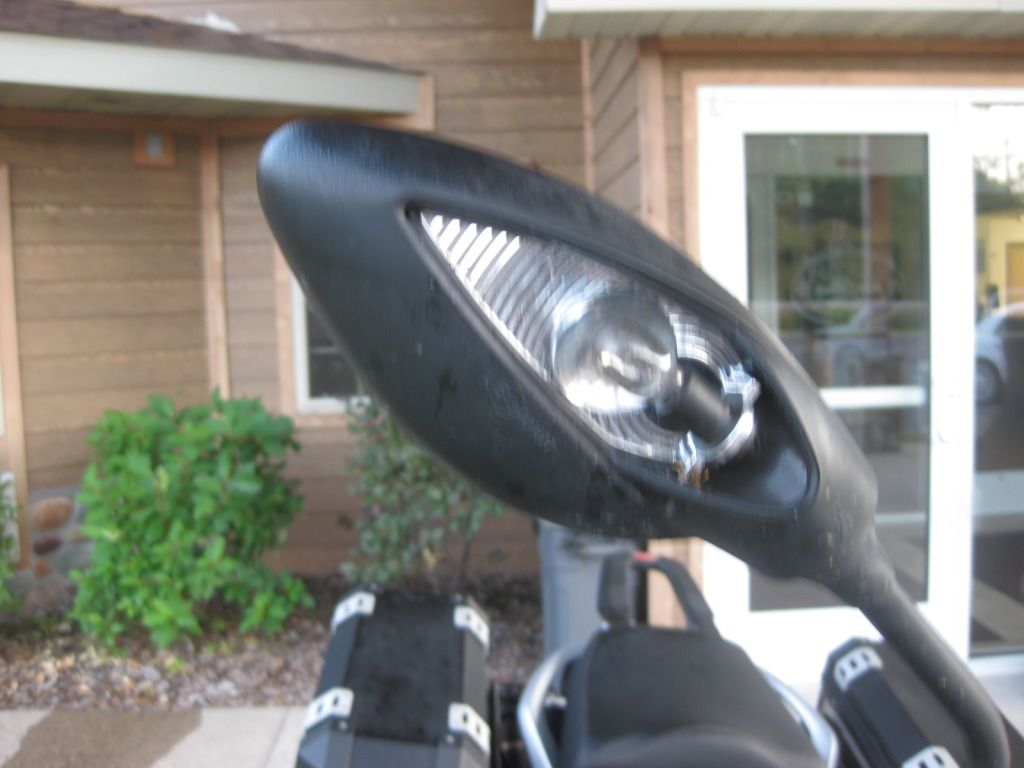
Screw vibrated out, lens gone.
Then this
IMG_1228.jpg

Thing just fell apart. Hardly mattered because I couldn't see out of them anyways. Like the Beach Boys, they were turning out those "Big Vibrations."
Went for the kits from MPH cycle in Huston and shortly after arriving at my brother's in Ontario, did the re and re.
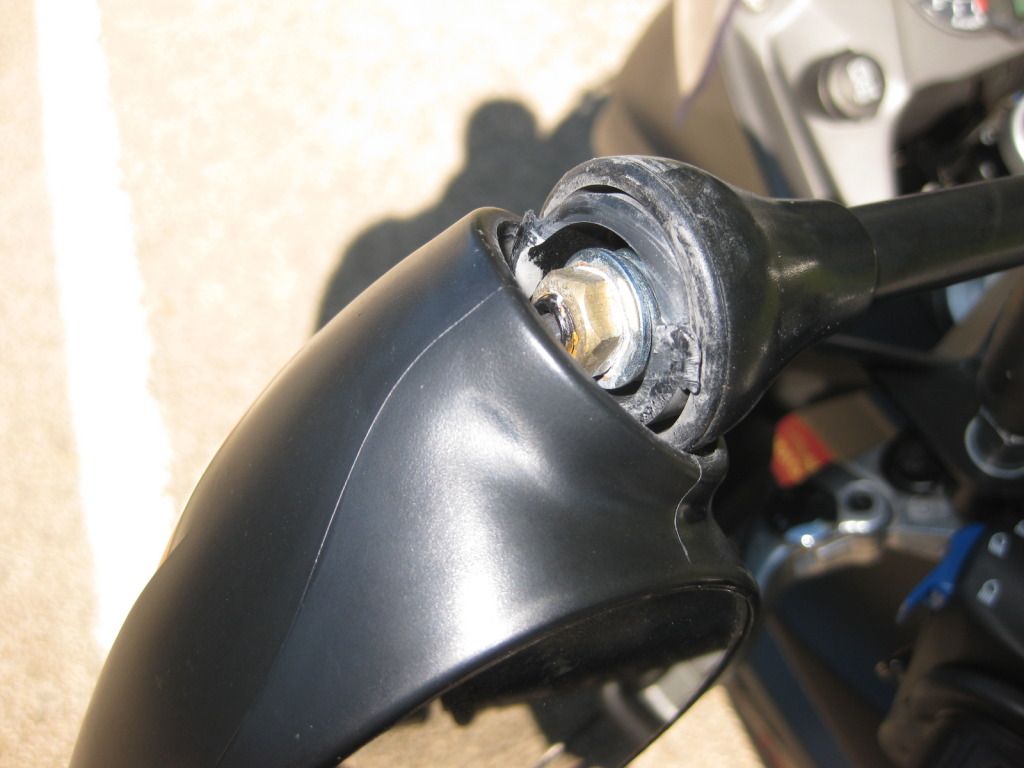
First the mirrors. OFF WITH THEIR HEADS!
IMG_1245.jpg

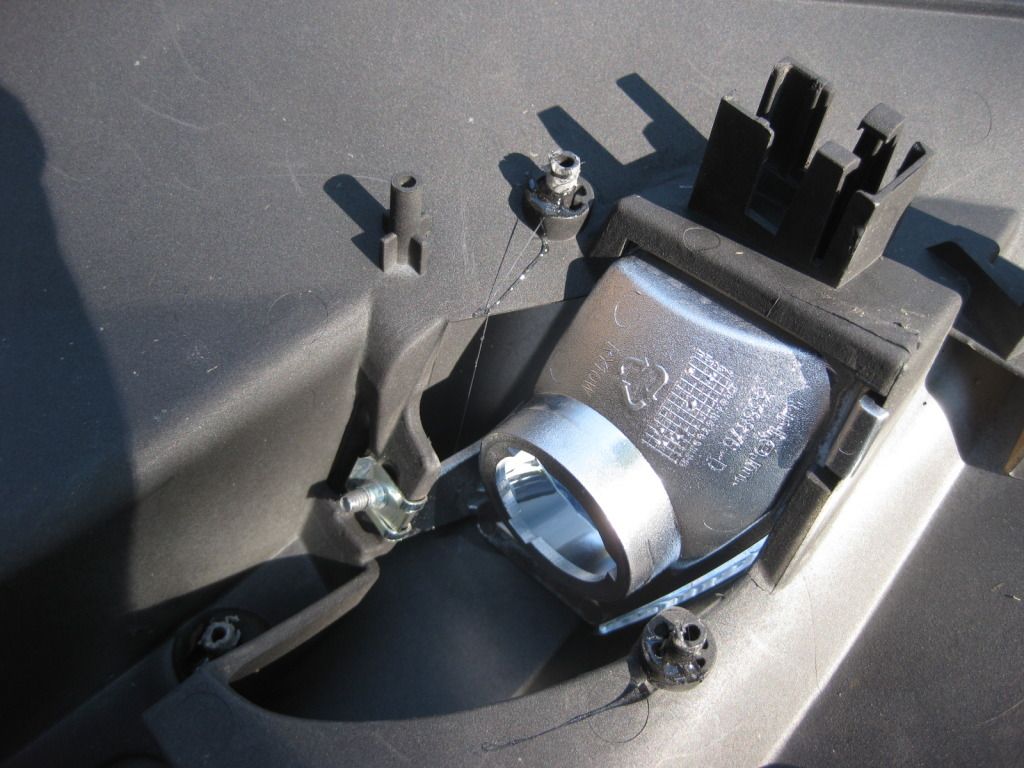
Removing the side covers, I had pointed out to MPH that the side covers are in two pieces and you have to destroy the push on clips to get them apart. They need to come apart to get at the Allen screw holding the housing together.
IMG_1241-1.jpg

They said they would look into it and send them along. They didn't.
Once apart, the install was quick and easy. I decided to use this Goop stuff to secure to two pieces. I places just enough on an easy access side of the tit to allow for filing it off if need be in the future.
IMG_1243.jpg


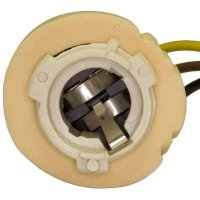
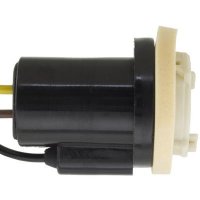
Found the plugs (DOH) and edited this post.


IMG_1249.jpg

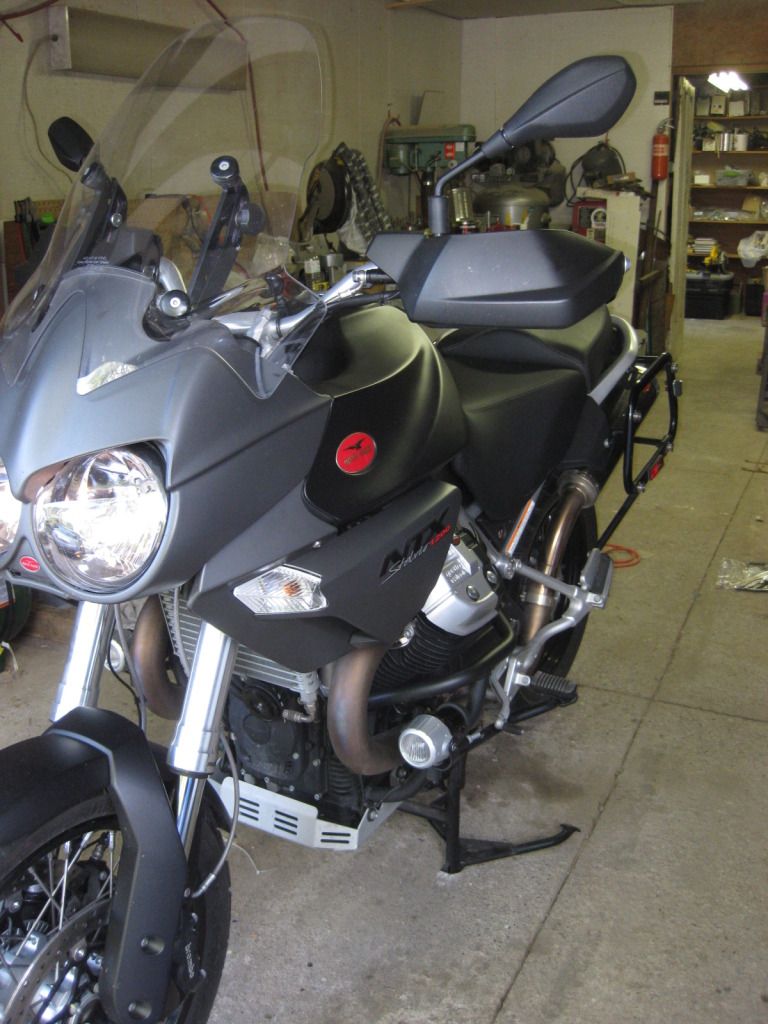
The finished product and mirrors installed. The mirrors? Rock steady.
 
When I separated the panels I used some E clips (otherwise known as Jesus clips) to re-secure. They were still tight 2k miles later when I pulled the side panels to do the canister

Not sure why any wiring was involved - the mirror wires separate at the connector block on each side, down by the side panels and the sockets of the faring lamps plug directly into them...I think I had to cut a zip tie
 
My eyes are just not what they used to be. Upon closer examination I found the plug and am making the correction as we speak.
 
Last week, on my Stelvio, the right hand mirror socket got loose too. Didn't fall off the socket like yours ... :eek:
I had noticed that the right hand was not vibrating as much as before .... but after a while of driving the mirror was reflecting my face. :lol: (Had to change it).

The dealer was kind enough to sell me the ones on an Aprillia DORSODURO he had. (Parts take forever if you have to order)
The mirror's compression fitting from the Stelvio and the Aprillia were the same size.

Since the turn lights were on the mirror decided to bring them down to the side markers.
Found some sockets ...... more or less what seemed to fit ..... did a little plastic cutting and trimming so to make them fit well.


Now I'm all set.
 

Attachments

  • Duralast Socket 1.jpg
    Duralast Socket 1.jpg
    16.5 KB · Views: 892
  • Duralast Socket 2.jpg
    Duralast Socket 2.jpg
    9.6 KB · Views: 892
Something's wrong - I just replaced my 2009 mirrors and signals this week and it took me 15 minutes total.

1. Unsnap wire connector to signal in mirror.

2. Unscrew old mirrors from handlebar mounts and toss in the bin. They were broken and rusty.

3. Screw new mirrors without signals into mounts and tighten.

4. Take out one allen screw each side holding blank-out panels in fairing, remove and bin panels.

5. Snap new turn signals into place in fairing, attach new connectors, one allen screw each to attach new signals.

Job done!

Lannis
 
If there's a trick to getting the Allen screws out without splitting the side panels, I'd love to know about it Lannis. And, as admitted and post adjusted, the signal plug was my bad.
 
Toadride said:
If there's a trick to getting the Allen screws out without splitting the side panels, I'd love to know about it Lannis. And, as admitted and post adjusted, the signal plug was my bad.


It must be a difference in the way the later bikes were put together. On the 2009, there was a nice little threaded bushing in the turn signal bit, and a clean hole in the side panel with a washer under the allen screw head. When I twiddled it out, everything just came apart easy, no potential for splitting anything, and went back together the same way. Maybe people were losing screws, and they made everything tighter and stickier on the later bikes?

Lannis
 
Toadride said:
If there's a trick to getting the Allen screws out without splitting the side panels, I'd love to know about it Lannis. And, as admitted and post adjusted, the signal plug was my bad.

Toadride, my experience was the same as Lannis'. It looks to me like the side panel design of the NTX is quite different than our earlier model Stelvios. Probably accounts for the installation difficulties you had.

Bruce
 
This is for putting Euro signals on the newer NTX and how I've been doing it on customer bikes. No damaging the pins made of soft plastic like in photos.
If you look at photos of the NTX panels in 1st post here, you will see the backside and where the screw goes.

I JUST DRILL A HOLE STRAIT IN FRONT OF IT THROUGH THE PANEL

Reach in w/allen ball end and extract, replace lens & socket and allen screw
***********Now, you have to make the hole just a bit smaller than the rubber plug in your airbox drain tube************
Get 2 of them plugs and put in holes, Factory uses these plugs on a hole on the panels to keep panel edge from vibrating. And they look factory .
 
Back
Top