leafman60
Cruisin' Guzzisti
Recently, I had a headlight bulb go bad during daylight hours and, of course, it burned out the Big Fuse behind the right side plastic cover. I didn't know anything was wrong until I happened to notice that my auxiliary lamps were dead. Thankfully, I didn't run long enough to deplete the battery to the point of being stranded.
This main fuse problem is a big one. Even if you know it's a problem, it's a big problem. You have no way of knowing when the fuse is blown unless you are running at night and/or somehow happen to realize that you have no lighting - or alternator. There is no warning light that tells you the battery is not being charged!
This same fuse powers a main circuit that includes the headlamps, the auxiliary lamps and the alternator activator. The more commonly known problem is for this fuse to blow due to vibration-induced chafing and shorting of the wires inside the auxiliary lamps. Again, during daylight, you may not know this has happened and that you not only have no lights but you have no functioning charge circuit to the battery. Again, the Stelvio has no alternator light, no voltmeter, no indicator to alert you about this problem.
I fixed my H-4 bulb problem but I also installed a monitor light to indicate when this particular main circuit goes dead for whatever reason. If that big fuse blows, I now have a red warning light that comes on.
This is very simple.
I bought a 12VDC red led indicator lamp from Radio Shack and a standard lighting relay. I then used a connection to my switched accessory receptacle circuit to illuminate this red indicator lamp through the relay, terminals 30 and 87A. I then made a connection to the main lighting/alternator circuit by slipping in a wire to the 87 terminal of Lighting Logic relay, 5th from the front on the right side of the bike, and used it to trigger the red indicator light relay at terminal 85 to cut the current from the accessory illuminating it (86 is grounded as is the negative wire from the red indicator lamp). I didn't drill a hole through the dash but I mounted the indicator lamp in a custom-made bracket that I sticky-taped to the dash.
The thing works great.
When I turn the ignition on, the accessory circuit lights up the led indicator lamp. It's bright, even in daylight. When the bike is started and the main lighting/alternator circuit comes on, that trigger wire from that main lighting/alternator circuit switches off the relay that controls the led indicator lamp. If, at any time the main lighting/alternator circuit goes dead, the led indicator light relay switches back and turns on the indicator light as powered from the accessory circuit that is not affected by the main lighting/alternator circuit.
Originally, I had contemplated breaking out the alternator circuit and installing a separate dedicated fuse for it. However, I realized that I wanted to know when either my lights were out or the charge circuit was dead.
Next, I used a popular led volt/battery meter and wired it to the same accessory connection that powers the main circuit warning light just described. I mounted the voltmeter next to the circuit warning light and carefully positioned it so as not to hit the upper triple clamp when turning. Any sort of voltmeter could be used. . Now, I have all bases covered.
Voltmeter by Kuryakyn
http://www.jpcycles.com/product/ZZ38119
I'm warned by the red light if the Big Fuse blows and I'm also warned by the voltmeter if there is any other problem with the charging system.
By the way, while I was in there, I replaced all the 5-pin relays on the right side as preventative maintenance.
For now, this works for me. It's a simple fix and something the factory should have worked around from the beginning.
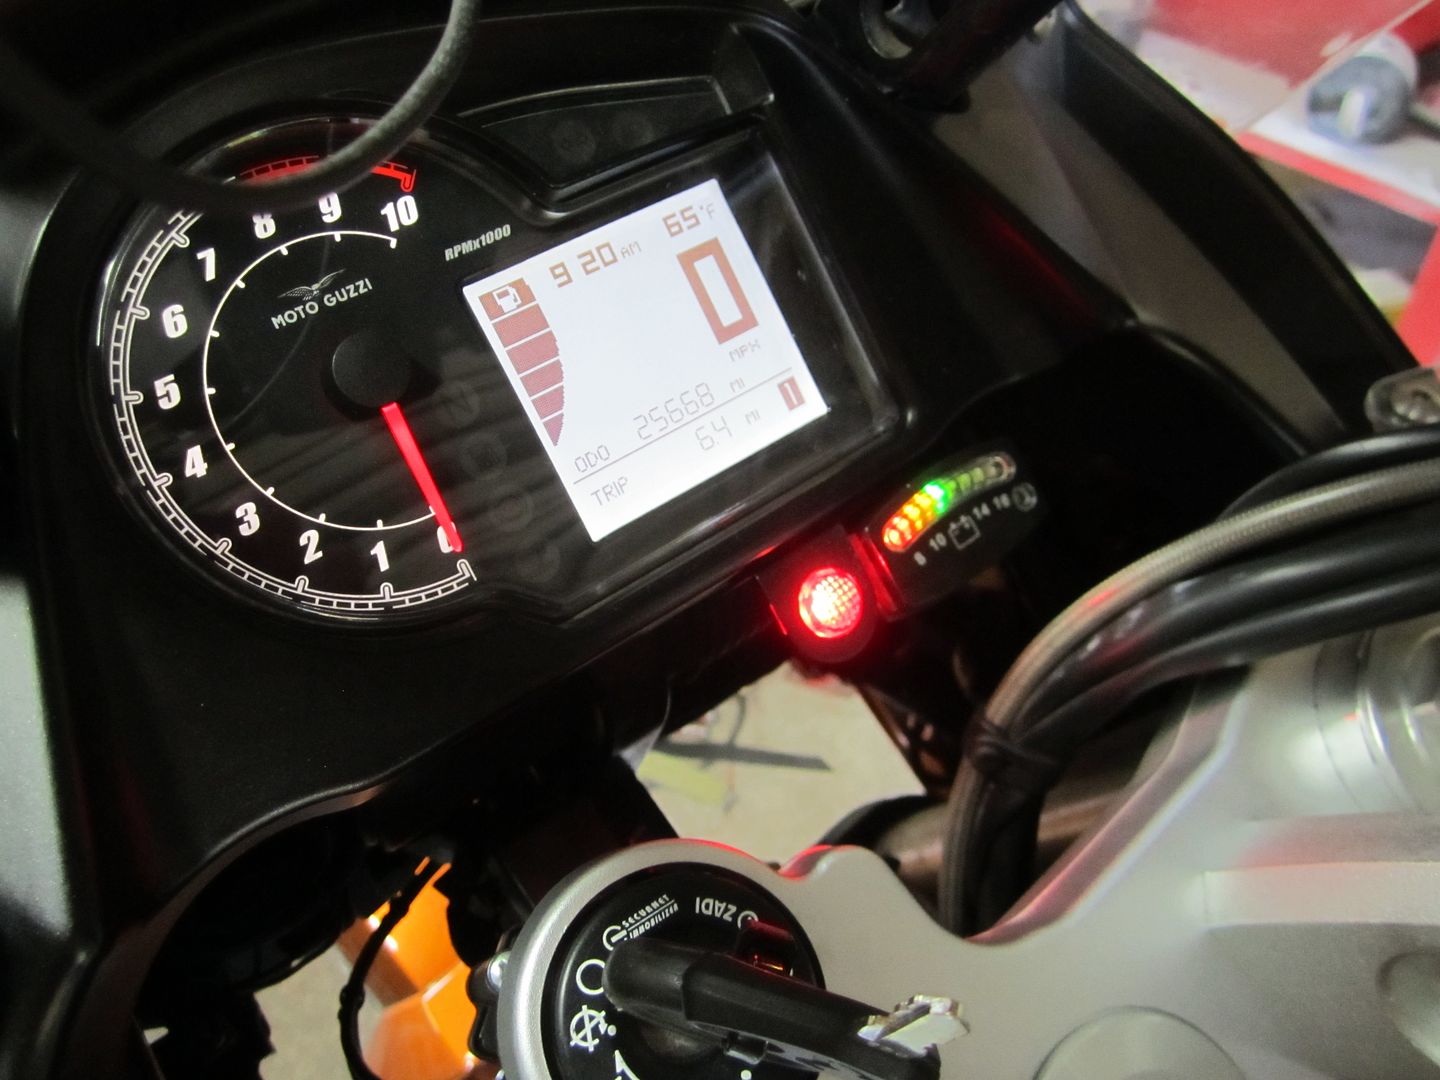
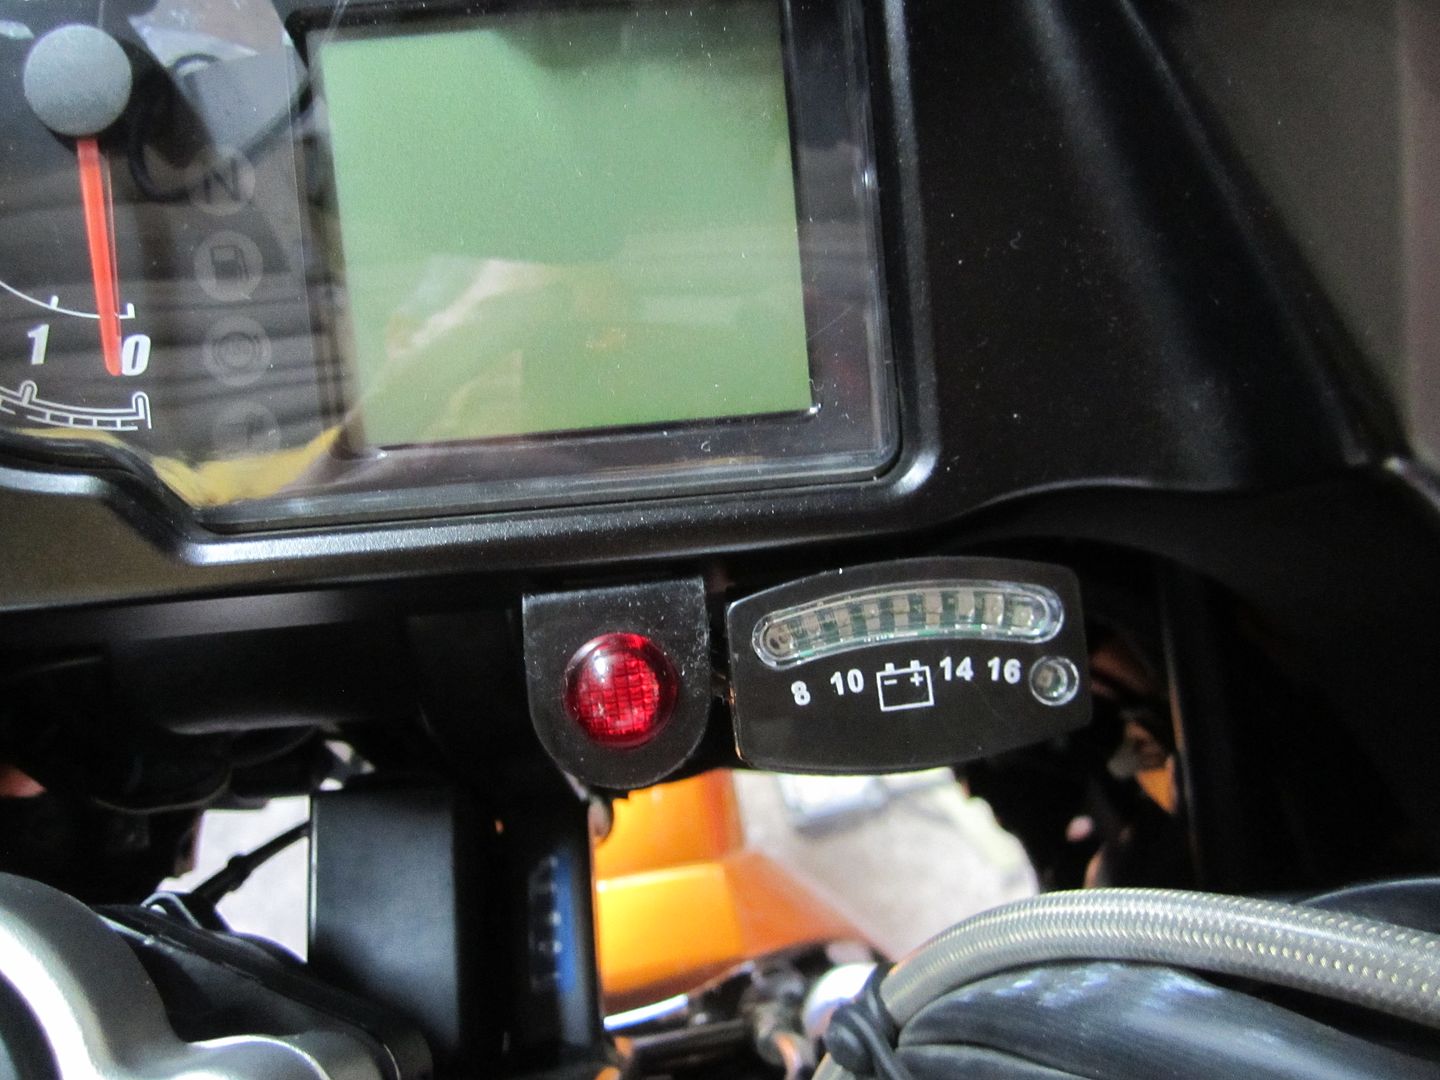
Main circuit red indicator lamp (off=good, on=bad) and the led system voltmeter.
Controlling relay for indicator lamp
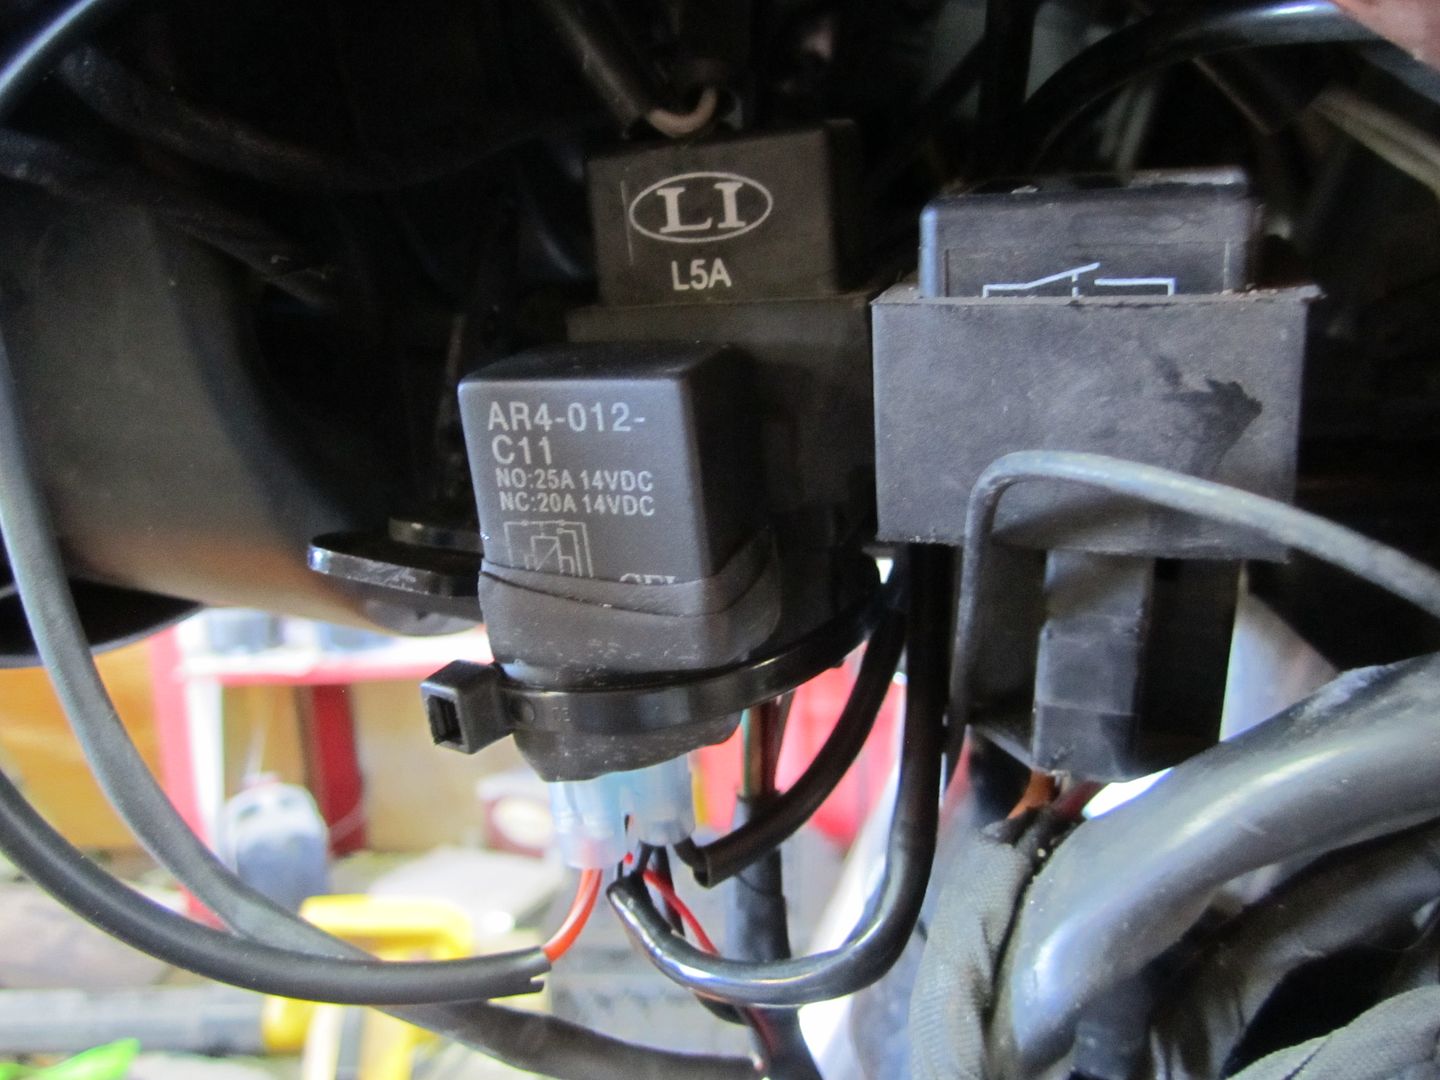
Relay bank on right side behind removable cover. The red-banded relay to the left is the main lighting (logic?) relay. The same main circuit connects to more than one relay.
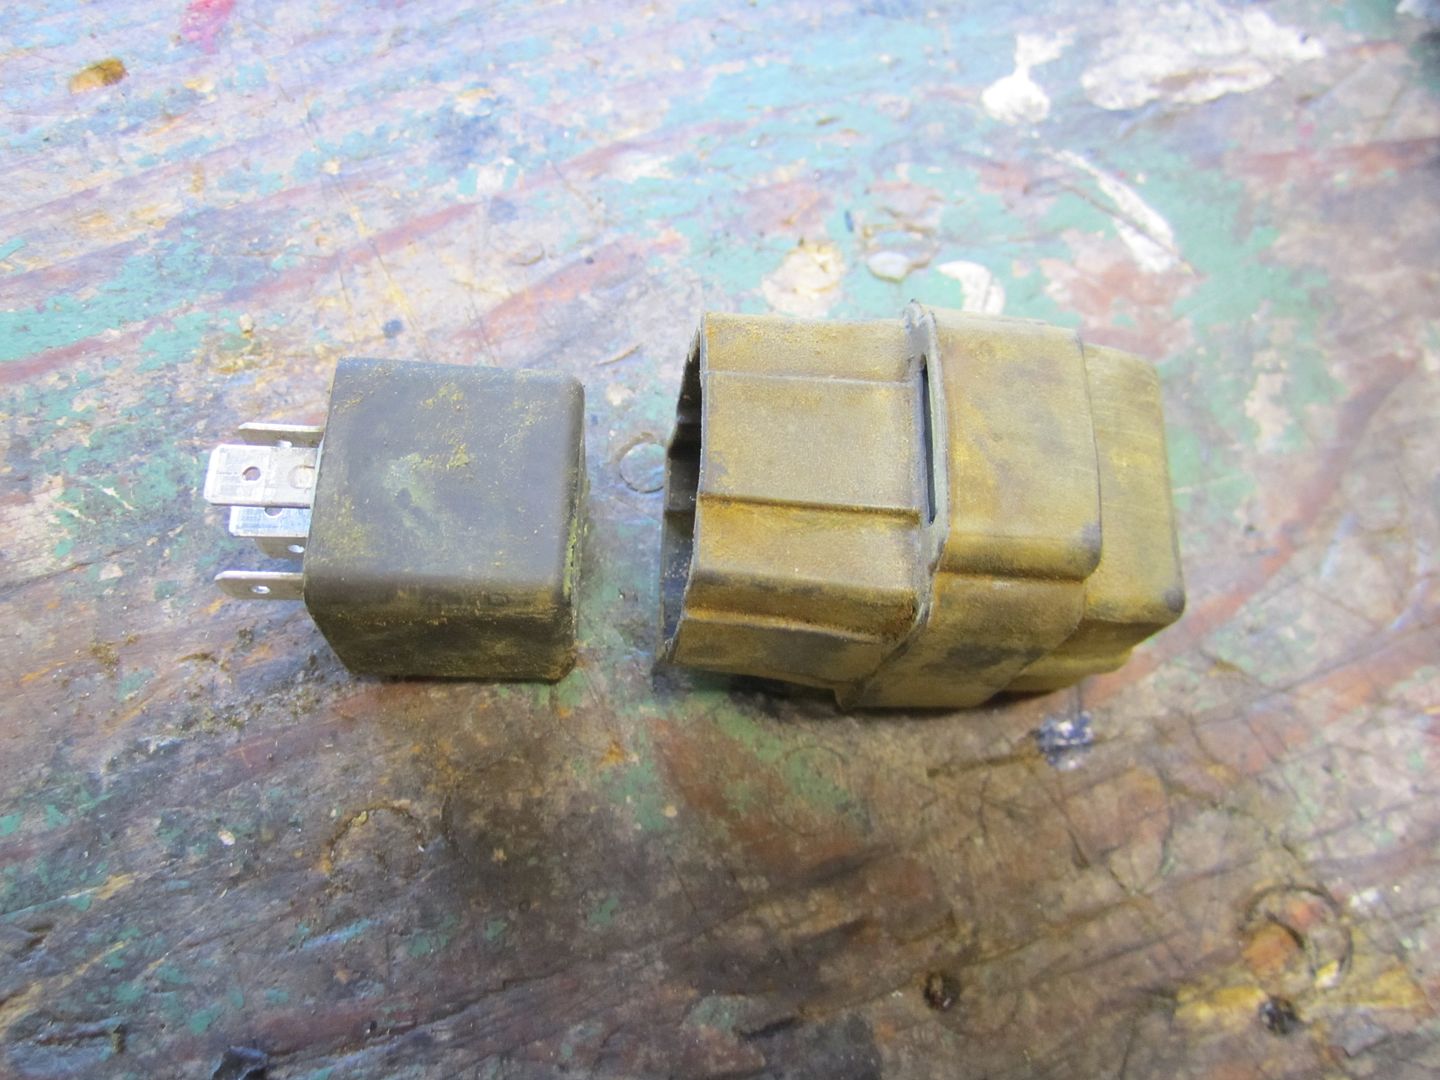
Stock relays are held in rubber sheaths. Not the best water-proofing design.
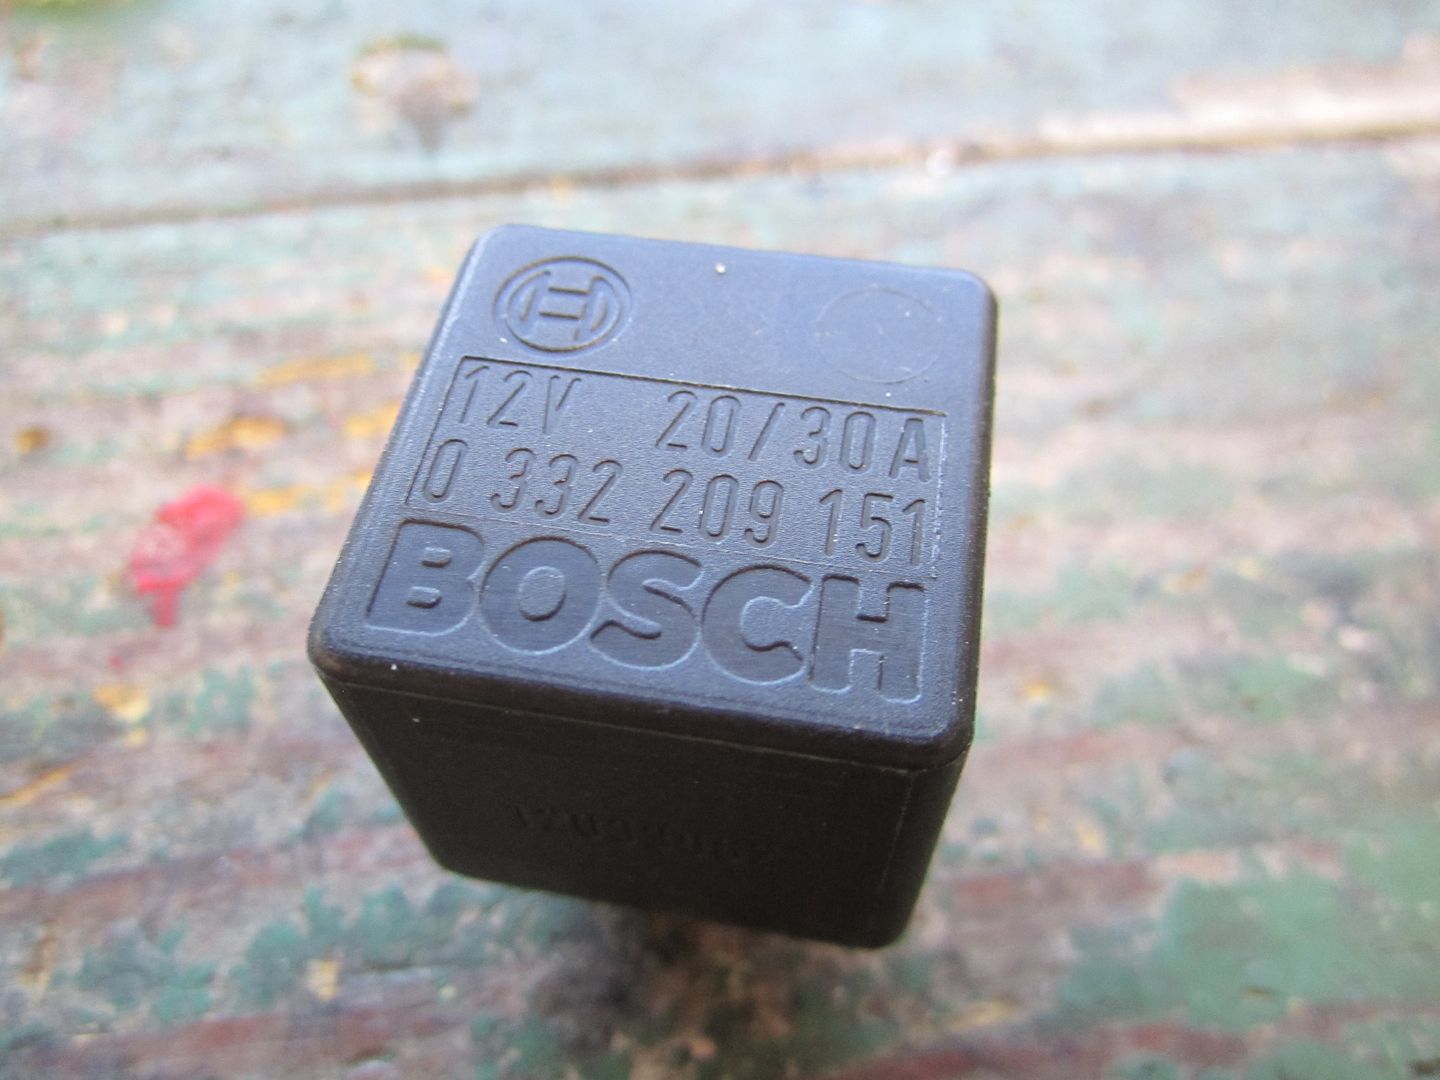
I used these
And tried to rubber wrap the connectors for better protection
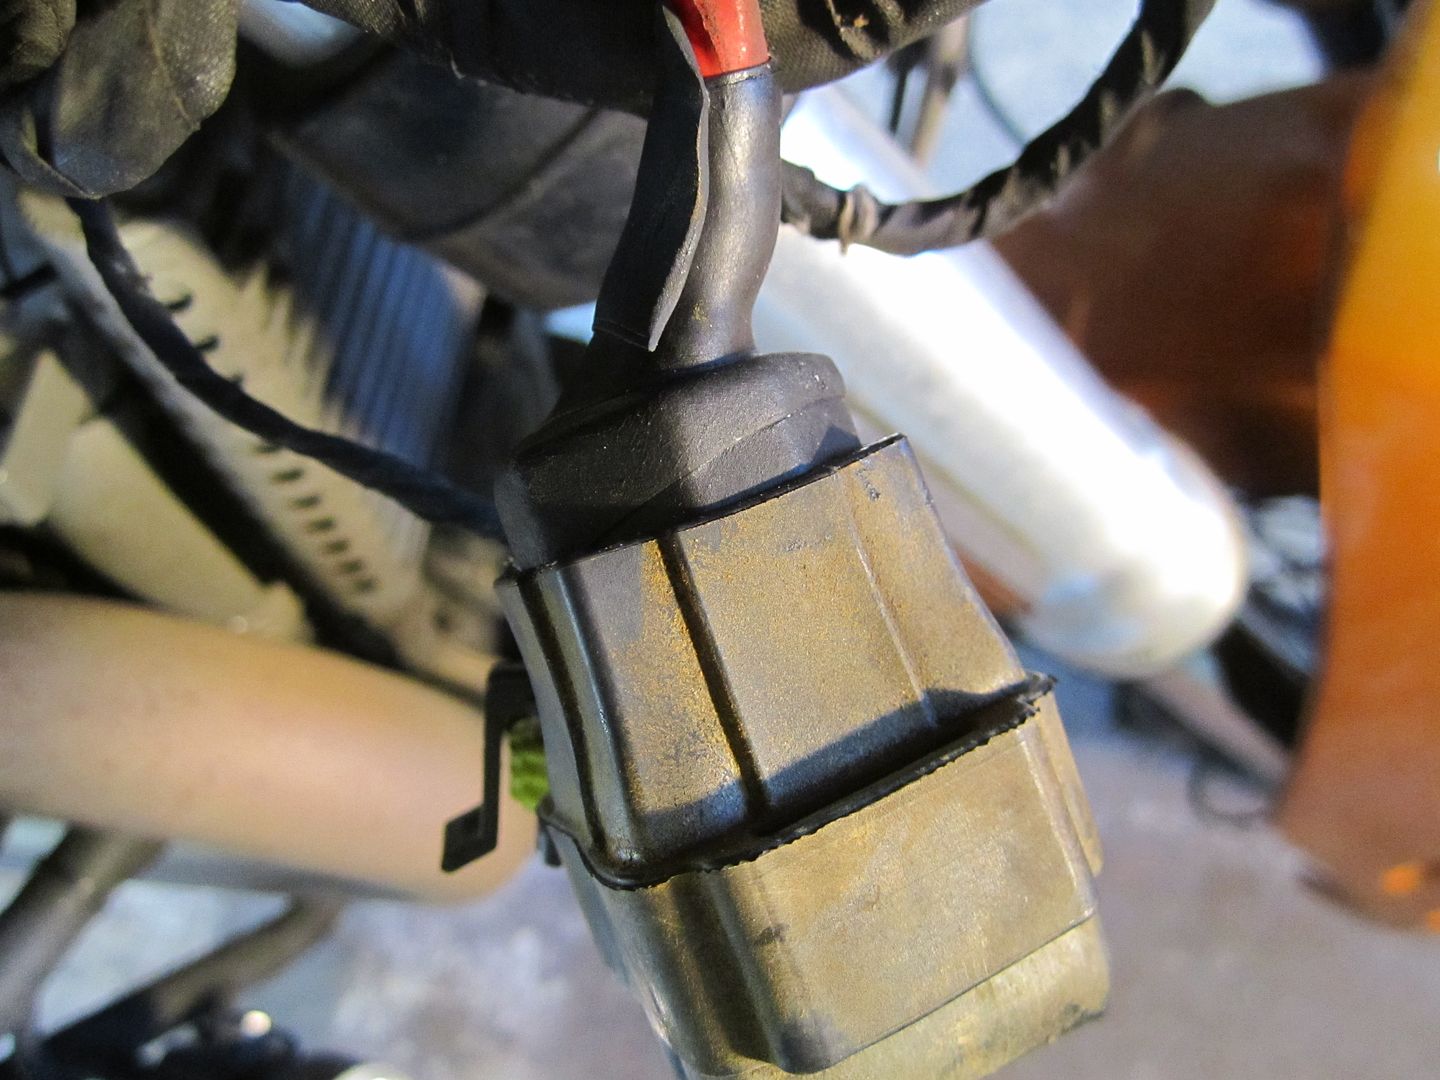
.
This main fuse problem is a big one. Even if you know it's a problem, it's a big problem. You have no way of knowing when the fuse is blown unless you are running at night and/or somehow happen to realize that you have no lighting - or alternator. There is no warning light that tells you the battery is not being charged!
This same fuse powers a main circuit that includes the headlamps, the auxiliary lamps and the alternator activator. The more commonly known problem is for this fuse to blow due to vibration-induced chafing and shorting of the wires inside the auxiliary lamps. Again, during daylight, you may not know this has happened and that you not only have no lights but you have no functioning charge circuit to the battery. Again, the Stelvio has no alternator light, no voltmeter, no indicator to alert you about this problem.
I fixed my H-4 bulb problem but I also installed a monitor light to indicate when this particular main circuit goes dead for whatever reason. If that big fuse blows, I now have a red warning light that comes on.
This is very simple.
I bought a 12VDC red led indicator lamp from Radio Shack and a standard lighting relay. I then used a connection to my switched accessory receptacle circuit to illuminate this red indicator lamp through the relay, terminals 30 and 87A. I then made a connection to the main lighting/alternator circuit by slipping in a wire to the 87 terminal of Lighting Logic relay, 5th from the front on the right side of the bike, and used it to trigger the red indicator light relay at terminal 85 to cut the current from the accessory illuminating it (86 is grounded as is the negative wire from the red indicator lamp). I didn't drill a hole through the dash but I mounted the indicator lamp in a custom-made bracket that I sticky-taped to the dash.
The thing works great.
When I turn the ignition on, the accessory circuit lights up the led indicator lamp. It's bright, even in daylight. When the bike is started and the main lighting/alternator circuit comes on, that trigger wire from that main lighting/alternator circuit switches off the relay that controls the led indicator lamp. If, at any time the main lighting/alternator circuit goes dead, the led indicator light relay switches back and turns on the indicator light as powered from the accessory circuit that is not affected by the main lighting/alternator circuit.
Originally, I had contemplated breaking out the alternator circuit and installing a separate dedicated fuse for it. However, I realized that I wanted to know when either my lights were out or the charge circuit was dead.
Next, I used a popular led volt/battery meter and wired it to the same accessory connection that powers the main circuit warning light just described. I mounted the voltmeter next to the circuit warning light and carefully positioned it so as not to hit the upper triple clamp when turning. Any sort of voltmeter could be used. . Now, I have all bases covered.
Voltmeter by Kuryakyn
http://www.jpcycles.com/product/ZZ38119
I'm warned by the red light if the Big Fuse blows and I'm also warned by the voltmeter if there is any other problem with the charging system.
By the way, while I was in there, I replaced all the 5-pin relays on the right side as preventative maintenance.
For now, this works for me. It's a simple fix and something the factory should have worked around from the beginning.
Main circuit red indicator lamp (off=good, on=bad) and the led system voltmeter.


Controlling relay for indicator lamp

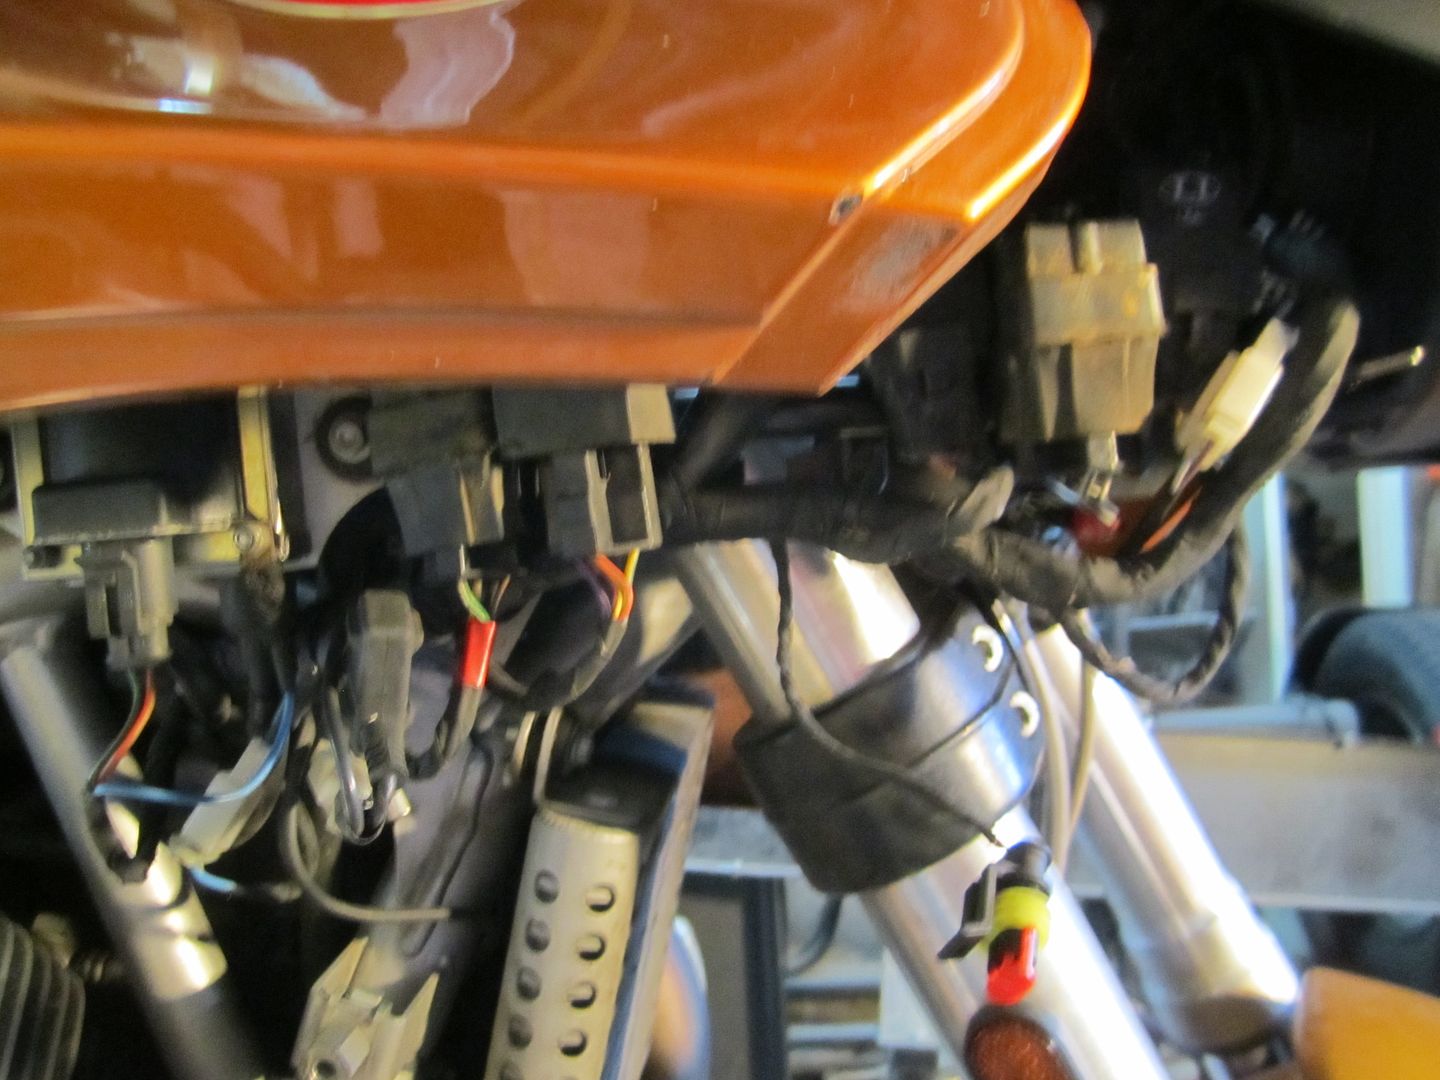
Relay bank on right side behind removable cover. The red-banded relay to the left is the main lighting (logic?) relay. The same main circuit connects to more than one relay.

Stock relays are held in rubber sheaths. Not the best water-proofing design.

I used these

And tried to rubber wrap the connectors for better protection

.
Last edited: