Navigation
Install the app
How to install the app on iOS
Follow along with the video below to see how to install our site as a web app on your home screen.
Note: This feature may not be available in some browsers.
More options
-
Ciao Guest - You’ve landed at the ultimate Guzzi site. NEW FORUM REGISTRATIONS REQUIRE EMAIL ACTIVATION - CHECK YOUR SPAM FOLDER - Use the CONTACT above if you need help. New to the forum? For all new members, we require ONE post in the Introductions section at the bottom, in order to post in most of the other sections. ALWAYS TRY A SEARCH BEFORE STARTING A NEW TOPIC - Most questions you may have, have likely been already answered. DON'T BE A DRIVE-BY POSTER: As a common courtesy, check back in and reply within 24 hours, or your post will be deleted. Note there's decades of heavily experienced Guzzi professionals on this site, all whom happily give endless amounts of their VALUABLE time for free; BE COURTEOUS AND RESPECTFUL!
-
There is ZERO tolerance on personal attacks and ANY HYPERLINKS to PRODUCT(S) or other competing website(s), including personal pages, social media or other Forums. This ALSO INCLUDES ECU DIAGnostic software, questions and mapping. We work very hard to offer commercially supported products and to keep info relevant here. First offense is a note, second is a warning, third time will get you banned from the site. We don't have the time to chase repeat (and ignorant) offenders. This is NOT a social media platform; It's an ad-free, privately funded website, in small help with user donations. Be sure to see the GTM STORE link above; ALL product purchases help support the site, or you can upgrade your Forum profile or DONATE via the link above.
-
Be sure to see the GTM STORE link also above for our 700+ product inventory, including OEM parts and many of our 100% Made-in-SoCal-USA GTM products and engine kits. In SoCal? Click the SERVICE tab above for the best in service, tires, tuning and installation of our products or custom work, and don't miss our GT MotoCycles® (not) art on the BUILDS tab above. WE'RE HERE ONLINE ONLY - NO PHONE CALLS MADE OR RECEIVED - DO NOT EMAIL AND ASK QUESTIONS OR ASK TO CALL YOU.
-
Like the new V100, GuzziTech is full throttle into the future! We're now running on an all-new server and we've updated our Forum software. The visual differences are obvious, but hopefully you'll notice the super-fast speed. If you notice any glitches or have any issues, please post on the Site Support section at the bottom. If you haven't yet, please upgrade your account which is covered in the Site Support section or via the DONATE tab above, which gives you full site access including the DOWNLOADS section. We really appreciate every $ and your support to keep this site ad-free. Create an account, sign in, upgrade your account, and enjoy. See you on the road in 2024.
You are using an out of date browser. It may not display this or other websites correctly.
You should upgrade or use an alternative browser.
You should upgrade or use an alternative browser.
Cal 14 Alt Wiring Recall/Mod
- Thread starter GTM®
- Start date
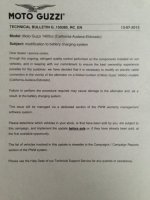
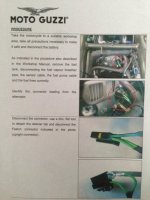
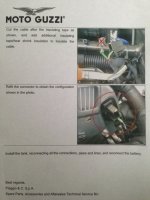
Does anyone know what specifics are available about this TSB? The announcement seems vague. And the solution, to just cut the wire, well, it is frightening. All that is stated is that the wire is related (connected?) to the alternator and battery charging system (voltage regulator?). Furthermore, it is mentioned that some "limited number of 1400 cc models" are affected, and that those vehicles subject to the campaign are viewable at the "Campaigns/Campaign Reports section of the PWM system." Is the PWM system is only available to dealers?
I've seen very little discussion about this TSB on the forum, is it really that dire? Even here on this thread, nobody has responded to V700Steve's request for replies for those whom have made the modification. It was posted six months ago.
I've seen very little discussion about this TSB on the forum, is it really that dire? Even here on this thread, nobody has responded to V700Steve's request for replies for those whom have made the modification. It was posted six months ago.
Clayton Sietsema
Cruisin' Guzzisti
I contacted my dealer about this and they said it was for all cali 1400s even though the web site that you and I look the vin numbers up on may not say they do. I didn't snip mine, I removed the connector from the socket and shrink wrapped it just in case I ever had to reinstall it.
Thanks for the quick response Clayton.
Are you saying that you removed the full two wire connector (and shrink wrapped it) or did you just remove the bottom conductor wire from the connector, shrink wrap that, and then reattach the connector with just the lower wire installed?
Is all else good with your Cali Touring? I'm just coming up on my first service and I have the moaning whale emissions sound plus a rattling fuel tank when I ride over bumps in the road. My dealer estimated first service to cost me $600-$700, does this sound right?
Clayton Sietsema
Cruisin' Guzzisti
Yes, I just reinstalled the plug in with the top wire removed and shrink wrapped. I love my Cali and no real problems so far. I removed the whole charcoal canister when I "harpooned the moaning Whale" and have rerouted the PCV hose away from the air box. My first service cost me $300 ish and I supplied the oil and filter but they supplied the Amsoil gear oil for the trans. Right now Todd has my ECU to correct any fueling issues I may have latter.
Touringman
Cruisin' Guzzisti
Does anyone know what specifics are available about this TSB? The announcement seems vague. And the solution, to just cut the wire, well, it is frightening. All that is stated is that the wire is related (connected?) to the alternator and battery charging system (voltage regulator?). Furthermore, it is mentioned that some "limited number of 1400 cc models" are affected, and that those vehicles subject to the campaign are viewable at the "Campaigns/Campaign Reports section of the PWM system." Is the PWM system is only available to dealers?
I've seen very little discussion about this TSB on the forum, is it really that dire? Even here on this thread, nobody has responded to V700Steve's request for replies for those whom have made the modification. It was posted six months ago.
Welcome dennisj...
When I had mine "fixed" the dealer stated that the issue was an electrical "feedback" issue (whatever that is?) that over time could cause (unspecified) damage to the alternator. I do find it curious that just cutting that wire solves the issue, but almost 8 months later mine is suffering no ill effects from the wire-ectomy...
I can confirm what Clayton said that the issue does affect ALL Cali 1400's that have the "recalled" two wire setup from the factory. In fact, all selling dealers were instructed to make the modification to any bikes they had in inventory BEFORE they were sold to customers. MG did not specify what the last VIN was that carried the two wire plug.
Thank you Touringman, the way Piaggio wrote that Technical Service Bulletin almost guarantees that anyone's explanation of the "details" would be vague. Thanks for passing along the dealer's explanation.
I went into mine tonight and found that my dealer had already snipped the wire. He did a crude plastic tape fold-over to protect the wire, which would have blown off after a few rides. I shrink tubed the wire end tight for a more permanent solution. When he put the tank back on he left the thin breather tube underside of tank disconnected too. Looks like he was in a hurry. Thankfully there are no scratches on my valve covers.
While I was under the tank I pulled the guts out of the light blue and yellow plastic tip-over breather unit as per Todd's instructions in "Stop the Moaning Whale" post. I then snapped the (now empty) tip -over valve case back together and reinstalled it in the fuel thank vent tube. I didn't do anything more to the Evap system, like the part with plugging the vacuum port on the Starboard intake plenum or cutting the tubes below the Evap Cannister. I want to see if it was that valve making the noise. I can get at the other parts later if he still moans.
Rich Seeds
Just got it firing!
As the owner of a first run 2013 1400 I'm guessing by all they mean literally all years? I've been having chronic dead battery issues this year and I'm hoping the alternator hasn't died. Any good quick tips for checking the alternator? (Closest dealer is now 100 miles away)
If your battery is not in good shape you will get unreliable and likely false results from any test you might perform. The test is simple, hook up a volt meter to the battery terminals, start the bike and if you don't see 13.5 to 14 volts the alternator needs to be bench tested. But likely it is toast. Even a fully charged battery should take 13.5 volts, you may have to rev the engine some, but not much. My system shows 13.8, 13.9 volts on the dash at almost all times.
Nick Horsley
Just got it firing!
Guys ..I need some help. I did exactly what the tech bulletin said, however I was too hasty and mistakenly misread the cutting the (top) wire on the alt plug and cut both wires (like a idiot). I need to reattach the lower wire, but both wires are the same color...any recommendations on how to identify the correct wire to reattach?
Oh, bummer. I don't know how you'll figure that one out. Maybe line the cut wires up and see which one looks like it was connected to the bottom connector. Perhaps one wire was snipped a little shorter than the other? Or maybe they were cut at slightly different angles?
Once you do reattach one of the wires, navigate to the speedometer display for voltage with the left handlebar multi-select switch, start it up and if you don't see 13.6-14 volts shut the engine off and connect the other wire; test again. This may be risky, but if you only run the engine for a very brief time you might be OK.
Good luck Nick.
Nick Horsley
Just got it firing!
Right..... I have identified which green wire of the two goes where...(downloaded wiring diagram and used continuity meter to find which wire goes to auxiliary fuses #62 (on the wiring diagram)
The other green wire goes to 13, 19,3,4,5,6,1 & 63 (on the wiring diagram).
I am guessing the wire connected to the #62 needs cutting as the other wire is connected to too many functions.
Does anyone have experience with this?
....... scrap that idea.... tested both wires....they both have continuity to position 1 on #62. Also if I put the continuity meter on the 2 wires (where I cut them at the alternator) they also show continuity... I think I'm over my head!
Last edited:
Nick, just pull the black plastic connector off the alternator, now that the wires have been cut, you'll have it in your hand.
Go to your bench with good strong lighting. Using an ice pick, or very small flat bladed screw driver, or better yet, a GM WeatherPack tool (available at your favorite Auto Parts Store), release the clip holding the wire connector in the plastic connector. Do this from the back of the connector, the end with the cut wire sticking out of it. Discard the metal connector who's wire you previously cut.
Now solder a new wire flat blade connector (also available at your favorite Auto Parts Store) to the wire you have identified as the correct wire. You may need to extend the wire with a small length of new wire. Be sure to shrink tube protect all of your connections. Shrink tubbing is also available at the Auto Parts Store.
Now press the new connector, after verifying that is fits the alternator spade, into the plastic connector and reconnect.
Once again, be sure to test your handiwork with the on-board voltage display. You are looking for close to 14 volts.
I went to my bike a 2016 Eldorado and inspected it,
the connector had both wires plugged in.
I loosened the tank and with a small block of wood raised the rear of the tank and lifted the front so it sat on the ig switch,
I then unplugged the connector and fed it under the right frame tube and then put the tool into the connector and the wire came out of the housing.
I wrapped the loose wire connector in tape and then plugged the connector with the single wire back into the alternator.
It would be nice to know what the purpose of this mod is for
I started the bike the charging system appears to be working as it should
Just to add to this (old) thread
Here is a picture of the connector plug, notice you have to squeeze it from top and bottom to release the lock to get it out of the socket. I also just used a pick to get the connector out of the plug.
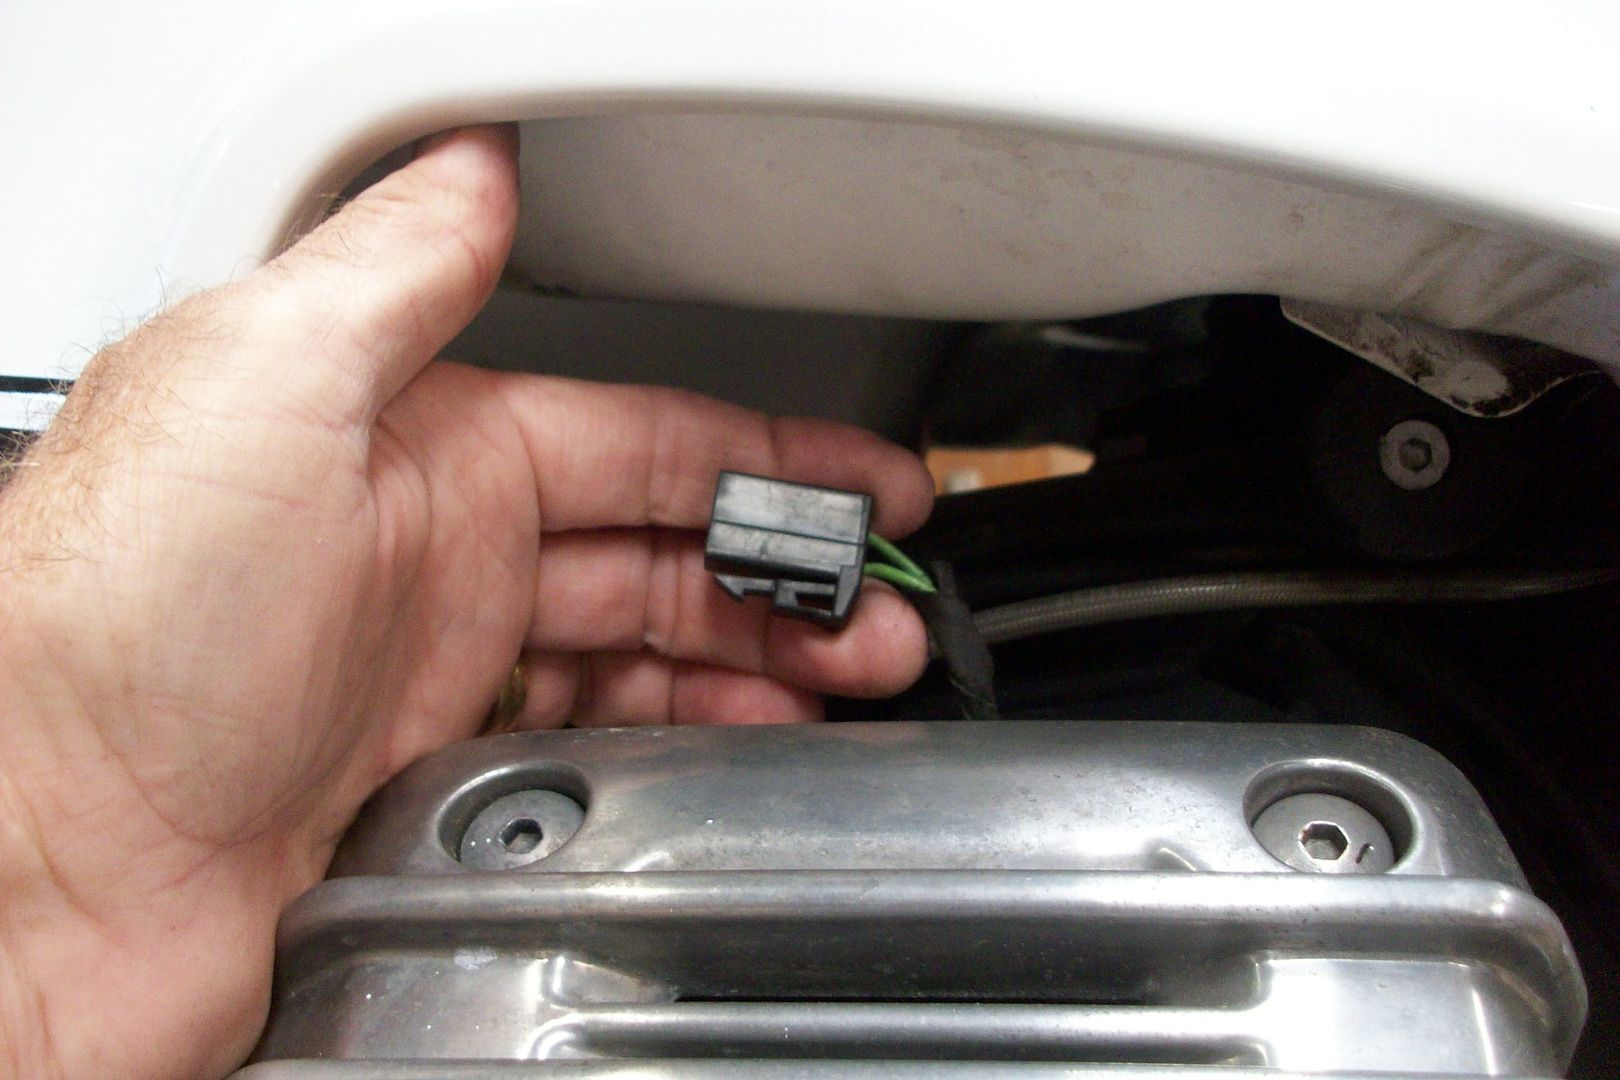
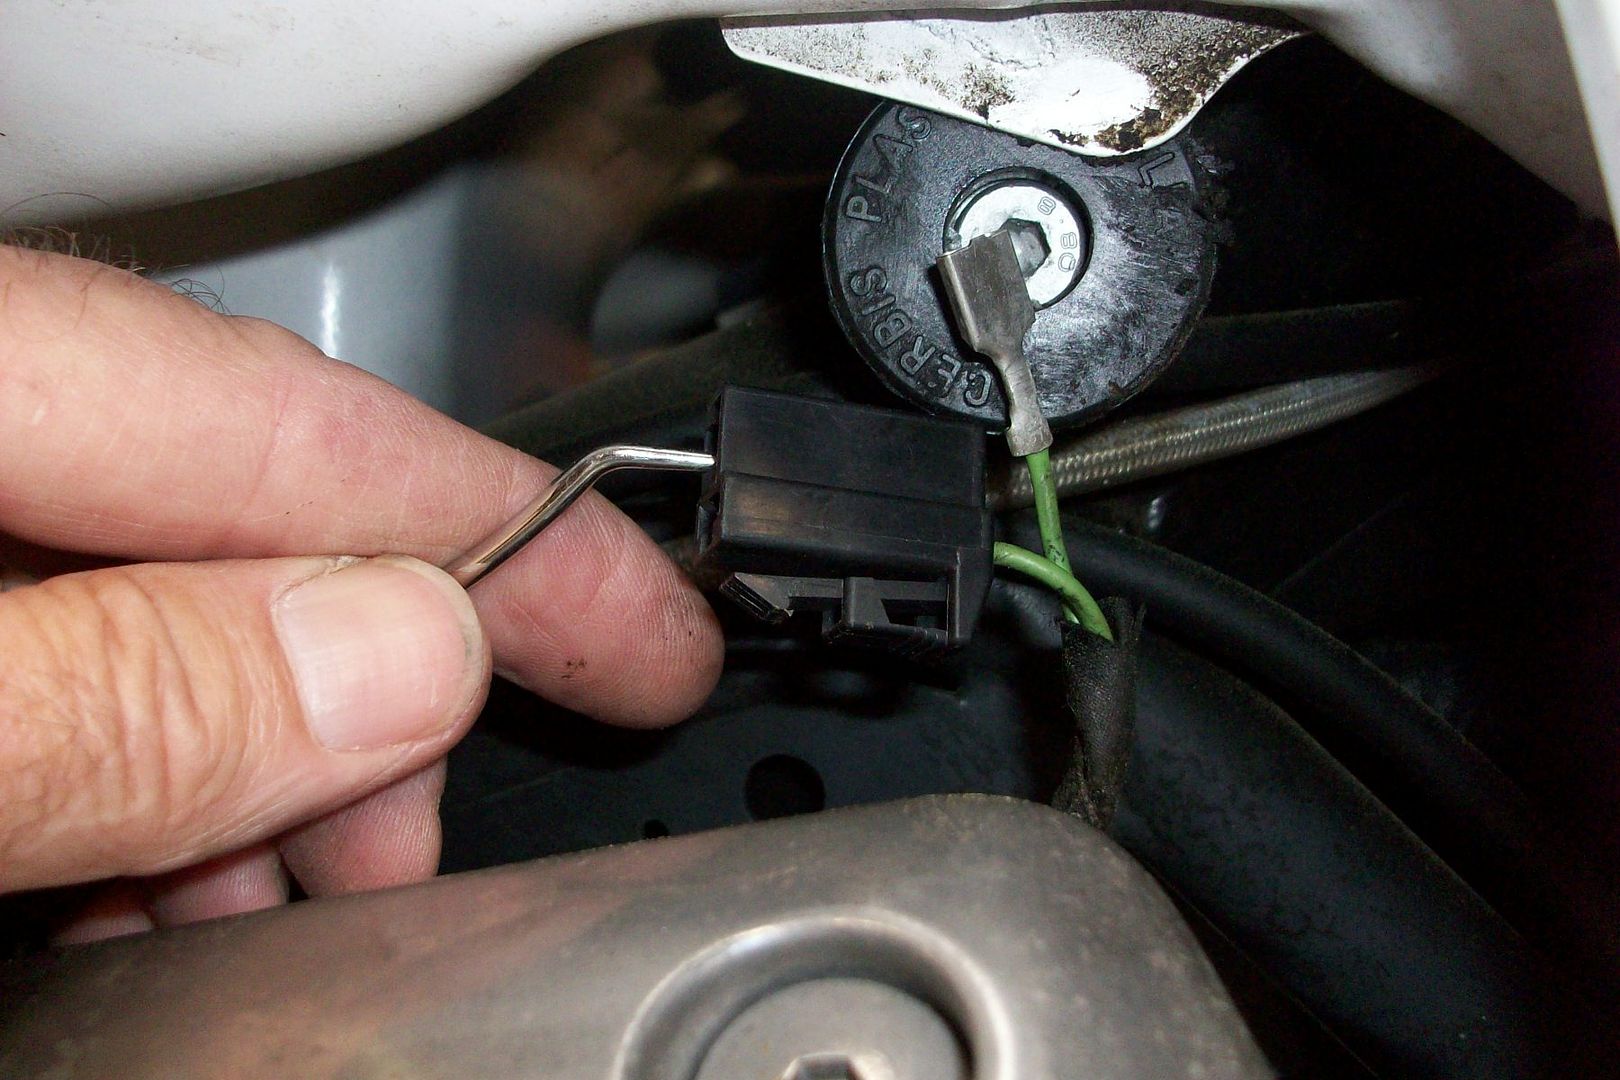
Here is a picture of the connector plug, notice you have to squeeze it from top and bottom to release the lock to get it out of the socket. I also just used a pick to get the connector out of the plug.


Just to add to this (old) thread
Here is a picture of the connector plug, notice you have to squeeze it from top and bottom to release the lock to get it out of the socket. I also just used a pick to get the connector out of the plug.


Adding another note to the old thread. I got a 2014 CA 1400 with 2000 miles on it this last weekend. I sent the VIN to the Motoguzzi shop 2 hours away and asked if it needed some Recall work. They said yes and the only Recall was this charging modification. I read this forum and found the TSB and read their instructions. I opened up the Guzzi and this mod had never been completed. So I took an hour and made the mod. I removed the wire but did not cut it. I shrink wrapped it with connector and taped it and tie wrapped it back. Then inserted the connector with the one wire and was done. So, this person had this machine and never used it in 10 years and never knew there was a recall. Makes me wonder what would have happened if they really used the machine....???
Additional tech note on that Alternator Plug mod. Over the weekend I put on a lot of miles to learn the CA 1400. The first thing I did was to monitor the Batt Voltage. It ranged from 13.9 to 14.1 depending on the accessory’s being use and the DRL and the fog lights, etc. but it was within the range as noted. When I came home I put the bike on the charger and I noticed that it took awhile for the charger to get green.
I made this note because the bike came with a connection to the battery for trickle charge so I wanted to experiment. Then I read the mod after checking with the Guzzi dealer about recalls on this bike. I made the mod and then road about 250 miles yesterday and noticed voltage ranged from 13.9 to 14.3 using different configurations. Then when I got home I put it on the charger and the light turned green almost instantly.
It was a small, uncontrolled test. In some ways given the fact that this bike only has 2000 miles (it is a 2014 CA 1400) on it there is no long term harm. But from my reading of posts in other venue’s some people are not aware of this mod to their bike and that may have caused their electrical/charging issues. ???? Just a thought to consider for some buying older bikes like mine.
Well, not all dealers even read the bulletins. Takes away techs time from working. So, none of the stuff ever gets done.
I can say that I used to cut wires that went out on my watch.
I can say that I used to cut wires that went out on my watch.

