Yo Bretheren and Sisteren,
I am looking for a source for copper head gaskets. Racing a '73 V7 Sport. Tired of puttin brand new gaskets in each time I R&R the heads.
I'd like to get .040" and .035".
Any experiences anyone would like to share?
Tanks,
Tonerjockey
I am looking for a source for copper head gaskets. Racing a '73 V7 Sport. Tired of puttin brand new gaskets in each time I R&R the heads.
I'd like to get .040" and .035".
Any experiences anyone would like to share?
Tanks,
Tonerjockey
 Ill check on the wire thickness and amount to be left proud of the liner and Ill get back to you. The VHT spray was terrific stuff and it never had any issues and never leaked down above 4% with 16:1 and alcohol fuel.
")
 hmy:
hmy: 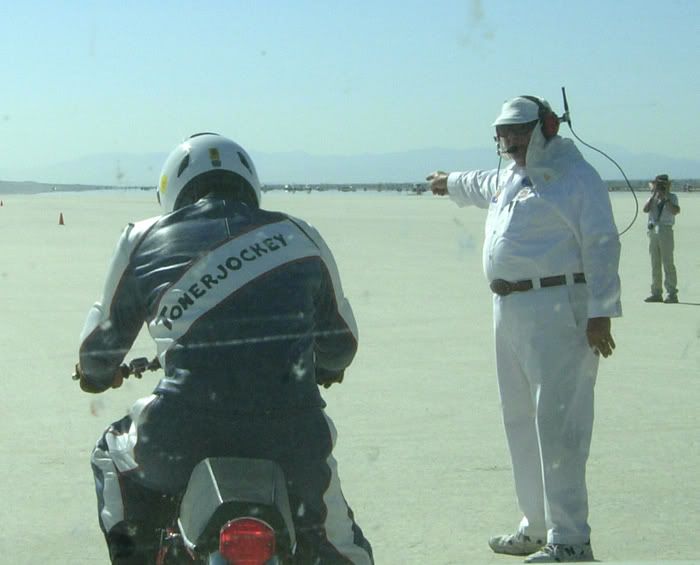
") )
)