pokeyjoe
High Miler
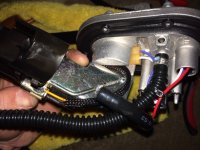
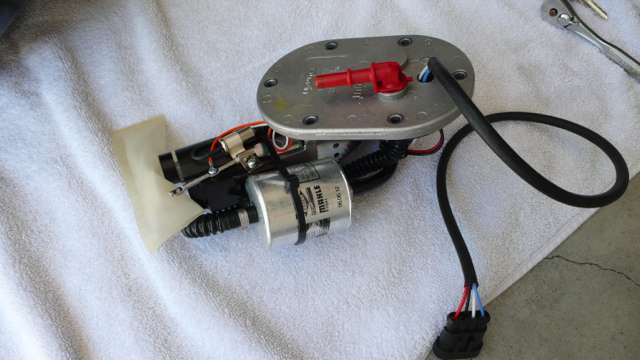
pokeyjoe said:At some point, I may just cut the rod off the sensor, drill a hole in the flange that's left on the sensor, and mount it to the pump.
OK, I wasn't done and I did what I suggested above:
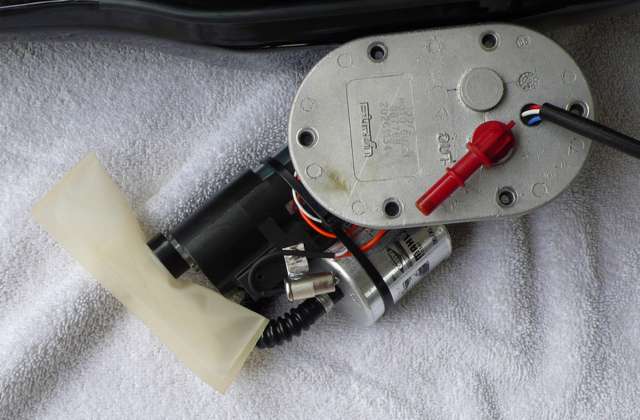
The sensor is tucked under the fuel filter. This keeps me from hitting it when I install the pump (important). When my light comes on now, I can get 4.7 gallons in the tank. I'm not sure what my "reserve" is at that point, but I do know its time to buy gas. Yeah...I'm done.