• Ciao Guest - You’ve landed at the ultimate Guzzi site. NEW FORUM REGISTRATIONS REQUIRE EMAIL ACTIVATION - CHECK YOUR SPAM FOLDER - Use the CONTACT above if you need help. New to the forum? For all new members, we require ONE post in the Introductions section at the bottom, in order to post in most of the other sections. ALWAYS TRY A SEARCH BEFORE STARTING A NEW TOPIC - Most questions you may have, have likely been already answered. DON'T BE A DRIVE-BY POSTER: As a common courtesy, check back in and reply within 24 hours, or your post will be deleted. Note there's decades of heavily experienced Guzzi professionals on this site, all whom happily give endless amounts of their VALUABLE time for free; BE COURTEOUS AND RESPECTFUL!
  • There is ZERO tolerance on personal attacks and ANY HYPERLINKS to PRODUCT(S) or other competing website(s), including personal pages, social media or other Forums. This ALSO INCLUDES ECU DIAGnostic software, questions and mapping. We work very hard to offer commercially supported products and to keep info relevant here. First offense is a note, second is a warning, third time will get you banned from the site. We don't have the time to chase repeat (and ignorant) offenders. This is NOT a social media platform; It's an ad-free, privately funded website, in small help with user donations. Be sure to see the GTM STORE link above; ALL product purchases help support the site, or you can upgrade your Forum profile or DONATE via the link above.
  • Be sure to see the GTM STORE link also above for our 700+ product inventory, including OEM parts and many of our 100% Made-in-SoCal-USA GTM products and engine kits. In SoCal? Click the SERVICE tab above for the best in service, tires, tuning and installation of our products or custom work, and don't miss our GT MotoCycles® (not) art on the BUILDS tab above. WE'RE HERE ONLINE ONLY - NO PHONE CALLS MADE OR RECEIVED - DO NOT EMAIL AND ASK QUESTIONS OR ASK TO CALL YOU.
  • Like the new V100, GuzziTech is full throttle into the future! We're now running on an all-new server and we've updated our Forum software. The visual differences are obvious, but hopefully you'll notice the super-fast speed. If you notice any glitches or have any issues, please post on the Site Support section at the bottom. If you haven't yet, please upgrade your account which is covered in the Site Support section or via the DONATE tab above, which gives you full site access including the DOWNLOADS section. We really appreciate every $ and your support to keep this site ad-free. Create an account, sign in, upgrade your account, and enjoy. See you on the road in 2024.

Removal of Griso ECU

Tilter

Tuned and Synch'ed
Joined
Dec 3, 2010
Messages
53
Location
Erie, PA
Hell,

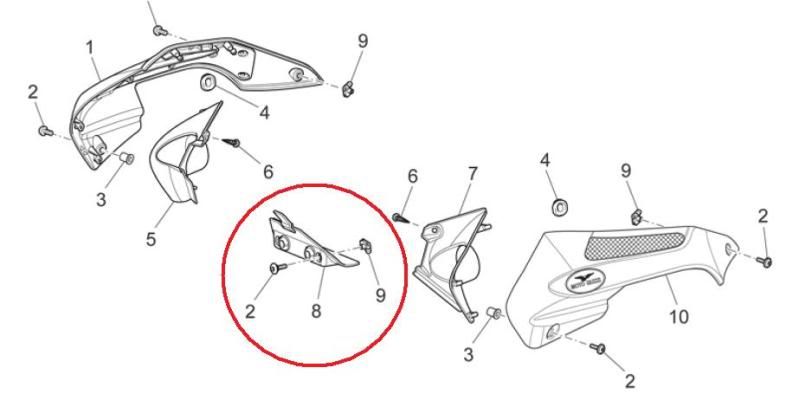
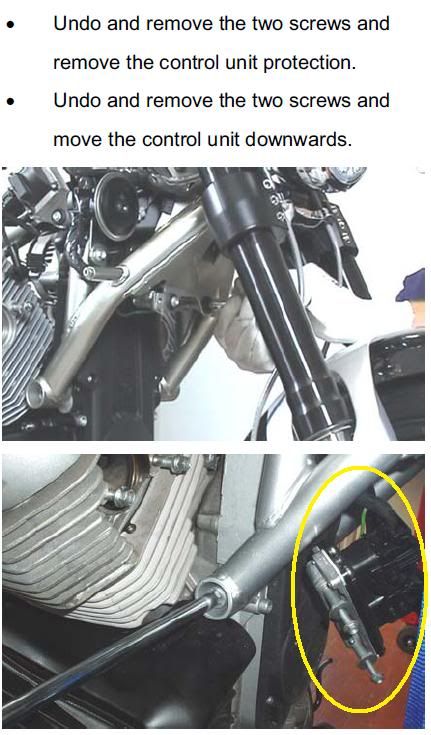
I am pulling the trigger on Todd's ECU reflash but I cant figure out how to remove mine? I searched but only found instuctions for other bikes. Do I need to remove the tank? If anyone has a link to instructions I would appreciate it. Or else detailed instructions if you know them.

Thank you,

Rob
 
Re: Removal of Griso 1100 ECU

Hi Rob, I removed my 2009 G8V’s ECU a while ago. It should be the same as the 1100.

You don’t need to remove the tank, not even the side “wings” of the Griso.

Step 1: remove the two inner hex bolts [2] securing the plastic cover [8] and remove the plastic cover [8]
ECUremoval1.jpg


Step 2: ECU is help by two M6x35 hex bolts, there are quite tight and you need and open wrench to hold the spacers behind the two M6x35 bolts when unfastening it.
ecuremoval.jpg


You are looking at the bottom of the ECU. Take note of the earth wire secured by a M6x20 bolt at the rear of the ECU, you got to remove that too.
ECUremoval2.jpg


Step 3: Remove the two multipins connectors. These are the photos I steal from the Guzzitech forum :cool: 
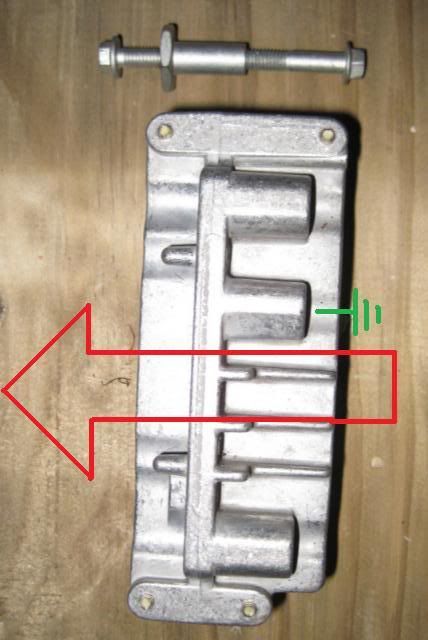
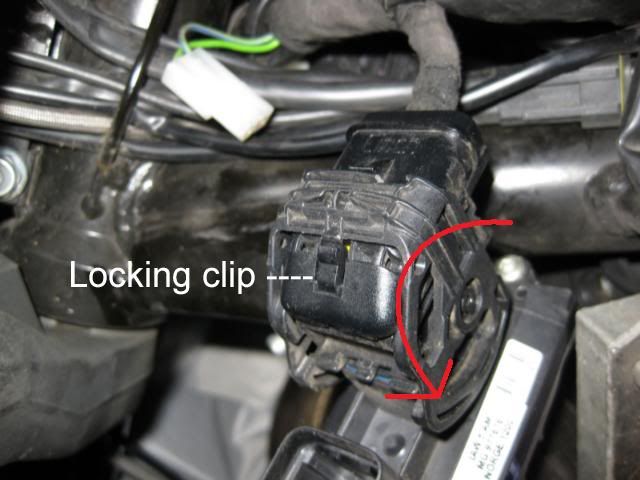
, first photo showing one of the connector in lock position. To unplug the connector, you need to press in the locking tap on the connector and rotate the locking lever, it will cam out and separate the connector from the ECU.
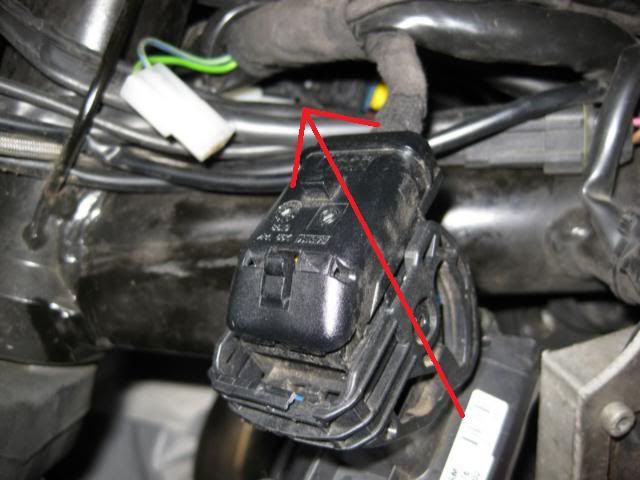
ECUremoval3.jpg


Second photo showing the connector in unlock position, you can separate the connector from the ECU now.
ECUremoval4.jpg


A few points to take note:-
- Those bolts can be quite tight, use six points socket if possible.
- The two multipins connectors are keyed, it won't go in to the wrong slot if you mix them up.

Phang
 
Back
Top