My wife loves to ride with me... she just hates the Griso pillion shape & padding
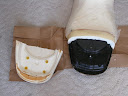
Porterhouse's unfortunate accident sent his seat to Ebay, and spawned my late winter project.
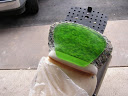
Here it is with the cover pulled off
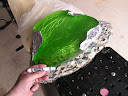
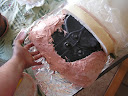
With a sharp utility knife, I sliced loose the rear foam.
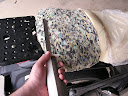
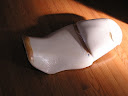
No Wonder its uncomfortable!
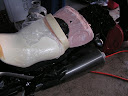
A couple of cold ones and a can of autobody "Bondo" polyester and the seat pan starts to take shape. I used a template based off my saddle area as it seems comfortable to me")
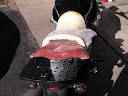
A test fit on the Griso making sure it would latch down and work with the rear carrier rack. Then covered with two layers of fiberglass and another test fit
More to followB)
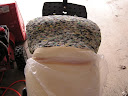
Porterhouse's unfortunate accident sent his seat to Ebay, and spawned my late winter project.
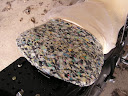
Here it is with the cover pulled off
With a sharp utility knife, I sliced loose the rear foam.
No Wonder its uncomfortable!
A couple of cold ones and a can of autobody "Bondo" polyester and the seat pan starts to take shape. I used a template based off my saddle area as it seems comfortable to me
A test fit on the Griso making sure it would latch down and work with the rear carrier rack. Then covered with two layers of fiberglass and another test fit
More to followB)

")