NOW AVAILABLE;
 gtmotocycles.com
Wiring info:
Purple: ground
Yellow: running & plate
Green or Grey: Stop
Blue: L turn
Red: R turn
Round GT LED:
Blue: Running light
Yellow: Brake light
Black: Ground


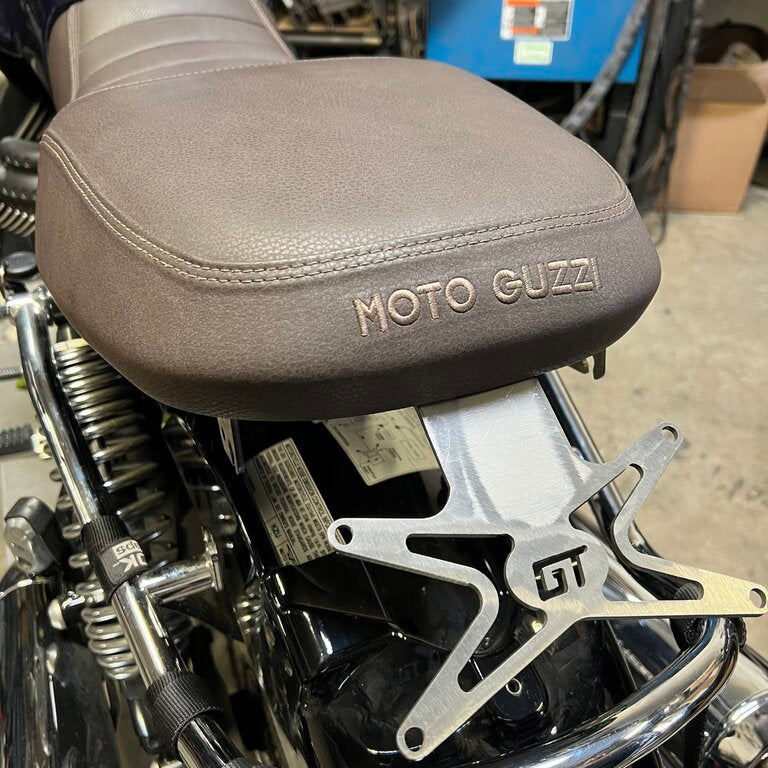
GTM V7-850 v2.0 Fender Eliminator Kit
GTM® V7-850 v2.0 Fender Eliminator Kit (FEK) Our own in house 100% Made-in-SoCal-USA Fender Eliminator Kit (FEK) for your '21+ V7-850 E5. Black powder-coated steel (not shown). Two versions available: v2.0 NEEDS Rizoma IRIDE 3-way LED running/stop/turns (NOT SHOWN) which are additional/extra...
gtmotocycles.com
Wiring info:
Purple: ground
Yellow: running & plate
Green or Grey: Stop
Blue: L turn
Red: R turn
Round GT LED:
Blue: Running light
Yellow: Brake light
Black: Ground
Last edited:


