• Ciao Guest - You’ve landed at the ultimate Guzzi site. NEW FORUM REGISTRATIONS REQUIRE EMAIL ACTIVATION - CHECK YOUR SPAM FOLDER - Use the CONTACT above if you need help. New to the forum? For all new members, we require ONE post in the Introductions section at the bottom, in order to post in most of the other sections. ALWAYS TRY A SEARCH BEFORE STARTING A NEW TOPIC - Most questions you may have, have likely been already answered. DON'T BE A DRIVE-BY POSTER: As a common courtesy, check back in and reply within 24 hours, or your post will be deleted. Note there's decades of heavily experienced Guzzi professionals on this site, all whom happily give endless amounts of their VALUABLE time for free; BE COURTEOUS AND RESPECTFUL!
  • There is ZERO tolerance on personal attacks and ANY HYPERLINKS to PRODUCT(S) or other competing website(s), including personal pages, social media or other Forums. This ALSO INCLUDES ECU DIAGnostic software, questions and mapping. We work very hard to offer commercially supported products and to keep info relevant here. First offense is a note, second is a warning, third time will get you banned from the site. We don't have the time to chase repeat (and ignorant) offenders. This is NOT a social media platform; It's an ad-free, privately funded website, in small help with user donations. Be sure to see the GTM STORE link above; ALL product purchases help support the site, or you can upgrade your Forum profile or DONATE via the link above.
  • Be sure to see the GTM STORE link also above for our 700+ product inventory, including OEM parts and many of our 100% Made-in-SoCal-USA GTM products and engine kits. In SoCal? Click the SERVICE tab above for the best in service, tires, tuning and installation of our products or custom work, and don't miss our GT MotoCycles® (not) art on the BUILDS tab above. WE'RE HERE ONLINE ONLY - NO PHONE CALLS MADE OR RECEIVED - DO NOT EMAIL AND ASK QUESTIONS OR ASK TO CALL YOU.
  • Like the new V100, GuzziTech is full throttle into the future! We're now running on an all-new server and we've updated our Forum software. The visual differences are obvious, but hopefully you'll notice the super-fast speed. If you notice any glitches or have any issues, please post on the Site Support section at the bottom. If you haven't yet, please upgrade your account which is covered in the Site Support section or via the DONATE tab above, which gives you full site access including the DOWNLOADS section. We really appreciate every $ and your support to keep this site ad-free. Create an account, sign in, upgrade your account, and enjoy. See you on the road in 2024.

Another new member...Le Mans IV Reconstruction..

After a long pause, finally, I have time to go back to my bike....

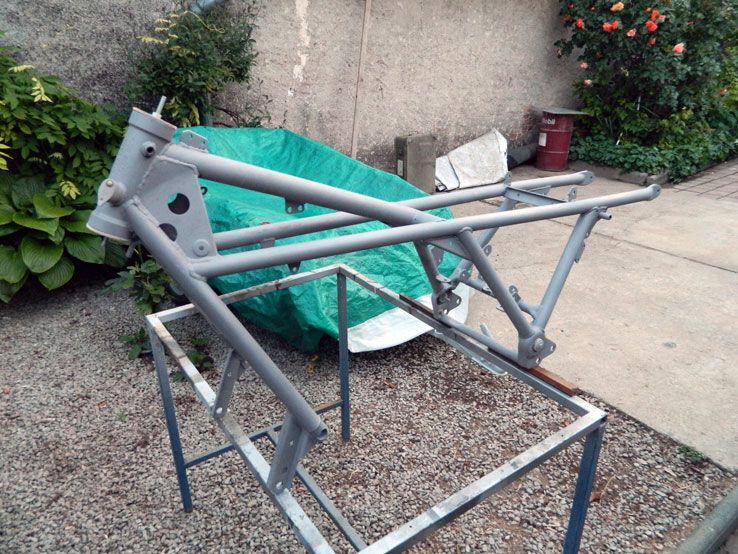
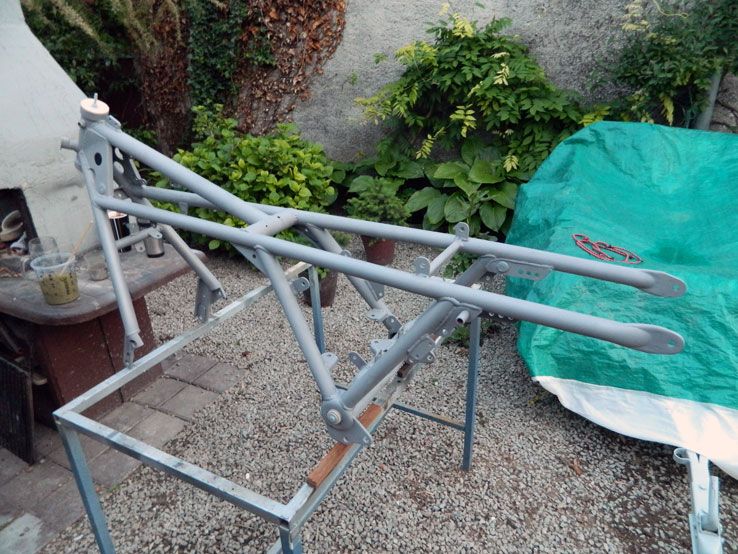
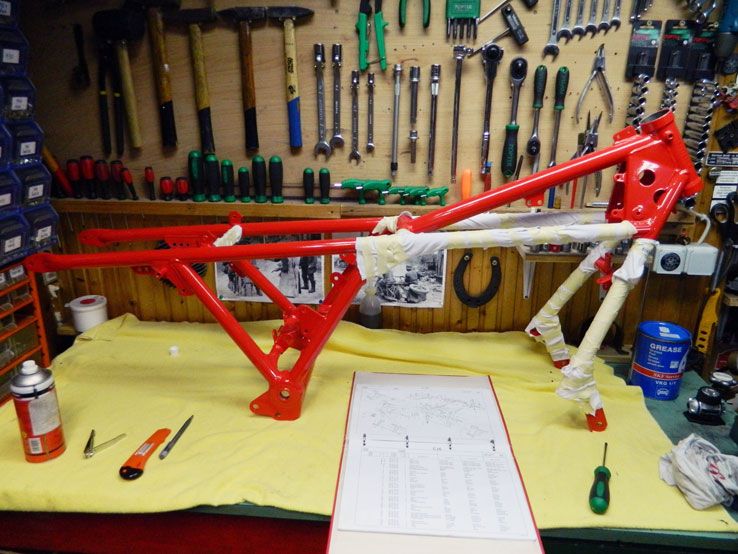
In this long period of time I have done some things: sandblasted and powdercoated the frame and the rest of metal parts, prepare fuel tank for painting.


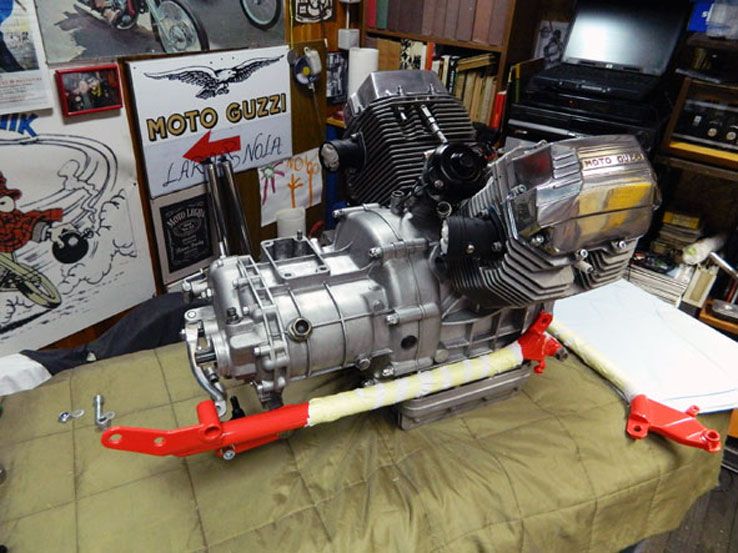
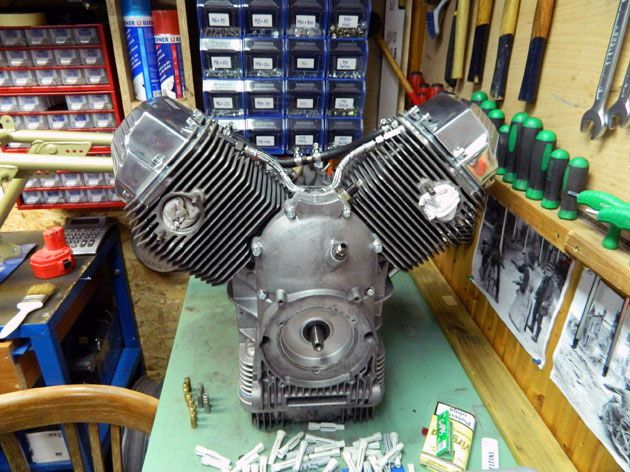
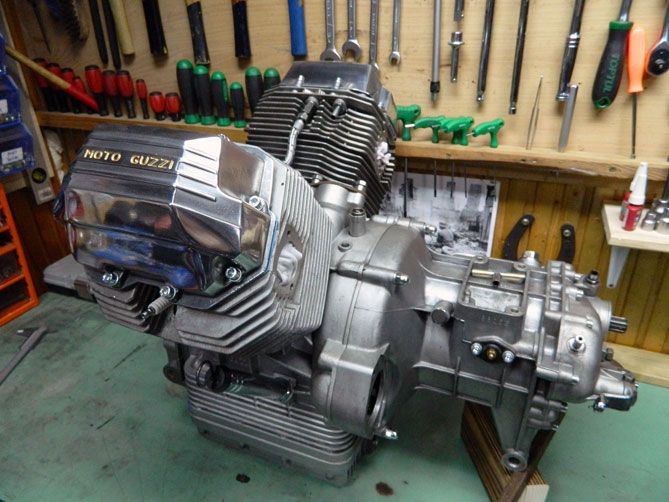
Engine is prepared for the frame:


So far...so good...next month all other parts will be painted, in the meanwhile, I have things to do...put engine in frame, put front and rear fork, and start whit wires....

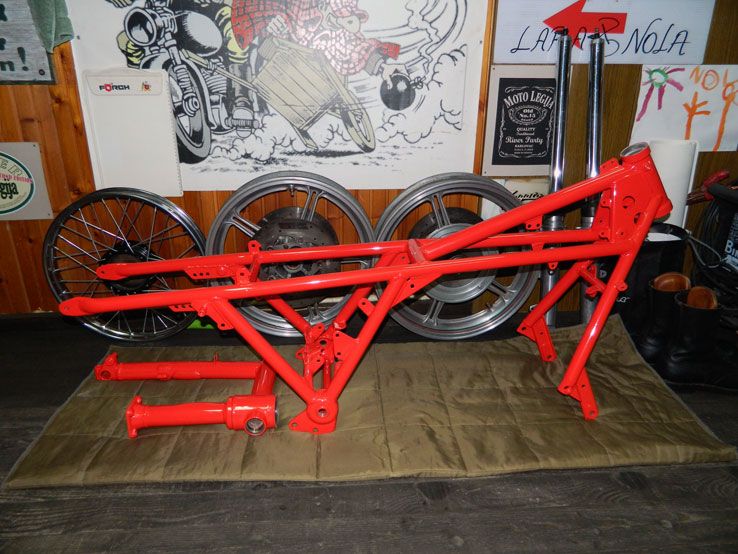
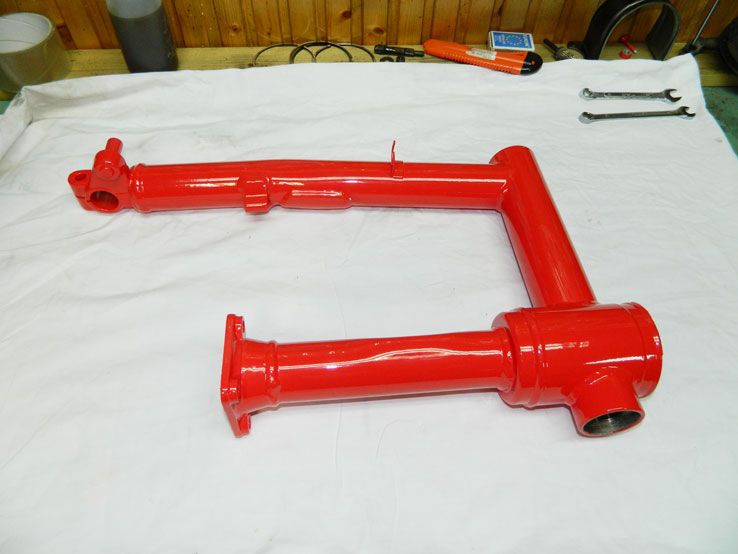
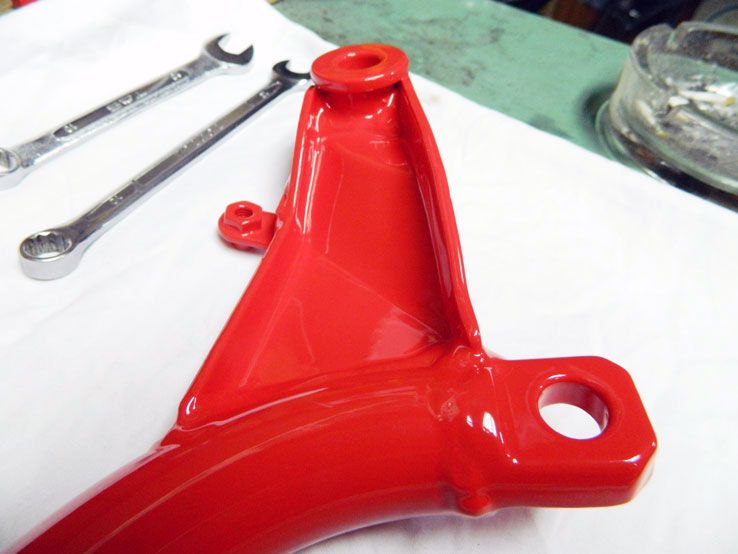
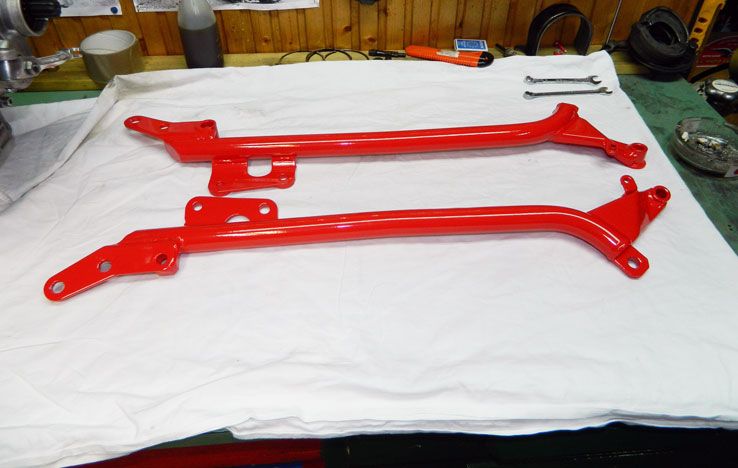
Here is more pictures of frame parts; I'm very satisfied with how the powder coating was done. Much better than usual paint...


Engine and gearbox has been completly rebuild; in engine: new pistons, main bearings, big end bearings, new valves, valve guides, valve springs, timing chain.....in gearbox; all new oil seals and bearings.


Looking good. Just want you to be aware that you will need to grind off the powder coating in a few places to get good electrical system grounds and adding extra ground wires probably wouldn't hurt and may be necessary where you don't want to grind the coating to get a ground point.
 
Here is some more progress; engine is in frame, rear fork is ready for mounting, final drive also. Some smaller parts on the frame (coil holder etc..) are zinc coated. So far, everything is ok and with no problems...hope it will stay that way...


Wow Lemans1000 ,I wish I had the patience to do that with my bike . You're doing an awsome job , better than new from what I can see.
I concurr with JZ regarding the earthing connections to frame points , so often I see pics on this forum where there are multiple terminations to earth , all on top of oneanother and under it all seems to be a layer of paint . Sometimes the earths are connected to a nice clean bracket , which is then insulated from the frame by paint at the fixing point .
Take it from me ( who listened to OJ and JZ ), I had alsorts of mixed electrical problems and was able to solve them all just by cleaning up EARTH CONNECTIONS and having good continuity throughout the bike .
Sure there were also a few wires connected incorrectly inside the alternator cover ,which didnt help , that was enough to trick an electrical apprentice anywhere in the world .
The Lemans V which I've just bought , is about to get a big Earth return conductor installed along the full length of the bike . (When the headlight is on the voltage reads 7, in the voltmeter) . The bike still charges the battery ok , but soon it wont , thats going to be the next thing that shows as a fault if I dont fix it up now .
Godd onya , Great work , keep us posted .
Regards
Supaflee
 
You will find it is easier to install the swing arm and U-joint with the rear drive off. That is a bunch of weight to handle when you are trying to line up the U-joint to the transmission output spline.
 
lemans1000 said:
Hm....didn't think like that. Thanks for the tip.

And yet...another question; what is a proper way to adjust rear fork? How to do it right?


You want an equal amount of swing arm pin exposed on each side of the frame. This is the same for Loop frames also. I'm picky and try to have it within 0.5 mm. I use a verier caliper. to measure the length of exposed pin. If you have a Haynes manual for the older Tonti bikes they explain it well.
 
lemans1000 said:
Unfortunately, I don't have Haynes manual. Is there some link where can I see how to do it right?

With slight pressure on the swing arm bearings to act as pre-load, you want an equal length of the swing arm pin exposed on both sides. It isn't a difficult procedure. BTW, no torque value for bearing pre-load was ever specified. You just do that by feel.
 
Back
Top