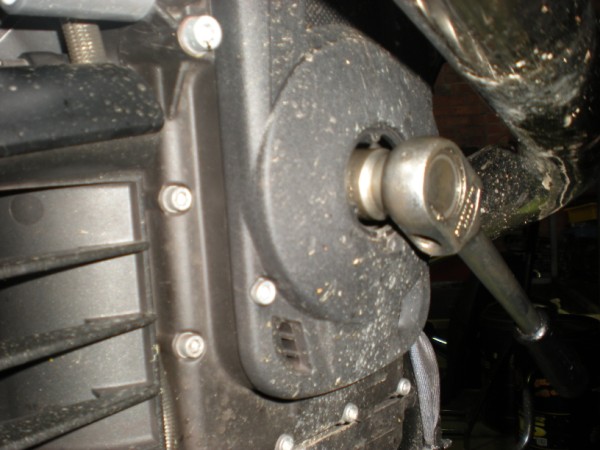
• Ciao Guest - You’ve landed at the ultimate Guzzi site. NEW FORUM REGISTRATIONS REQUIRE EMAIL ACTIVATION - CHECK YOUR SPAM FOLDER - Use the CONTACT above if you need help. New to the forum? For all new members, we require ONE post in the Introductions section at the bottom, in order to post in most of the other sections. ALWAYS TRY A SEARCH BEFORE STARTING A NEW TOPIC - Most questions you may have, have likely been already answered. DON'T BE A DRIVE-BY POSTER: As a common courtesy, check back in and reply within 24 hours, or your post will be deleted. Note there's decades of heavily experienced Guzzi professionals on this site, all whom happily give endless amounts of their VALUABLE time for free; BE COURTEOUS AND RESPECTFUL!
  • There is ZERO tolerance on personal attacks and ANY HYPERLINKS to PRODUCT(S) or other competing website(s), including personal pages, social media or other Forums. This ALSO INCLUDES ECU DIAGnostic software, questions and mapping. We work very hard to offer commercially supported products and to keep info relevant here. First offense is a note, second is a warning, third time will get you banned from the site. We don't have the time to chase repeat (and ignorant) offenders. This is NOT a social media platform; It's an ad-free, privately funded website, in small help with user donations. Be sure to see the GTM STORE link above; ALL product purchases help support the site, or you can upgrade your Forum profile or DONATE via the link above.
  • Be sure to see the GTM STORE link also above for our 700+ product inventory, including OEM parts and many of our 100% Made-in-SoCal-USA GTM products and engine kits. In SoCal? Click the SERVICE tab above for the best in service, tires, tuning and installation of our products or custom work, and don't miss our GT MotoCycles® (not) art on the BUILDS tab above. WE'RE HERE ONLINE ONLY - NO PHONE CALLS MADE OR RECEIVED - DO NOT EMAIL AND ASK QUESTIONS OR ASK TO CALL YOU.
  • Like the new V100, GuzziTech is full throttle into the future! We're now running on an all-new server and we've updated our Forum software. The visual differences are obvious, but hopefully you'll notice the super-fast speed. If you notice any glitches or have any issues, please post on the Site Support section at the bottom. If you haven't yet, please upgrade your account which is covered in the Site Support section or via the DONATE tab above, which gives you full site access including the DOWNLOADS section. We really appreciate every $ and your support to keep this site ad-free. Create an account, sign in, upgrade your account, and enjoy. See you on the road in 2024.

Head off an 8V

Penis Rotor

GT Godfather!
Joined
Oct 28, 2008
Messages
2,833
Location
Bungendore, NSW Australia
4369340772_8cc565f42f_o.jpg


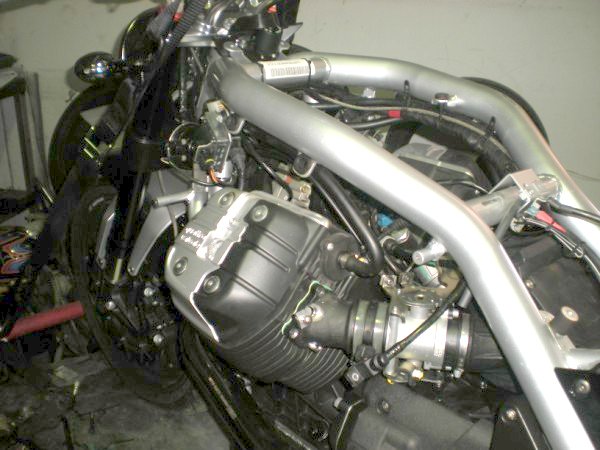
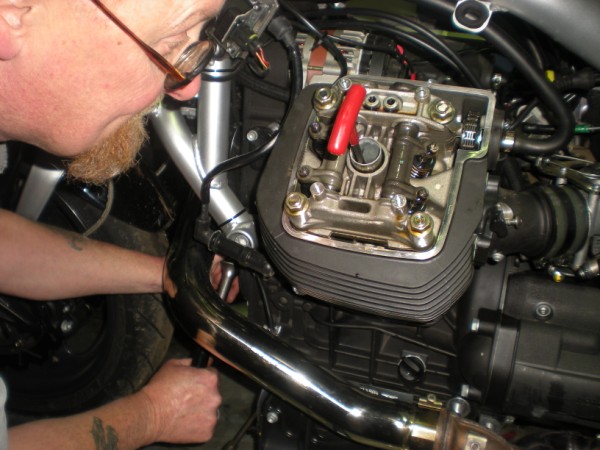
Pull out that 'Jector.

4369340420_7bb9305d99_o.jpg


4369339490_20a7360d3d_o.jpg


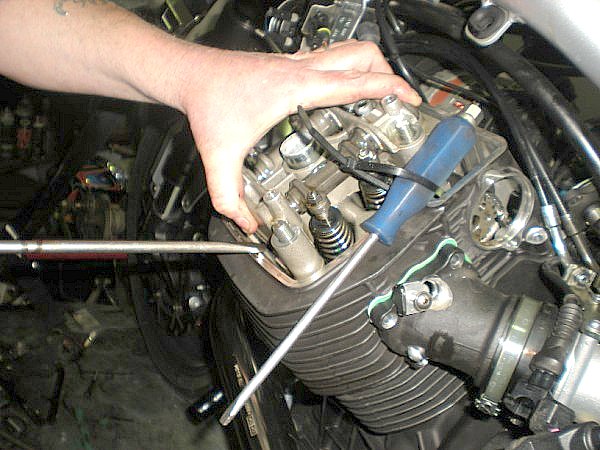
Gerr'off the rocker cover.

4368592737_17f2a26d9d_o.jpg


Pull the pipe

4368592269_985cc9d034_o.jpg


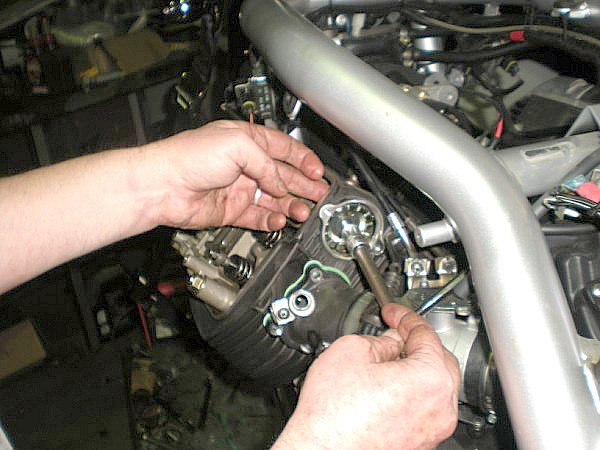
Use a socket on the crank nut to...

4368590455_afba1d1db7_o.jpg


Find TDC compression.

4369339854_d341b0203d_o.jpg


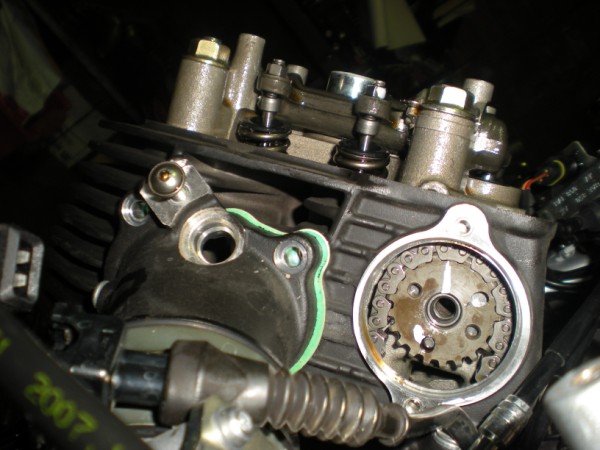
Remove the cam/breather cover and undo the bolt holding the flinger ring and sprocket on to the cam.

4369340066_3b5e8e0b64_o.jpg


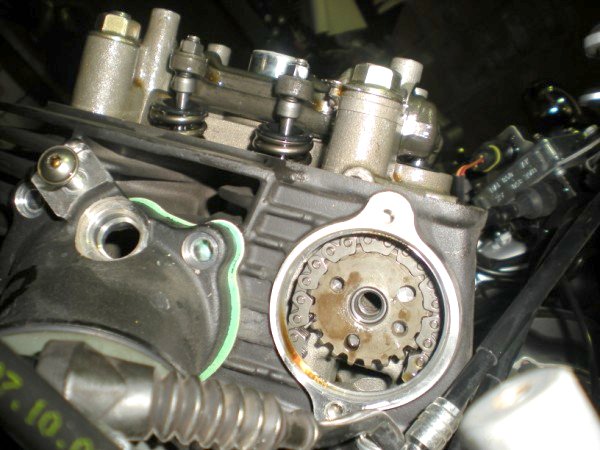
Note the brilliant markings supplied by the factory to enable you to re-time it!

4369341816_8daf3a2c9b_o.jpg


There, fixed it!

4369341594_5c38d392ed_o.jpg


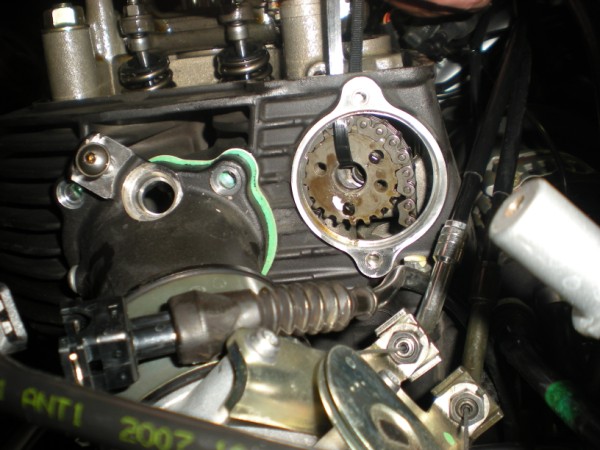
After jamming the tensioner out of the way the s[rocket can be unhooked and hung with a cabletie onto a screwdriver or some such to stop it falling down the chain tunnel.

4369338938_f25f418d06_o.jpg


Like so. Note also that in this pic you can see the allen key stuck in the back of the barrel/tunnel that holds the tension off the cam chain. Also at the back of the tunnel you can see one of the two bolt holes that long bolts go through to clamp the back of the tunnels to the barrel and stop them leaking. It is VITAL that these be removed before...

4369339320_8c91bc8899_o.jpg


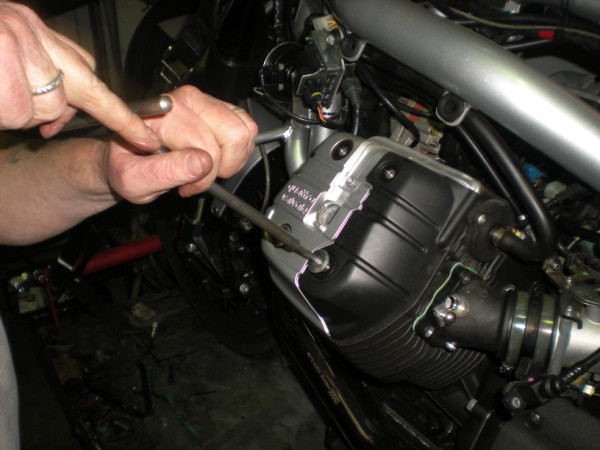
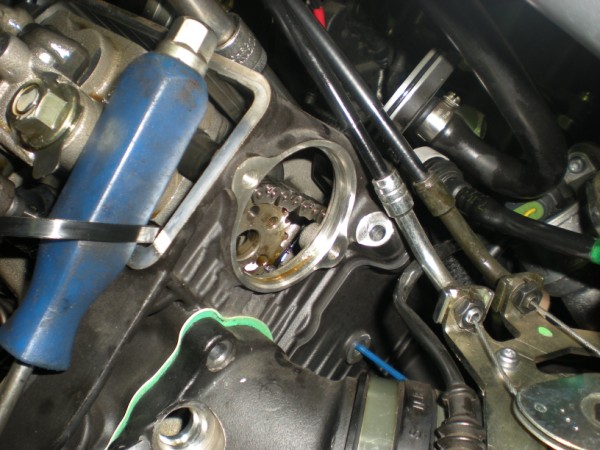
You loosen the 4 nuts that hold the cambox on.

4369342560_0e123ce81d_o.jpg


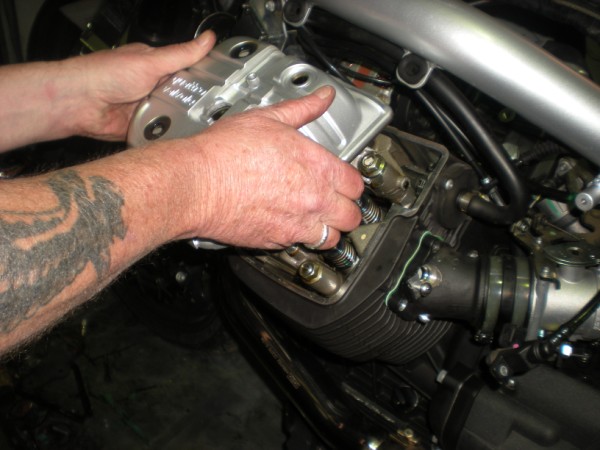
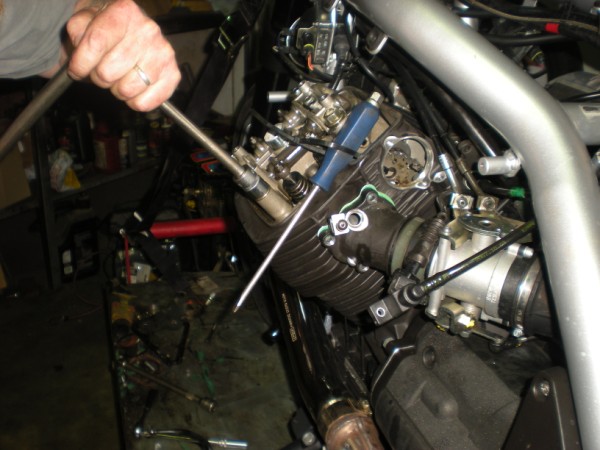
Pry it gently to break the surface tension of the oil and it will just lift off.

4368594593_6d39da996d_o.jpg


Voila.

4368594087_0dccf038c2_o.jpg


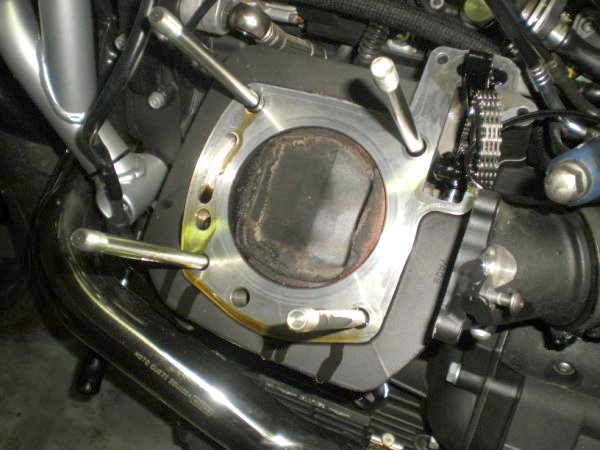
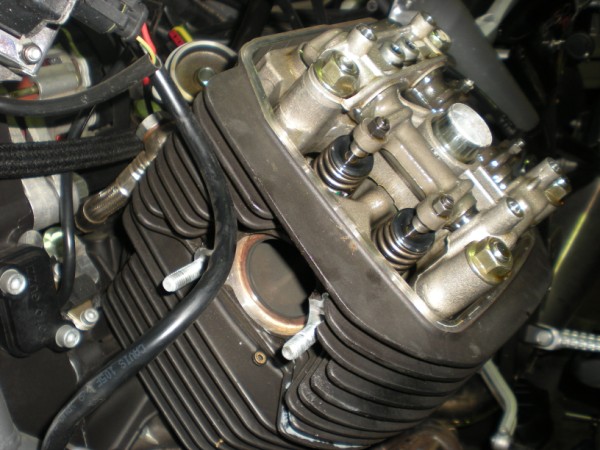
Head can now be yanked off.
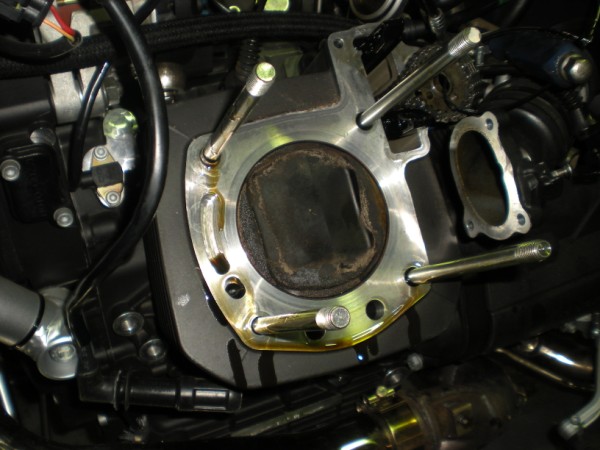
4369342162_2c19783f58_o.jpg


'Nother view.

4369342934_15a3aba0aa_o.jpg


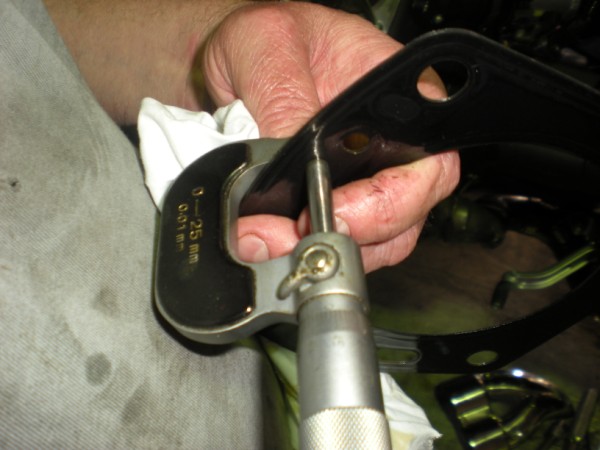
Head gaskets come in three thicknesses. Before reinstalling head check gsket thickness and use the right one.

Reassembley is essentially a reverse of the above proceedure. If fitting a new head make sure you get all of the dowels out of the old one and back where they should be.

It's a nice, easy to work on top end. I like it a lot.

Pete
 
Thanks for posting Pete. I moved it to the General CARC section here, as this should cover every 8V model.
 
Back
Top