Dropinparts
Tuned and Synch'ed
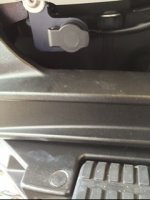
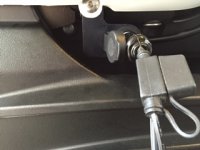
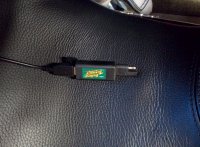
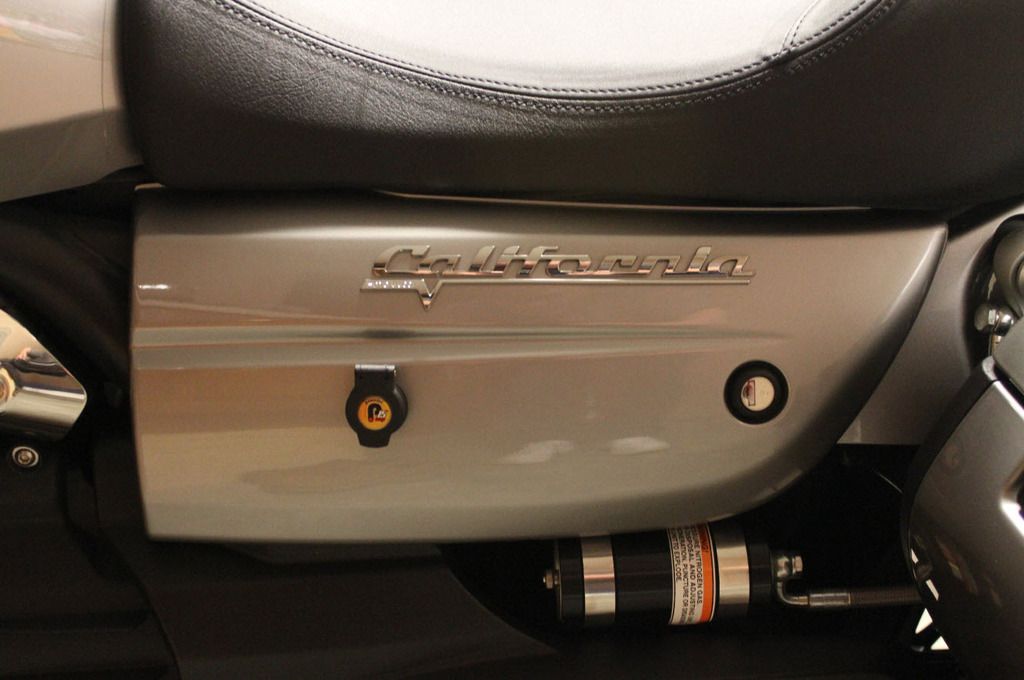
Where I live in North Carolina we get several days each winter that you can ride if you have a little help from heated gear. I just installed a Powerlet plug, as that's what my Gerbings heated jacket liner uses. I also purchased an SAE adapter to use with a Slim air compressor I keep on board.
If you are interested in purchasing these products, here are the links to the products on Powerlets website.
PKT-046-12 Powerlet low profile Socket Kit – 12” Harness
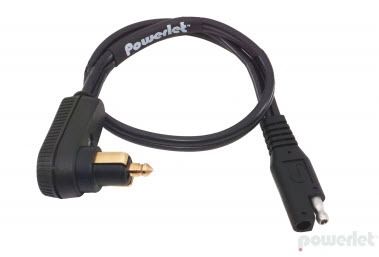
PAC-011-06 Low Profile Plug to SAE
If you are interested in purchasing these products, here are the links to the products on Powerlets website.
PKT-046-12 Powerlet low profile Socket Kit – 12” Harness
PAC-011-06 Low Profile Plug to SAE