Bisbonian
Cruisin' Guzzisti
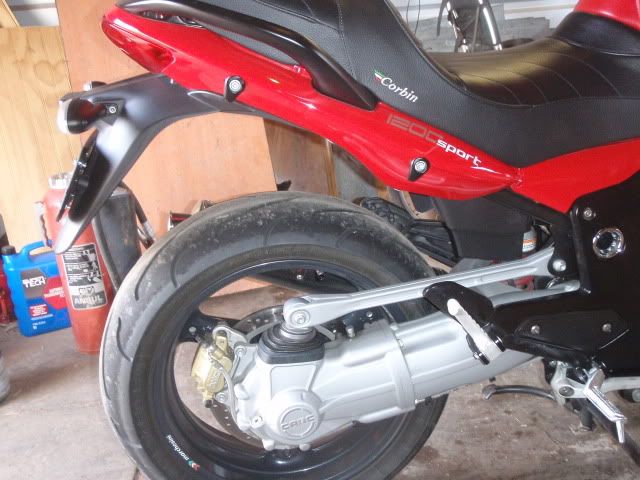
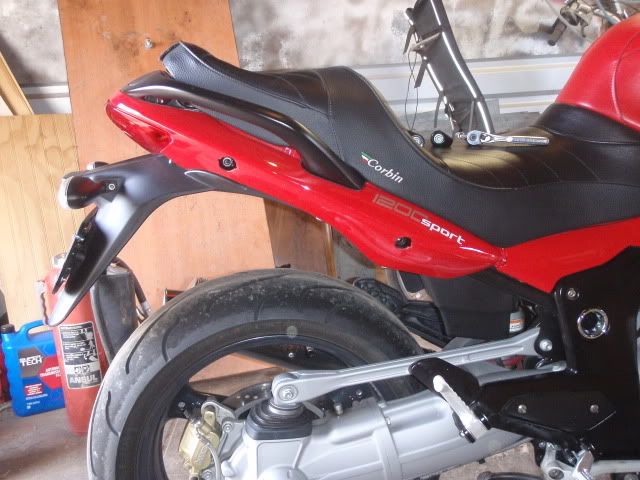
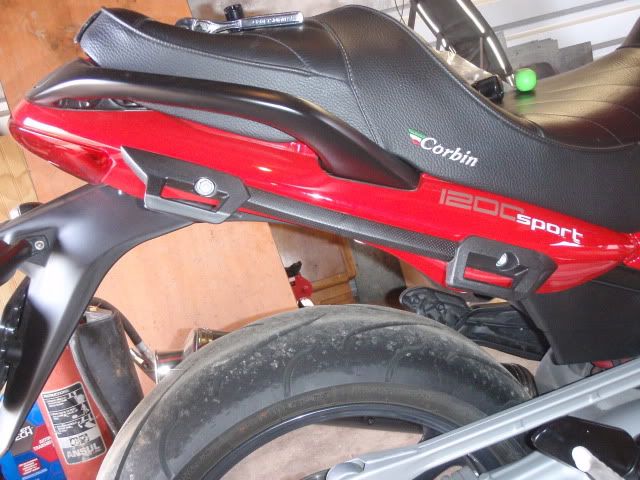
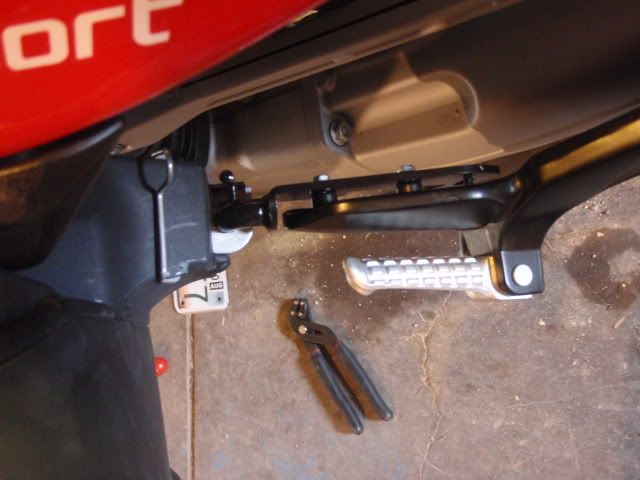
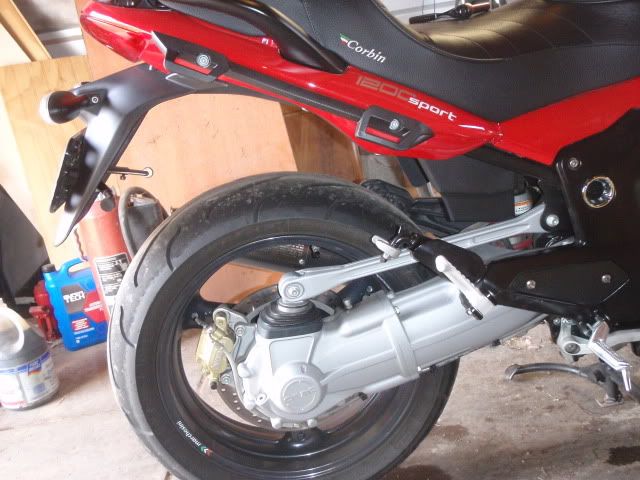
Here's the bike as it sits before we start. This is for one side but it goes without saying that the steps are the same for the other side.
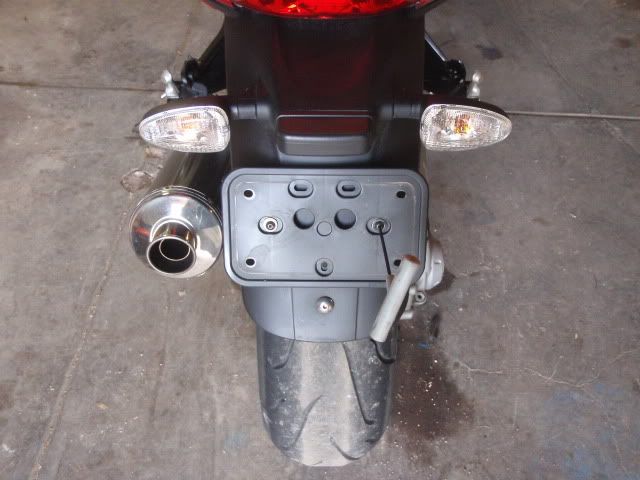
The first step is to remove the 2 bungee hooks.
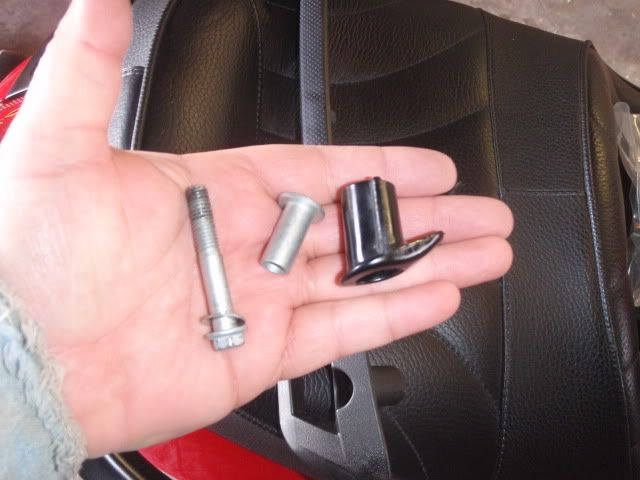
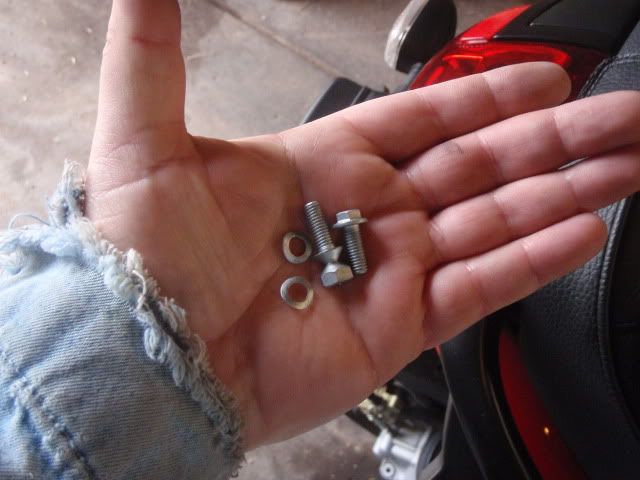
Remove the bolt and the spacer from the bungee hooks, I needed to use a screwdriver to push the spacer out as it was quite tight.
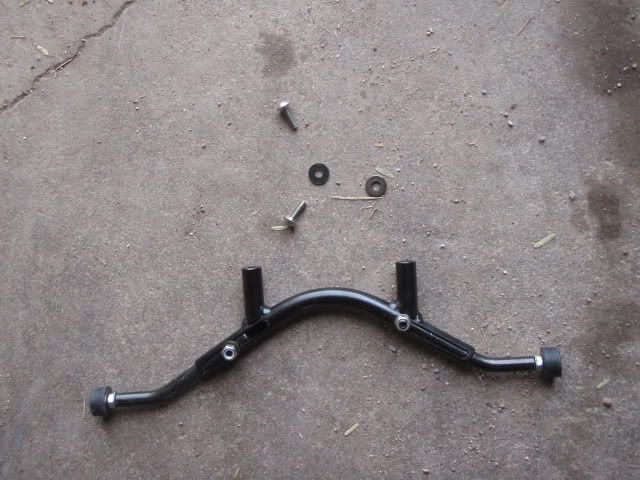
Now you need to prep the brackets that will hold the top of the bags in place. You'll see that there are 3 little posts on the inside of the bracket, the little rubber caps go on these posts to help insulate the brackets from the bodywork; you have 6 rubber caps, 3 to each side, if you look closely you can see I have the center one installed with the caps on either end positioned about where the posts are on the bracket.
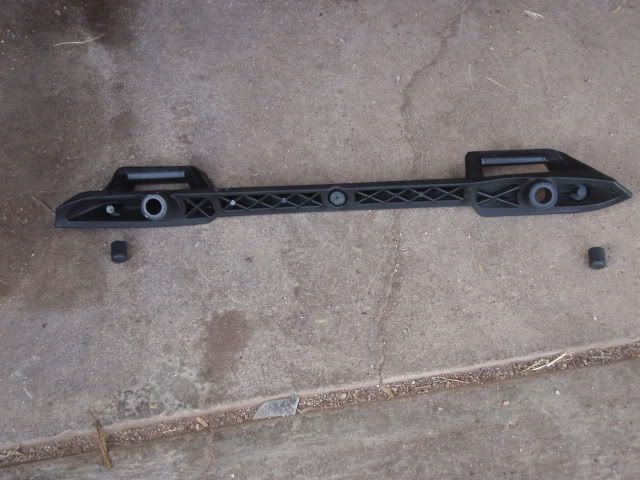
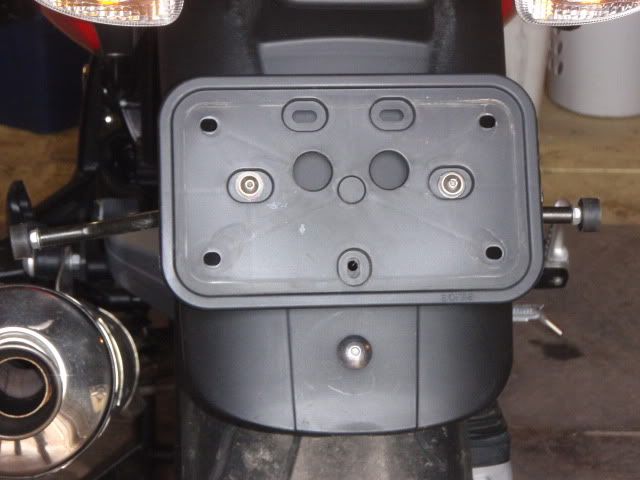
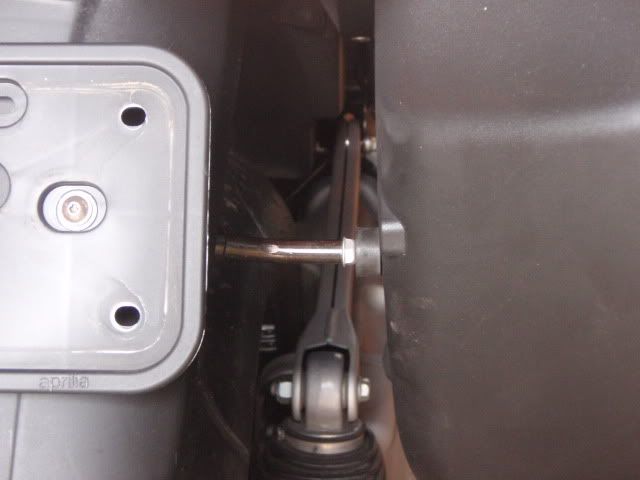
Insert the spacers from the bungee hooks into the holes in the brackets in the same manner which you took them out, they slide right in with no sort of force necessary. Once you try to install the brackets it is obvious which side goes where. I put a bit of loctite on the bolts and tightened them up.
The first step is to remove the 2 bungee hooks.
Remove the bolt and the spacer from the bungee hooks, I needed to use a screwdriver to push the spacer out as it was quite tight.
Now you need to prep the brackets that will hold the top of the bags in place. You'll see that there are 3 little posts on the inside of the bracket, the little rubber caps go on these posts to help insulate the brackets from the bodywork; you have 6 rubber caps, 3 to each side, if you look closely you can see I have the center one installed with the caps on either end positioned about where the posts are on the bracket.
Insert the spacers from the bungee hooks into the holes in the brackets in the same manner which you took them out, they slide right in with no sort of force necessary. Once you try to install the brackets it is obvious which side goes where. I put a bit of loctite on the bolts and tightened them up.


") -- I may rattle can it blue as it's not worth the co$$$$t to have a shop do it.
-- I may rattle can it blue as it's not worth the co$$$$t to have a shop do it.