zoom zoom
Tuned and Synch'ed
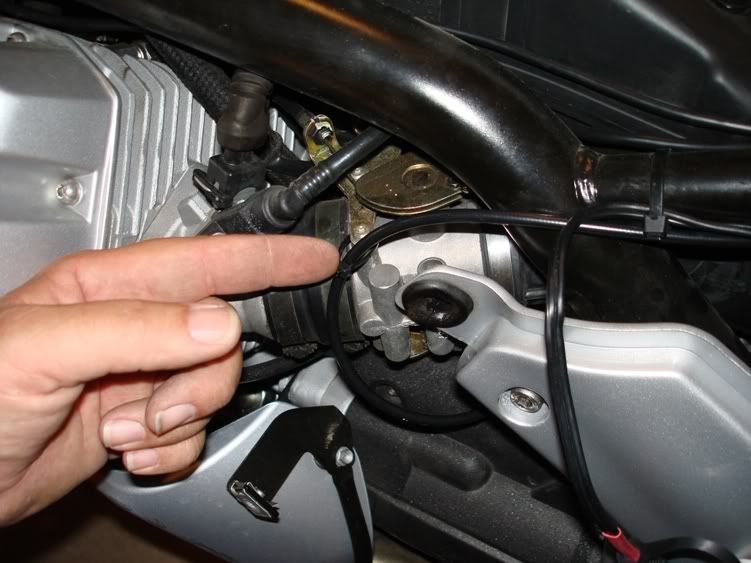
In our last installment, we finalized the mounting and cable routing of the cruise servo. Also, it was attached to the throttle linkage. One final note here. This pic depicts what I did to hold the cable in so that the trim will conceal it when complete. I fitted the ty-rap through and left it loose. Just enough to hold the cable back. Finger points at ty-rap.
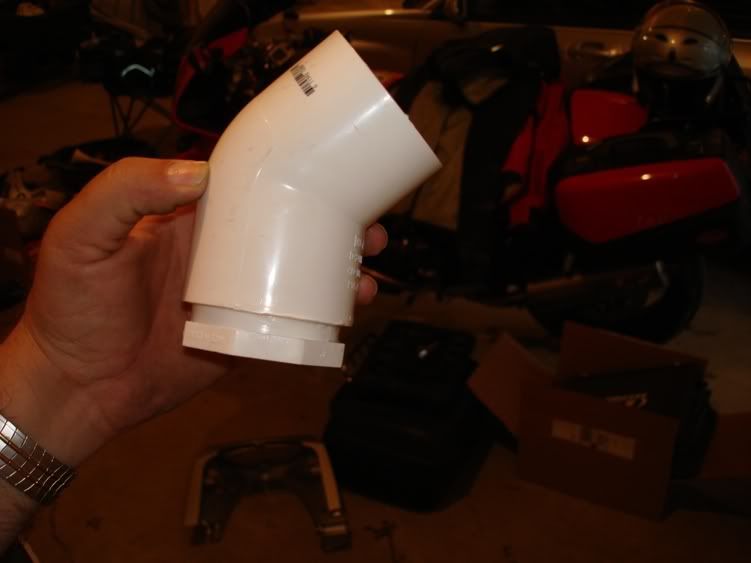
A stop at the hardware store at lunch netted the pvc pieces as well as the brass fitting I put into one end cap.
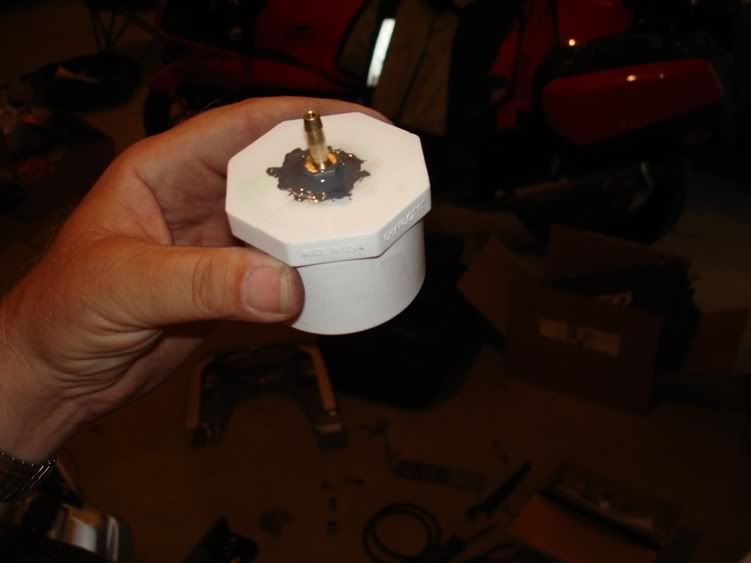
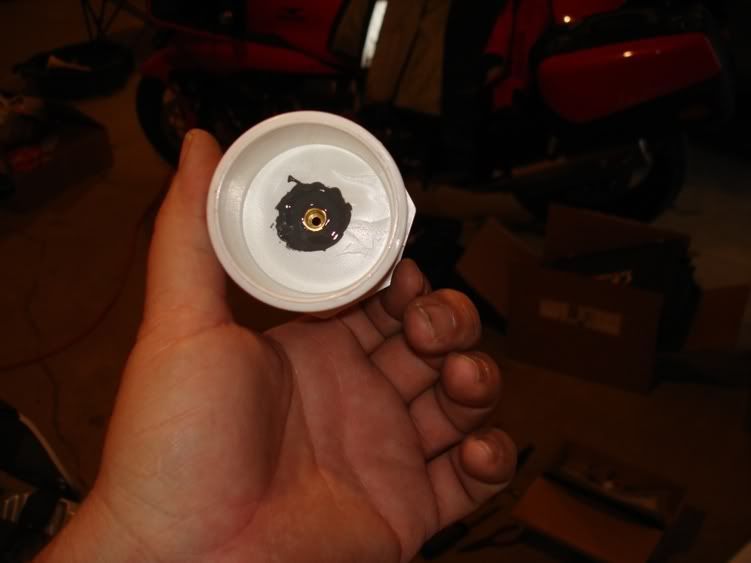
After I drilled one end piece for the fitting I installed it into the cap. it went in very tight and probably was sealed up as good as it could possibly be, but I put JB Weld around the top and botton as well. These next two pics show that.
This last photo shows where I have decided it will live, at least for now. It wouldn't be too much trouble to relocate and redesign it if needed.
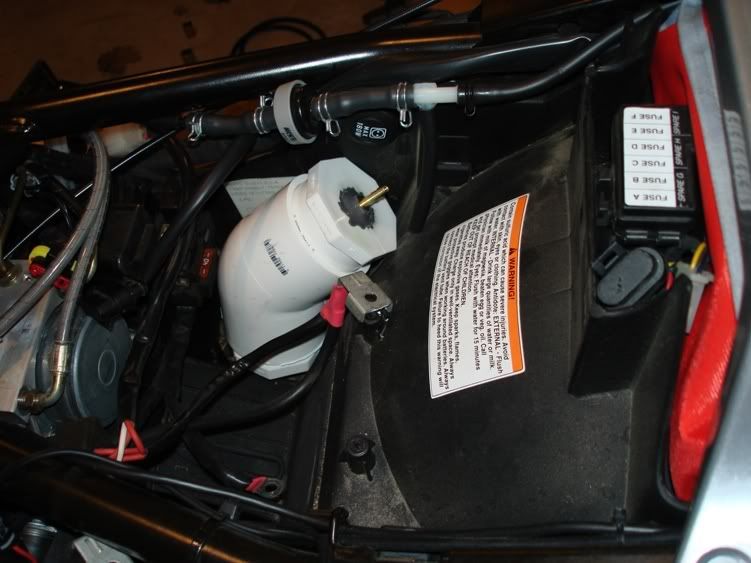
Right above the can, you can see the one way check valve. From the T fitting, a hose routes back to the servo. You only really need one fitting into the can. The valve will allow vacuum to build up in the can, helping keep the cruise operation stable on hilly roads. Other than the pvc and some glue, I still have nothing extra invested. I reused the check valve that Guzzi supplied with the evap can, as well as some hose. The original vacuum hose that fed the evap is the supply for the cruise. Not counting the glue, I have about 10 bucks in the pvc. I will cement the pieces permantly together tomorrow, after the JB Weld cures.
Zoom Zoom,
John Henry
A stop at the hardware store at lunch netted the pvc pieces as well as the brass fitting I put into one end cap.
After I drilled one end piece for the fitting I installed it into the cap. it went in very tight and probably was sealed up as good as it could possibly be, but I put JB Weld around the top and botton as well. These next two pics show that.
This last photo shows where I have decided it will live, at least for now. It wouldn't be too much trouble to relocate and redesign it if needed.
Right above the can, you can see the one way check valve. From the T fitting, a hose routes back to the servo. You only really need one fitting into the can. The valve will allow vacuum to build up in the can, helping keep the cruise operation stable on hilly roads. Other than the pvc and some glue, I still have nothing extra invested. I reused the check valve that Guzzi supplied with the evap can, as well as some hose. The original vacuum hose that fed the evap is the supply for the cruise. Not counting the glue, I have about 10 bucks in the pvc. I will cement the pieces permantly together tomorrow, after the JB Weld cures.
Zoom Zoom,
John Henry