• Ciao Guest - You’ve landed at the ultimate Guzzi site. NEW FORUM REGISTRATIONS REQUIRE EMAIL ACTIVATION - CHECK YOUR SPAM FOLDER - Use the CONTACT above if you need help. New to the forum? For all new members, we require ONE post in the Introductions section at the bottom, in order to post in most of the other sections. ALWAYS TRY A SEARCH BEFORE STARTING A NEW TOPIC - Most questions you may have, have likely been already answered. DON'T BE A DRIVE-BY POSTER: As a common courtesy, check back in and reply within 24 hours, or your post will be deleted. Note there's decades of heavily experienced Guzzi professionals on this site, all whom happily give endless amounts of their VALUABLE time for free; BE COURTEOUS AND RESPECTFUL!
  • There is ZERO tolerance on personal attacks and ANY HYPERLINKS to PRODUCT(S) or other competing website(s), including personal pages, social media or other Forums. This ALSO INCLUDES ECU DIAGnostic software, questions and mapping. We work very hard to offer commercially supported products and to keep info relevant here. First offense is a note, second is a warning, third time will get you banned from the site. We don't have the time to chase repeat (and ignorant) offenders. This is NOT a social media platform; It's an ad-free, privately funded website, in small help with user donations. Be sure to see the GTM STORE link above; ALL product purchases help support the site, or you can upgrade your Forum profile or DONATE via the link above.
  • Be sure to see the GTM STORE link also above for our 700+ product inventory, including OEM parts and many of our 100% Made-in-SoCal-USA GTM products and engine kits. In SoCal? Click the SERVICE tab above for the best in service, tires, tuning and installation of our products or custom work, and don't miss our GT MotoCycles® (not) art on the BUILDS tab above. WE'RE HERE ONLINE ONLY - NO PHONE CALLS MADE OR RECEIVED - DO NOT EMAIL AND ASK QUESTIONS OR ASK TO CALL YOU.
  • Like the new V100, GuzziTech is full throttle into the future! We're now running on an all-new server and we've updated our Forum software. The visual differences are obvious, but hopefully you'll notice the super-fast speed. If you notice any glitches or have any issues, please post on the Site Support section at the bottom. If you haven't yet, please upgrade your account which is covered in the Site Support section or via the DONATE tab above, which gives you full site access including the DOWNLOADS section. We really appreciate every $ and your support to keep this site ad-free. Create an account, sign in, upgrade your account, and enjoy. See you on the road in 2024.

Stelvio NTX Wire Abrasion Issue Under The Tank

leafman60

Cruisin' Guzzisti
Joined
Jan 7, 2009
Messages
219
Location
Pensacola, FL
One of the recent recalls of the Stelvio is to install a edge cover over a frame gusset that can cut through a wiring harness and cause problems.

When my '12 Stelvio was taken in for the recall procedures, I was told my bike did not require the frame cover.

With my tank removed to fix my loose motor mounts, I checked the wire abrasion risk of all my under-tank area. Wire abrasion is a serious issue with these bikes. It has stranded me on two occasions already.


This is the view under the tank of the Stelvio NTX.


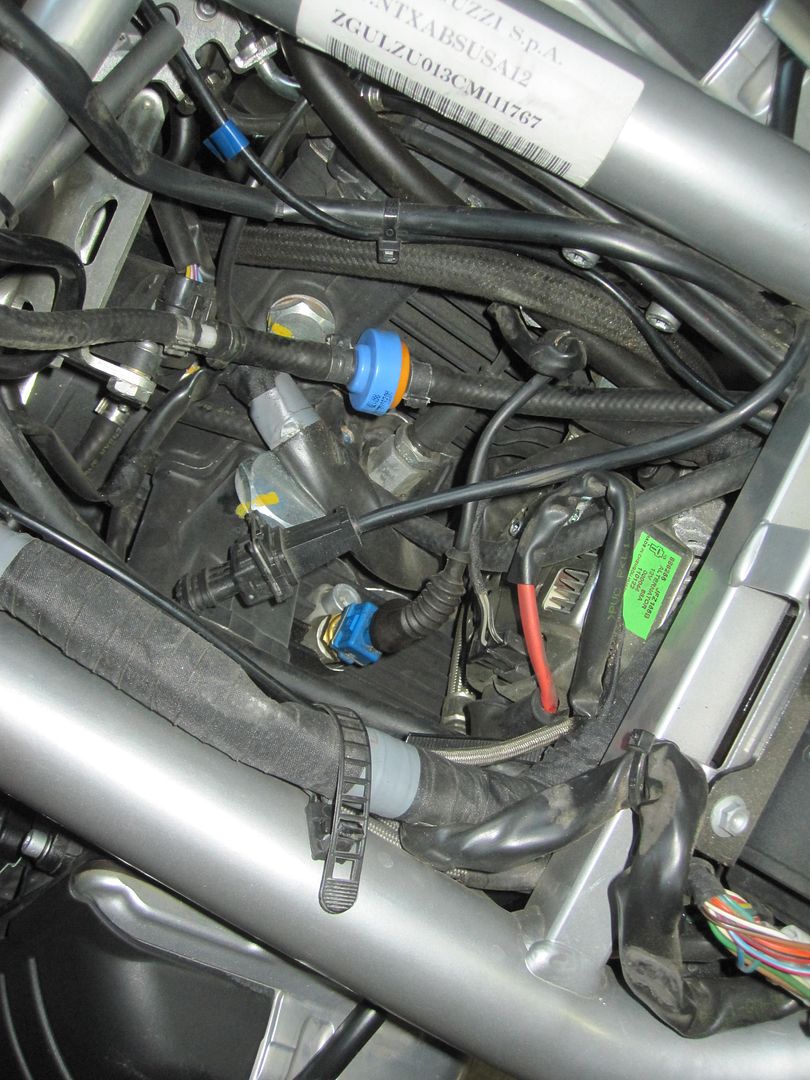
This is the offending gusset on the rider's right side. You can see the evap canister line and the big main wiring harness both passing close to the gusset. All of this should be accessible after only removing the lower turn signal cover instead of the entire tank.


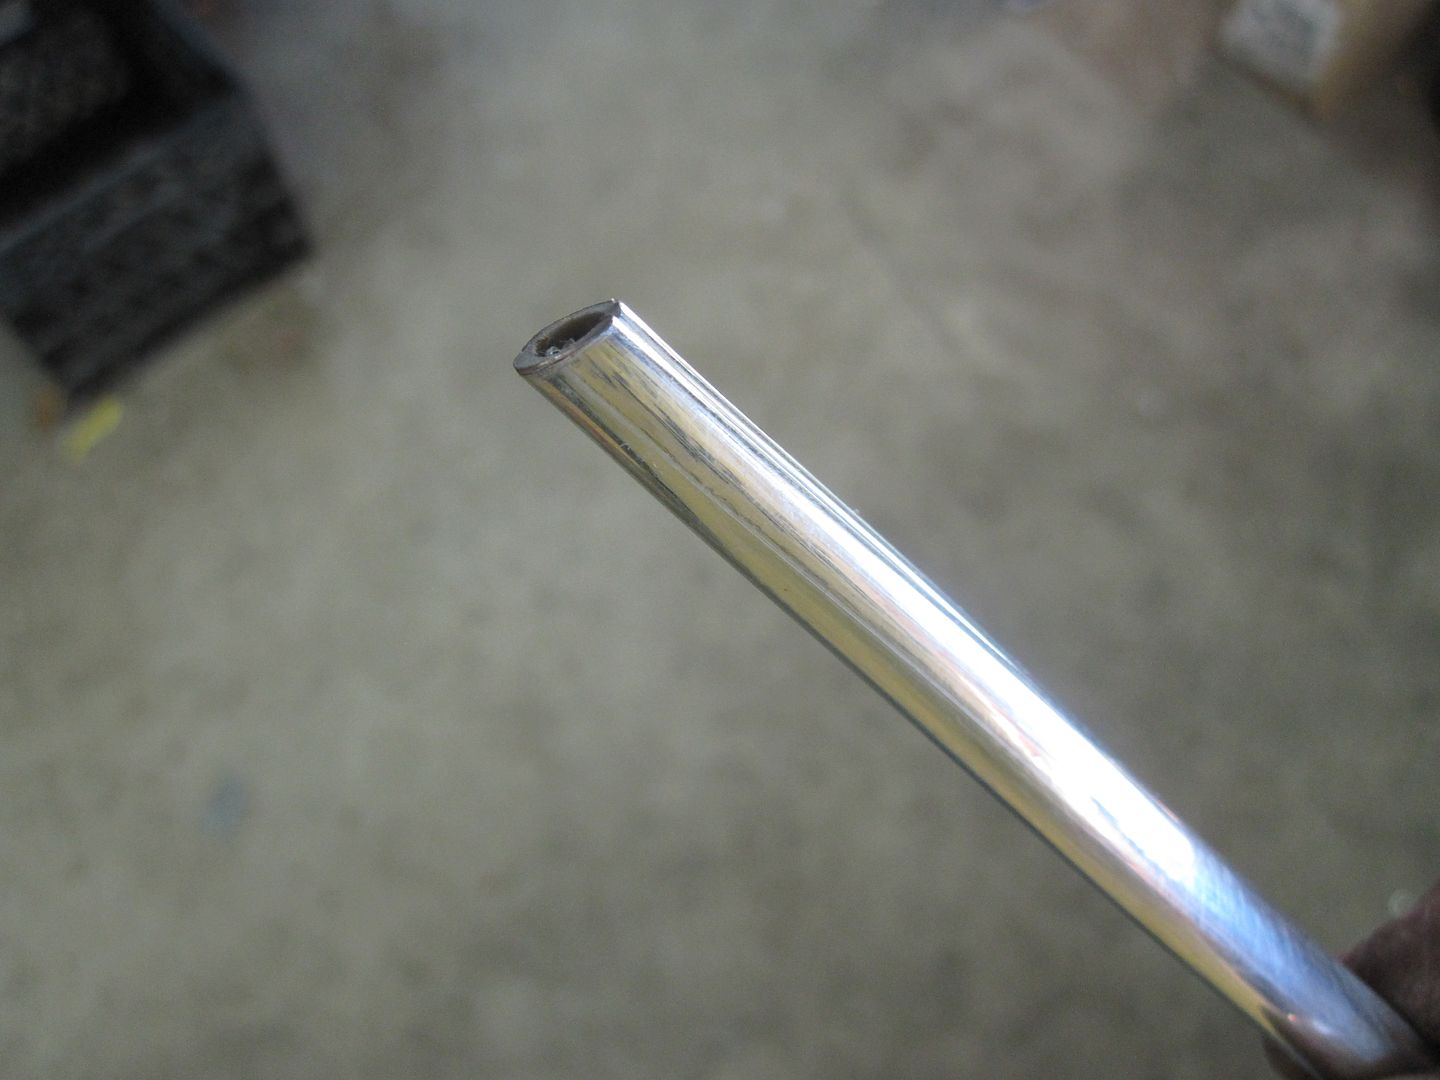
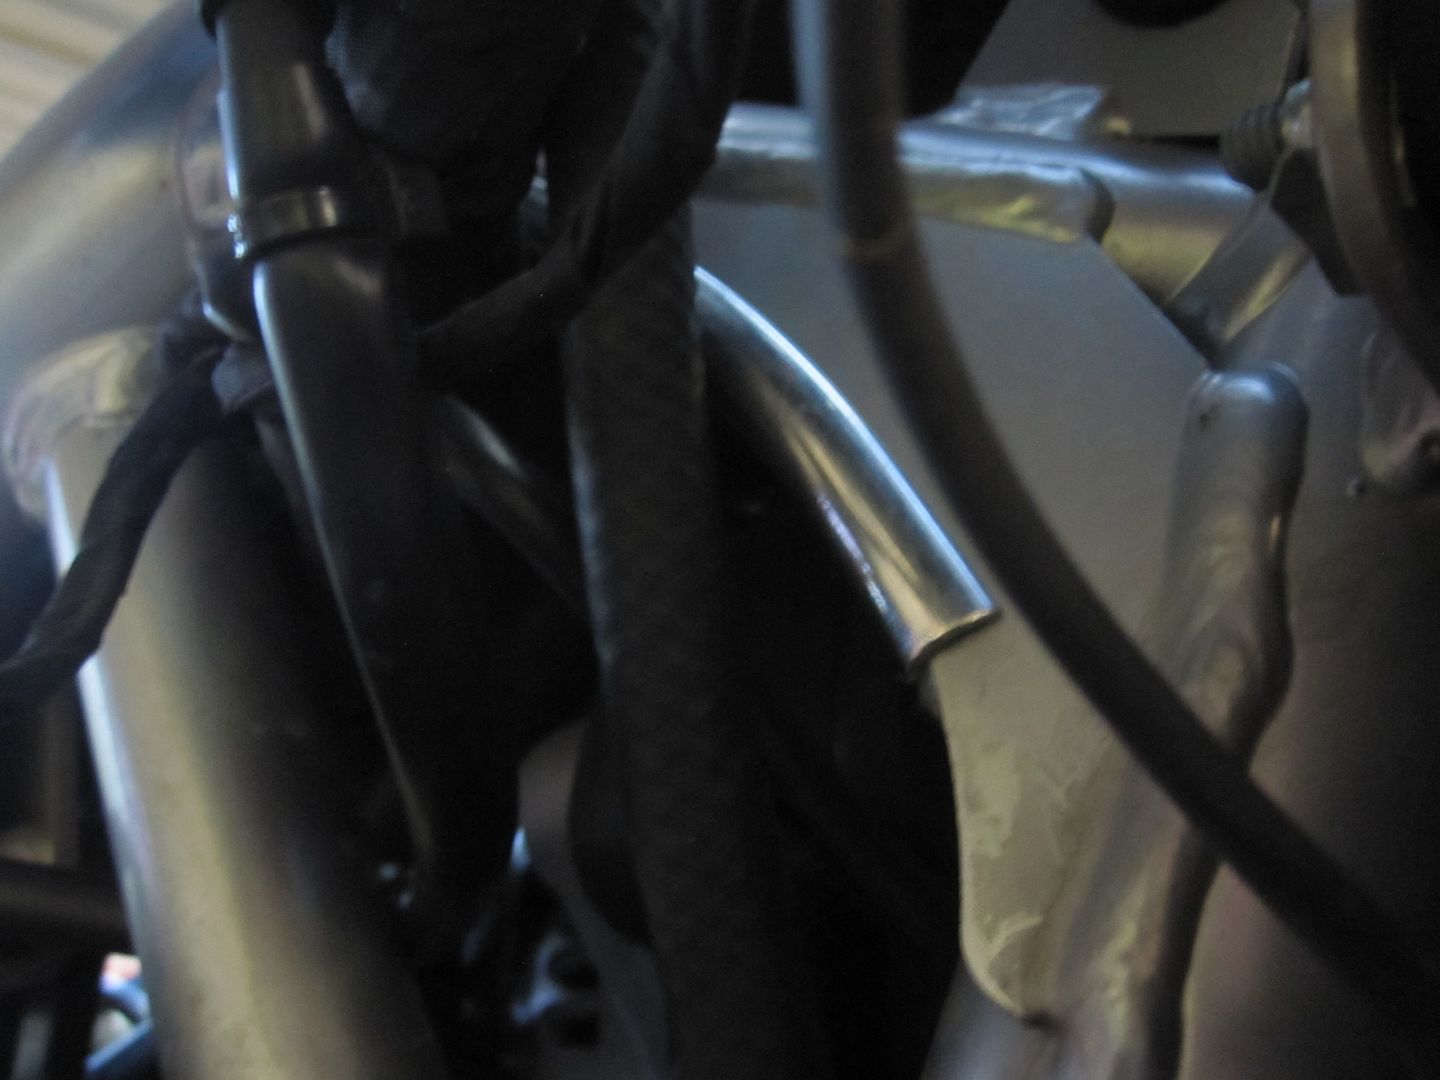
Although my harness did not appear to be rubbing against the gusset, it did make contact close to the upper weld of the gusset. As a precaution, I pulled-out the harness to give it additional slack. I also installed some plastic door-edge protector on the sharp gusset edge. Even larger edge protectors can be made or purchased. The harness now barely touches this edge protector.


Door edge protector.


Edge protector installed on gusset edge.


I made a thorough inspection of the other wiring under the tank. Pay special attention to the coil wiring. I had an issue with one of those wires abrading.

Although I found a few areas that I repositioned and taped, I found no additional places where substantial abrasion was occurring.
 
Leafman,

When I took off my gas tank last year I noticed the throttle(?) cables that parallel the tube frame on the driver's left side (right above the VIN sticker in your first photo) were rubbing against the cap head screws on the motor mount. With under 6k miles one was worn more than I expected. I split some vinyl tubing in a spiral and wrapped each of those cables. That seems to have addressed the problem. Next time the tank comes off I will check and report.

Thanks

Mike R.
 
When I figure out what the trick is to undo the friggin fuel line coupling on the tank (without breaking it), I'll pull the tank off and make sure no wires are rubbing. I'll find those elusive heated grip wires and put fuses on the spot light cables while I'm about it.
Regards
Alan NZ
 
To remove tank fuel line, disconnect electrical plug to tank, Press starter for a few seconds this drops the pressure on the fuel line. Press the out of the coupler and the line will pop off, Good luck
DTC
 
Tank Fuel Coupling disconnect?

Sorry to drag this back up, but I'm stripping my '09 down for some mods/maintenance (and I just like taking things apart :blush:).
Can someone clarify this bit for me . . .
Press the out of the coupler and the line will pop off.

Looks like there's at least one word missing?

I've tried pushing/pulling/squeezing the White Ring/Sleeve on the Coupling, but I don't want to risk breaking it, I've heard/read they're fairly fragile.

Thanks.
 
Tank Fuel Coupling disconnect?

Sorry to drag this back up, but I'm stripping my '09 down for some mods/maintenance (and I just like taking things apart :blush:).
Can someone clarify this bit for me . . .


Looks like there's at least one word missing?

I've tried pushing/pulling/squeezing the White Ring/Sleeve on the Coupling, but I don't want to risk breaking it, I've heard/read they're fairly fragile.

Thanks.


First, disconnect the electrical connector to the fuel pump. Try to start the bike. If it runs a little that is OK. This will relieve pressure in that line. Press the fuel line toward the elbow then pull back on the grey ring. Should come right off without the fuel pressure to hold it.
 
Thanks John.
I'd already stripped a lot of stuff off (Wheels, Brakes (inc ABS Sensors F&R), Battery, Dash Unit, Lights, etc), so couldn't get it to turn over, even when I slaved a Battery in, and reconnected the Dash.
Thought I'd need to reconnect everything, and as the Pipe between the Coupling and the T-Piece was kinked in two places just from lifting the Tank to get to it (although it may have been like that already), I just cut through it.
Don't like that thin Plastic stuff anyway!

Even then, I couldn't persuade it to release.
The Pipe pushed in towards the Elbow freely, but no amount of persuasion would make the Sleeve budge at all.
I had to systematically destroy the damn thing to get it off.

I've since found pictures of damaged ones (they're used on many other Makes/Models), where the locking Tabs have snapped internally, making release impossible.

Such a daft design, and far too fragile.

Will fit a quality QD item when reassembling.
 
I'd love a new(er) Bike, actually, I probably wouldn't.
One of the minor down-sides of only being able to afford older vehicles is the fact that some of the more 'delicate' parts don't always work as they should.
 
Back
Top