Please don’t take this serious Mindi..
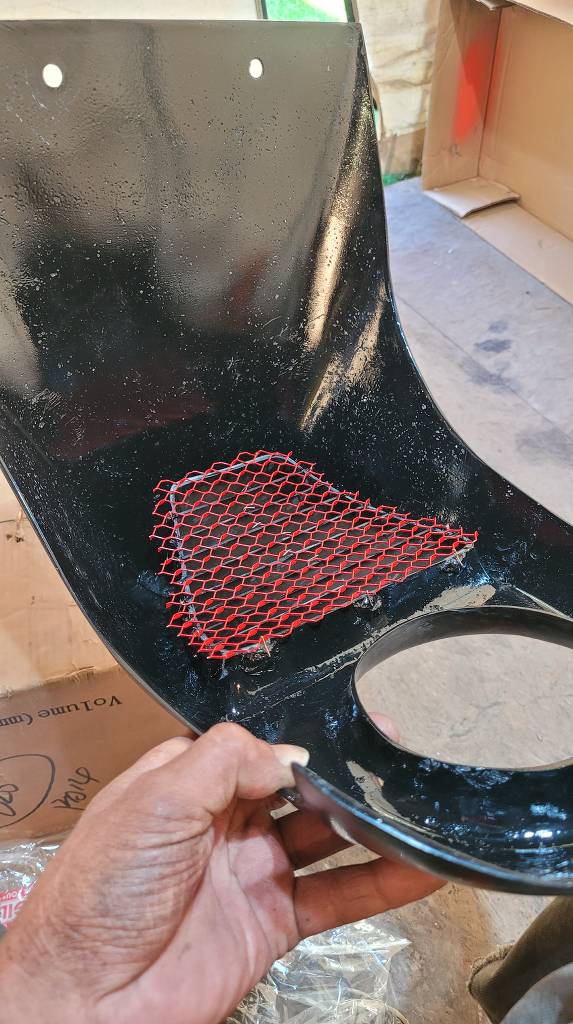
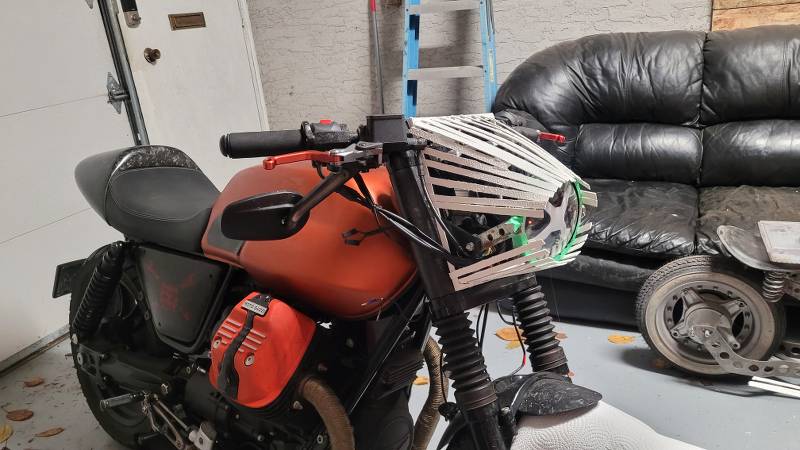
if you make it a quick disconnect you can use it as a very valuable camping equipment...
(Do you see it??..)

if you make it a quick disconnect you can use it as a very valuable camping equipment...
(Do you see it??..)

 Indeed! It's an all in one camping equipment! I even installed a grill for BBQ! It's a sun hat, a BBQ grill, and a toilet seat all in one
")


")
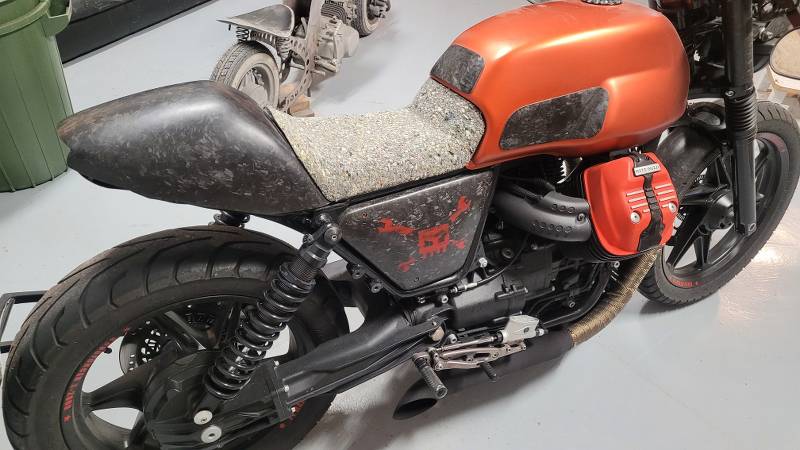


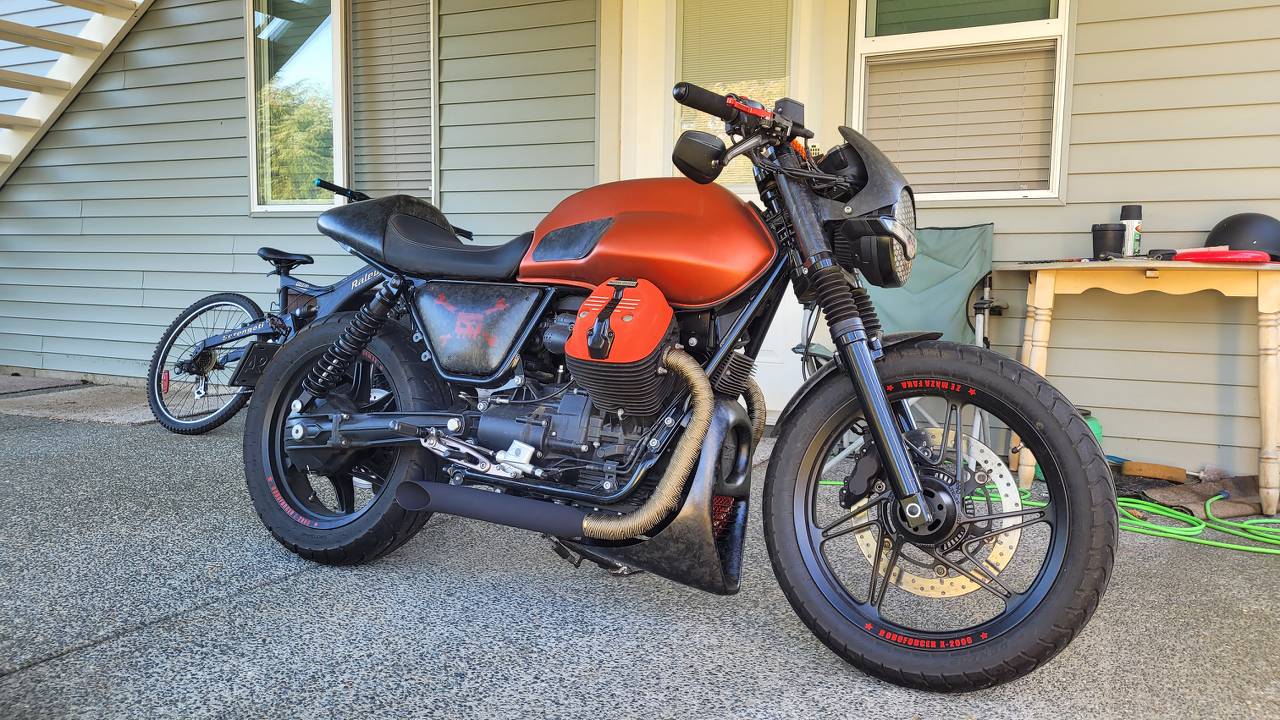
 Wow what a difference in the size of the seat, old vs. new !