• Ciao Guest - You’ve landed at the ultimate Guzzi site. NEW FORUM REGISTRATIONS REQUIRE EMAIL ACTIVATION - CHECK YOUR SPAM FOLDER - Use the CONTACT above if you need help. New to the forum? For all new members, we require ONE post in the Introductions section at the bottom, in order to post in most of the other sections. ALWAYS TRY A SEARCH BEFORE STARTING A NEW TOPIC - Most questions you may have, have likely been already answered. DON'T BE A DRIVE-BY POSTER: As a common courtesy, check back in and reply within 24 hours, or your post will be deleted. Note there's decades of heavily experienced Guzzi professionals on this site, all whom happily give endless amounts of their VALUABLE time for free; BE COURTEOUS AND RESPECTFUL!
  • There is ZERO tolerance on personal attacks and ANY HYPERLINKS to PRODUCT(S) or other competing website(s), including personal pages, social media or other Forums. This ALSO INCLUDES ECU DIAGnostic software, questions and mapping. We work very hard to offer commercially supported products and to keep info relevant here. First offense is a note, second is a warning, third time will get you banned from the site. We don't have the time to chase repeat (and ignorant) offenders. This is NOT a social media platform; It's an ad-free, privately funded website, in small help with user donations. Be sure to see the GTM STORE link above; ALL product purchases help support the site, or you can upgrade your Forum profile or DONATE via the link above.
  • Be sure to see the GTM STORE link also above for our 700+ product inventory, including OEM parts and many of our 100% Made-in-SoCal-USA GTM products and engine kits. In SoCal? Click the SERVICE tab above for the best in service, tires, tuning and installation of our products or custom work, and don't miss our GT MotoCycles® (not) art on the BUILDS tab above. WE'RE HERE ONLINE ONLY - NO PHONE CALLS MADE OR RECEIVED - DO NOT EMAIL AND ASK QUESTIONS OR ASK TO CALL YOU.
  • Like the new V100, GuzziTech is full throttle into the future! We're now running on an all-new server and we've updated our Forum software. The visual differences are obvious, but hopefully you'll notice the super-fast speed. If you notice any glitches or have any issues, please post on the Site Support section at the bottom. If you haven't yet, please upgrade your account which is covered in the Site Support section or via the DONATE tab above, which gives you full site access including the DOWNLOADS section. We really appreciate every $ and your support to keep this site ad-free. Create an account, sign in, upgrade your account, and enjoy. See you on the road in 2024.

Wiring up heated grips and GPS

Billd

Tuned and Synch'ed
Joined
Sep 1, 2009
Messages
74
Location
Castlegar, BC
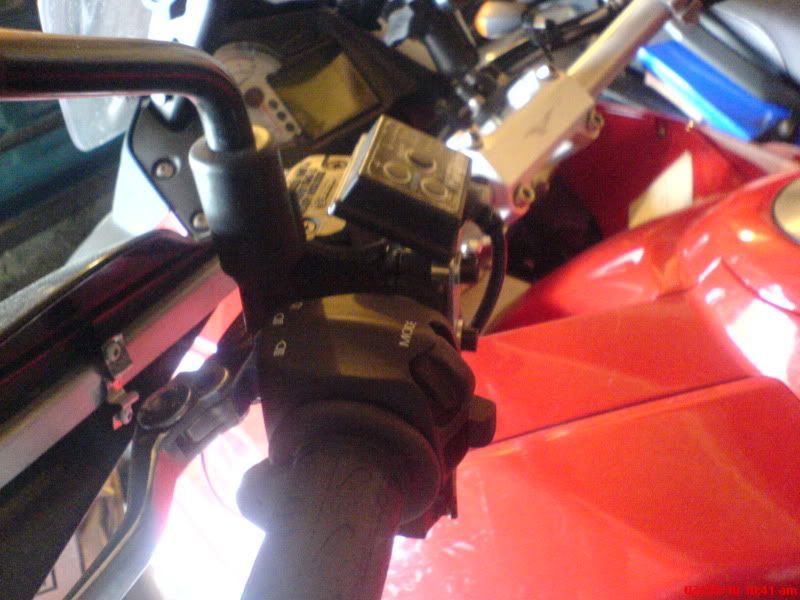
Hi, I'm about to wire up a set of Oxford heated grips as well as a GPS to my Stelvio. Could someone please direct me to the factory wiring on the bike. I understand that the bike is prewired for both items. What general area are the connectors located and what is wire color of each?
As a side note. Just added two Roto X Pax fuel cells to the top of my aluminium cases. They are only a US gal each so should add about 80 miles range to the bike. If anyone is interested go to rotoxpax.com for pictures. They are 9" W x 13-1/4" L x 3" H.
 
Search is your friend!

The end of the GPS plug is located on the left side under the fairing. The plug is pale green, with a rubber boot. Two wires, blue and green. The green wire is positive, blue is ground. The cable is bundled up and zip-tied to a fairing frame piece.
 
Just curious as to why you're fitting Oxford and not the MG grips?

Can't they use non OEM fittings as a get out on the warranty?
 
The reason I went with Oxford grips over Guzzi grips was cost. Have read that others have used Oxfords on the Stelvio with the "mode" control switch. Do not think that the use of Oxfords will effect bike warranty unless the wiring was to burn up or show signs of some other form of damage being caused by their use.
 
Billd said:
The reason I went with Oxford grips over Guzzi grips was cost. Have read that others have used Oxfords on the Stelvio with the "mode" control switch. Do not think that the use of Oxfords will effect bike warranty unless the wiring was to burn up or show signs of some other form of damage being caused by their use.

So.. question for ya since you put the oxfords on your Stelvio...

How did you get the oe grips off?
how did you get the oxfords over the end piece of the bars? you know... the "bolt head" looking piece?
I have a set of oxfords to go on...
 
To get the original grips off you need to take the bar end weights off first by removing the allen head retainer bolt. Remove the 17mm hex head bolt , just screws into ends of handlebar. Used a thin, long shank screw driver to open up a cavity and sprayed WD40 between the original grip and left hand handlebar, came off real easy with out damage. Did the same with right side between black plastic throttle and grip. Ground the raised ridges off of the black plastic throttle slide until it would just slide into Oxford grip. Used the supplied glue that came with the grips to glue both Oxford grips in place. Make sure you orient the new grips properly. I decided to use the Oxford supplied heater controller as it can be adjusted on the go whereas the Stelvio control makes you come to a complete halt to make a change. The bike controller can be used if you want. Good luck, you won't have any problems with this and you will love the Oxfords.
 
Well duh! I just figured the bolt was part of the handlebars. Never considered that it was removable.
As soon as it gets above -10 again they will go on!
Thanks for the info.
 
Sorry to pick this one up again...

I have seen these and was wondering they can be used as a cheap way of heating my hands....

I would like to integrate them in to the bike so that I can use on dash control/display BUT I don't want to create a possible problem. Am I right in thinking that I can just wire them in to the green GPS socket inside the fairing or should I fit the separate rocker switch supplied?
 
Why use the GPS plug when there are heated grip power connections? That being said.. I connected my Oxfords direct so that I could turn them on and off without stopping.
However it turned out my Oxford controller doesn't work properly in that it won't turn off :cry:
 
Would be interested in seeing some pictures of where you have mounted the Oxford control unit... The threads on this forum that did have pictures seem to have expired links so the pics no longer show....
 
crappy cell phone pic's... lol
The grips came with a bracket that attaches to the two bolts that hold the clutch etc.

DSC00037-1.jpg


DSC00036-1.jpg
 
Nice beard! :D

Thankyou very much for the super quick turn around on the pictures. Was very kind of you.... I see that its not a bad looking bit of kit. The nice thing about the Oxford kit is that they can be controlled whilst moving... Can I ask what the situation is re powering them when the bike is switched off. I assume they are wired directly into the battery. It would be easy to forget that they are still on...
 
Yes they are wired direct to the battery so you must remember to shut them off. They will shut down (apparently at least) when the voltage drops below a set level. (I forget what that number is though)
Like I said in an earlier post I have an issue with mine at the moment in that they won't turn off so I guess I will have to get the controller replaced.
 
I reckon I might wire them up via the bikes existing wiring. I will then feel better knowing that they will go off with the ignition. Can someone tell me how I can locate the existing wiring for the heated grips.

The plan will be to use the control unit that comes with the Oxford grips, leave the bikes setting up full and then control the actual temp on the Oxford control unit.

Any reason why this would not work?
 
guzziguy said:
The plan will be to use the control unit that comes with the Oxford grips, leave the bikes setting up full and then control the actual temp on the Oxford control unit.

Any reason why this would not work?
Why complicate it like that? You have two connectors taped up under the front end of the tank somewhere, one for each grip. Why not just connect the grips you have directly?
Also if you try to put the control unit connected to just one, the load may be too much and might screw up the Guzzi control, and that would be expensive.
 
The method in my madness is that if I wire them in to the bike I k now that they will switch off with the ignition. If I use the Oxford control unit I can then control the temp whilst moving.

Was only a thought and I take your point about over loading the system.
 
I admit I have never understood the Guzzi logic of only being able to change the temperature of the grips when stopped.
I suppose it must have been the same designer who covered up the dip stick.
 
Another lame question.

Are the connectors on the Oxford grips able to be plugged directly in to the connectors that are available on the Stelvio or is there some hacking involved? Total integration would be nice and I guess I'd just get used to only having control when stationary.
 
guzziguy said:
Another lame question.

Are the connectors on the Oxford grips able to be plugged directly in to the connectors that are available on the Stelvio or is there some hacking involved? Total integration would be nice and I guess I'd just get used to only having control when stationary.

I apologize if I'm getting off subject slightly here, but I think we might be talking about some of the same wiring and connectors.

Here's my question: does anyone one have any idea why I was not able to find power in either the green, blue or yellow wiring harnesses inside the fairing?

I was installing my new Zumo 660 and wanted to avoid running the wiring back to the harness and/or battery under the seat. I tested all the connectors, after pulling the fairing all the way off, (whew :sick: ) and could not find any voltage... Finally wired it to the battery which is a better, unswitched, solution anyway I suppose.

Any ideas?

Thanks so much, Jesse
 
Back
Top