Ciao Guest - You’ve landed at the ultimate Guzzi site. NEW FORUM REGISTRATIONS REQUIRE EMAIL ACTIVATION - CHECK YOUR SPAM FOLDER - Use the CONTACT above if you need help. New to the forum? For all new members, we require ONE post in the Introductions section at the bottom, in order to post in most of the other sections. ALWAYS TRY A SEARCH BEFORE STARTING A NEW TOPIC - Most questions you may have, have likely been already answered. DON'T BE A DRIVE-BY POSTER: As a common courtesy, check back in and reply within 24 hours, or your post will be deleted. Note there's decades of heavily experienced Guzzi professionals on this site, all whom happily give endless amounts of their VALUABLE time for free; BE COURTEOUS AND RESPECTFUL!
There is ZERO tolerance on personal attacks and ANY HYPERLINKS to PRODUCT(S) or other competing website(s), including personal pages, social media or other Forums. This ALSO INCLUDES ECU DIAGnostic software, questions and mapping. We work very hard to offer commercially supported products and to keep info relevant here. First offense is a note, second is a warning, third time will get you banned from the site. We don't have the time to chase repeat (and ignorant) offenders. This is NOT a social media platform; It's an ad-free, privately funded website, in small help with user donations. Be sure to see the GTM STORE link above; ALL product purchases help support the site, or you can upgrade your Forum profile or DONATE via the link above.
Be sure to see the GTM STORE link also above for our 700+ product inventory, including OEM parts and many of our 100% Made-in-SoCal-USA GTM products and engine kits. In SoCal? Click the SERVICE tab above for the best in service, tires, tuning and installation of our products or custom work, and don't miss our GT MotoCycles® (not) art on the BUILDS tab above. WE'RE HERE ONLINE ONLY - NO PHONE CALLS MADE OR RECEIVED - DO NOT EMAIL AND ASK QUESTIONS OR ASK TO CALL YOU.
Like the new V100, GuzziTech is full throttle into the future! We're now running on an all-new server and we've updated our Forum software. The visual differences are obvious, but hopefully you'll notice the super-fast speed. If you notice any glitches or have any issues, please post on the Site Support section at the bottom. If you haven't yet, please upgrade your account which is covered in the Site Support section or via the DONATE tab above, which gives you full site access including the DOWNLOADS section. We really appreciate every $ and your support to keep this site ad-free. Create an account, sign in, upgrade your account, and enjoy. See you on the road in 2024.
Here is the finished wiring… and the final diagram of which I am always happy to share a full size version. I like to use the braided sheathing rather than the hard PVC stuff of old. I see that many cars and bikes now use it. Its a bit fiddly but if you touch the end on the soldering iron after you cut it, it stops it fraying. Another nice advantage is if you need to pull one or two wires out, you can do by just parting the strands.
Now that looks like a reasonable wiring diagram, vs. the crazy rats nest the 2007 Honda has, and it has no ECU , it’s just out of the Points and Condenser Era !
Here is the finished wiring… and the final diagram of which I am always happy to share a full size version. I like to use the braided sheathing rather than the hard PVC stuff of old. I see that many cars and bikes now use it. Its a bit fiddly but if you touch the end on the soldering iron after you cut it, it stops it fraying. Another nice advantage is if you need to pull one or two wires out, you can do by just parting the strands.
the footrests/and levers are now finished… I pondered how to do the brake light switch and then came upon this neat hydraulic one which bolts onto the union…
yes its a California I just modified the back, cut off all the brackets I didnt need, moved the footrests...
So its start-up time… I had a good spark, but I wasn’t sure if it was on the right cylinder as I hadn’t made a note on the coils… so it was a 50% chance it would start… It did! It quickly settled to a nice tick over, but I had to shut it down as I am missing the “0” rings off the sensors and they leaked oil. I have been waiting a week for them, bloody Royal Mail strikes!
With any fresh engine build I have a routine I stick to that has served me well over the years… first thing I do is remove the oil switch and pump oil into the engine. I use a plastic pump up bottle for this. This primes all the oilways, fills the filter, fills the oil pump, and oozes out of all the bearings. I prefer this to engine building paste, which I am not a fan of… I do use a smear of it on the cams and followers though…
The other thing I do is screw in a pressure gauge. I was pleased to see that it immediately shot up, which is always a relief. This has saved me a couple of times in the past… Once when the pressure relief valve in a new oil pump was stuck, and the gauge went off the scale… the other time was my fault when I put an oil pickup pipe joint on wrong, and the joint itself covered the pipe hole… started it up and initial pressure then nothing… that gauge is a lifesaver!
well how annoying is that I noticed the section of one pipe was going blue... checked it and its magnetic! looks like the supplier mixed in a piece of Mild Steel in with the stainless! Oh well, new piece is on its way
he was Very apologetic! at the end of the day its no big shakes, and is recoverable
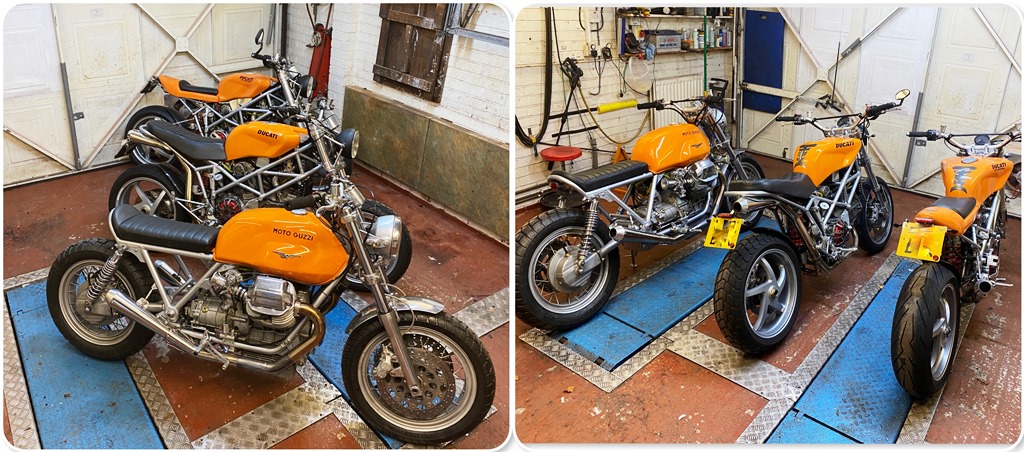
well this build comes almost to an end, I am sure there will be some snagging to do, but that can be done in Spring when I can ride it! I will post a video of it running as soon as we have a nice day. Here is is with the last couple of builds I have kept as I liked how these ride!
Its time to start the next Build… I have another Multistrada at the back of the garage which I will wheel out soon and make a start on that… this has some nice parts on it and should make a great bike, not sure on the style of this one yet, I guess it will evolve over the coming months.. Have to say I have really enjoyed the Guzzi build, a refreshing change to Ducati’s as the next one will be Ducati number 10 build!
So apart from a video at some point its goodbye from me and I hope you have all enjoyed my ramblings. Unless of course any of you are interested in the Ducati build, I could always continue posting onto this thread.
he was Very apologetic! at the end of the day its no big shakes, and is recoverable
well this build comes almost to an end, I am sure there will be some snagging to do, but that can be done in Spring when I can ride it! I will post a video of it running as soon as we have a nice day. Here is is with the last couple of builds I have kept as I liked how these ride!
Its time to start the next Build… I have another Multistrada at the back of the garage which I will wheel out soon and make a start on that… this has some nice parts on it and should make a great bike, not sure on the style of this one yet, I guess it will evolve over the coming months.. Have to say I have really enjoyed the Guzzi build, a refreshing change to Ducati’s as the next one will be Ducati number 10 build!
So apart from a video at some point its goodbye from me and I hope you have all enjoyed my ramblings. Unless of course any of you are interested in the Ducati build, I could always continue posting onto this thread.
Please do. I've always have and will be a sucker for those air cooled duc motors. Very cold blooded if they got high compression pistons installed but once they get warmed up boi they are such a riot.
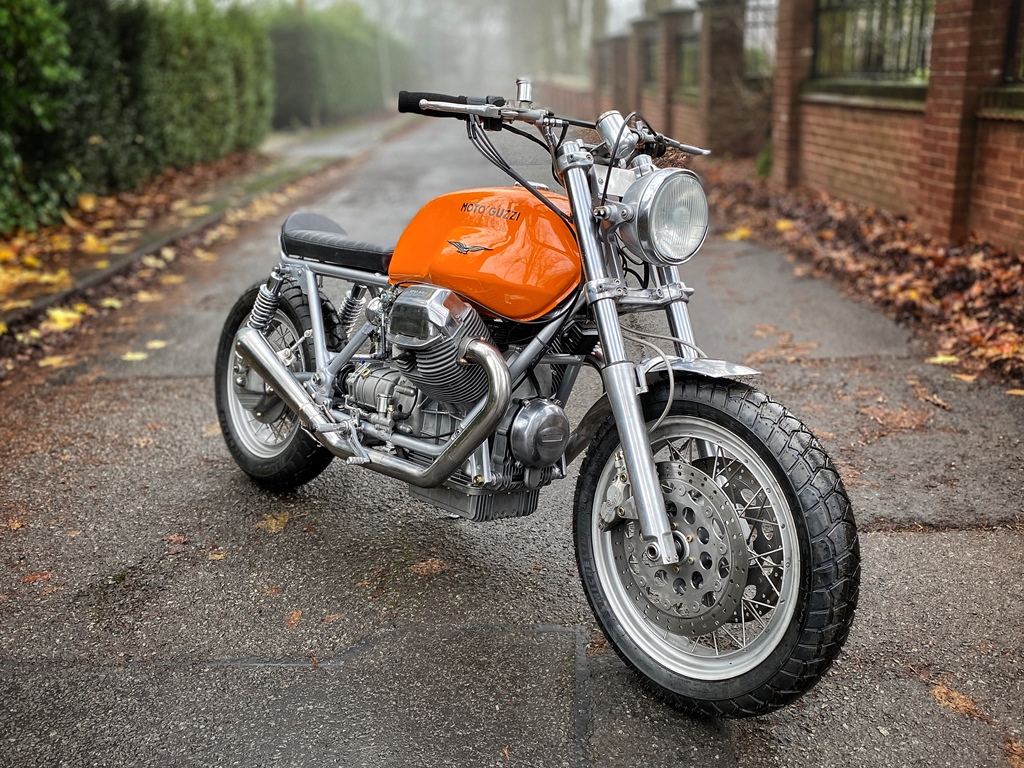
The front under the headlight didn’t look right, so I made a plate and etched a Guzzi badge on it, I am still amazed how well the etching works!
Here is the video of it running, followed by some photos that tell the story of its build… Its -5 this afternoon on the drive, so It wont be up the road for a while!