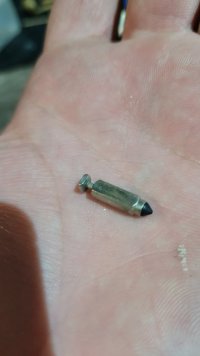
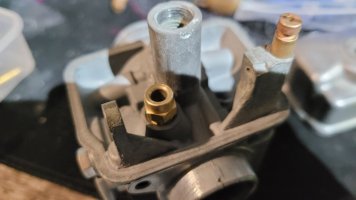
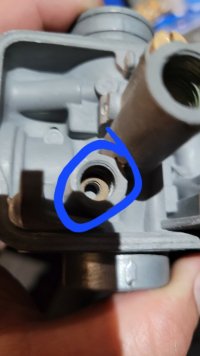
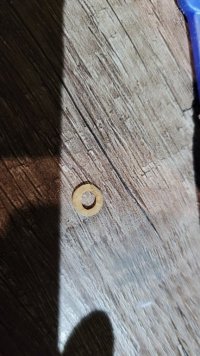
What does concern me is your fuel stop needle. That thing is absolutely filthy. You need to meticulously clean that puppy with the vinegar and a little metal polish on a cotton swab or soft towel. Then, you need to put some metal polish on a cotton swab and polish the inside of the carburetor body where this fuel stop needle slides in and out. With a few dozen twists with your finger or chock it into an handheld electric drill (which is what I do) and a few other cleanings with dry clean cotton swabs, the inside should have a mirror polish to it. You need that fuel stop to move absolutely smoothly with no binding at all. If it binds in place, it will either stop the fuel from flowing into the bowl, or stop the floats from reseating it to shut the fuel off!