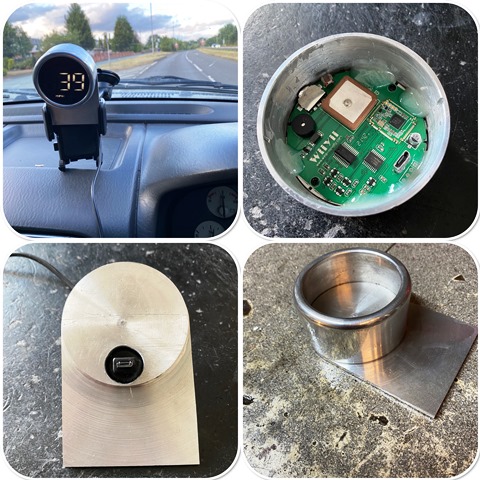
buzzer
Tuned and Synch'ed
Me too, for endless beers/cigars/whisky/coffee/brandy, I would be pestering you all the time. Fantastic work.
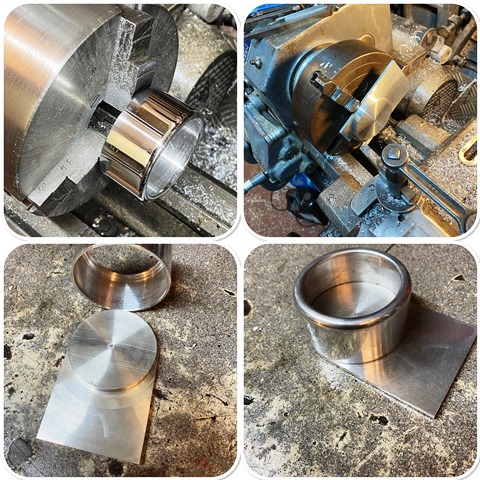
I miss my old neighbour... He lived next door for 20 years. He was a fantastic engineer, and a good friend. Sometimes I would be on the lathe and he would appear... and say "that tool isn't cutting right" and take it out, grind it up, and walk off! It was great to have someone to talk to, and bounce ideas off...
Sadly, he has dementia really bad now, and does not know who I am... its very sad.
")


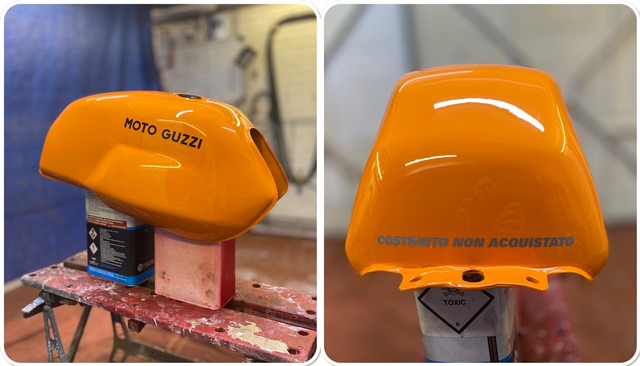


 to get good quality but none of the modern day shenanigans
 ") !
!